Tethering with Photo Supreme
Working with Tethered Images
When the manufacturer's software saves a new image, it will automatically appear in Photo Supreme. The viewer will always show the most recently captured image. You can find different display options in the bottom-right corner of the viewer.
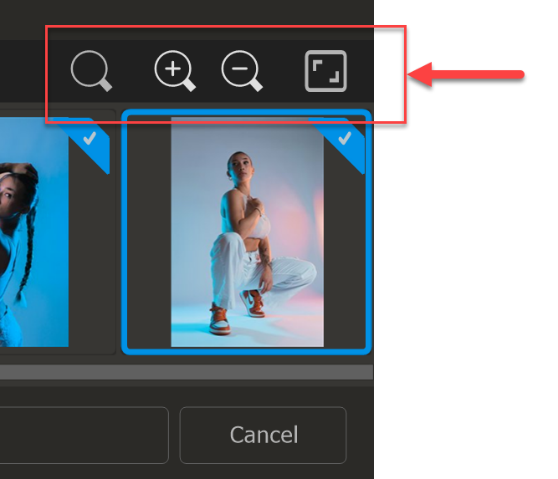

Toggle Loupe – This feature lets you quickly review a specific area of an image using the Loupe tool. Simply click and drag the Loupe over the image with your mouse to examine details.
You can also use the keyboard shortcut L to activate it.

Zoom In – Magnify the image to see more detail. You can zoom in from 1% up to 10,000%.
Use the keyboard shortcut + or = to zoom in.

Zoom Out – Reduce the magnification of the image. The zoom range goes from 1% to 10,000%.
Use the keyboard shortcut - to zoom out.

Toggle Full View – Switch between the "Best Fit" view, where the image fills the available space, and the "100% View," which shows the image at its actual size.
Use the keyboard shortcut A for "Best Fit" and Z for "100% View."
In the lower-left corner, you'll find several control buttons.
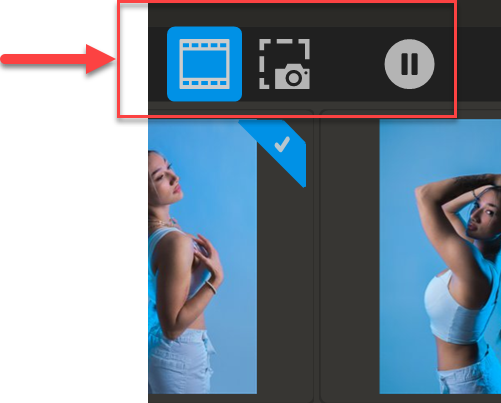

Toggle Filmstrip – The filmstrip, located below the image, displays thumbnails that you can use to select images. You can hide or show the filmstrip by clicking this button, which temporarily gives you more space for the image display.
Use the keyboard shortcut F to toggle the filmstrip on or off.

Toggle Camera Display – Enabling the Camera Display shows additional technical details about the image, such as the camera make, model, ISO, F-number, and more.
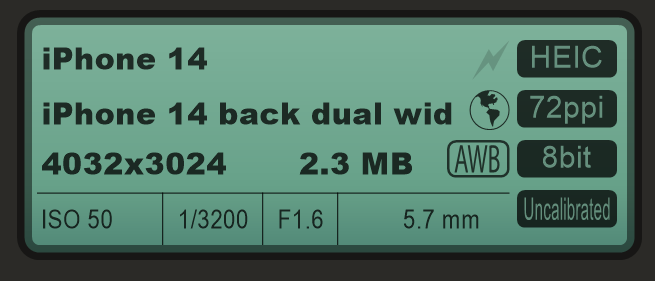
Use the keyboard shortcut i to show or hide the Camera Display.

Toggle Monitoring – Use this button to turn folder monitoring on or off. When it's on (which is the default), Photo Supreme will automatically check the tethering folder for new images and display them as they are captured. When it's off, you can still take pictures with the camera, but new images won't appear in the filmstrip automatically until monitoring is turned on again.
The keyboard shortcut is P.
Organizing During the Shoot
The filmstrip, located at the bottom of the screen, shows all images in the tethering folder as thumbnails. As new images are captured, they appear in the filmstrip. By default, a checkmark will appear in the upper-right corner of each new thumbnail, indicating that the image has been captured and is ready for review or import.
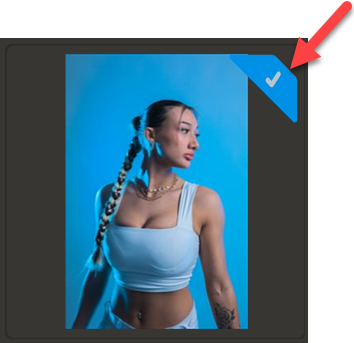
The marked images distinguish the "keepers" from the "non-keepers." Once your tethering session is complete, you'll want to import only the marked (keeper) images into the catalog, leaving the unmarked ones behind.
You can delete one or more selected thumbnails from disk by pressing the delete key on your keyboard.
Importing
Once your shooting session is complete and no more images will be taken, you’re ready to import the images into the catalog. Up until this point, all images are stored in the tethering folder. When you import them, you'll move them to their final destination in your photo archive and can also apply any additional catalog settings if needed. You can use one of your existing import profiles for this process or choose custom settings if you prefer.
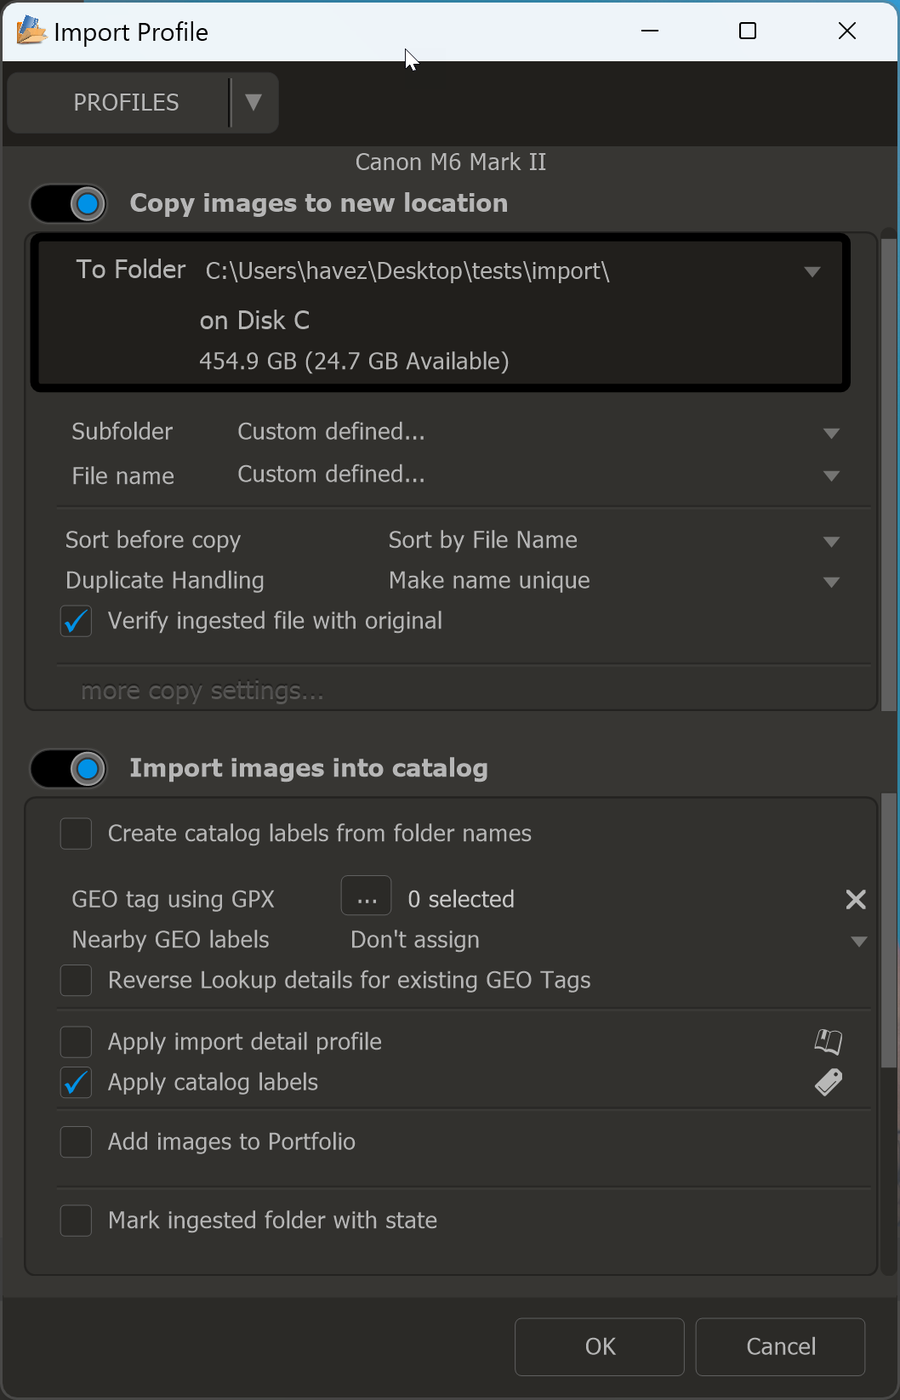
After all the images you want to import are marked with a checkmark, click the “Import and Close” button. This will open the import settings dialog, where you can choose an existing import profile or configure settings specifically for this session.