Transfer and Share with Photo Supreme
Sharing Concept
With Photo Supreme, sharing images is streamlined, enabling you to quickly send files to friends, customers, or for personal use. The process begins with defining how you want the transfer to occur and storing this setup as a Transfer Profile. Once established, Photo Supreme can utilize this profile to manage your images and send them to the desired target service.
You won’t need to prepare your images in advance; Photo Supreme handles that for you. The software will create temporary downsized copies of your images, modify metadata as per your preferences, and apply watermarks if needed before sending them to the selected service. This automated approach simplifies the sharing process, allowing you to focus on your work without the hassle of manual adjustments.
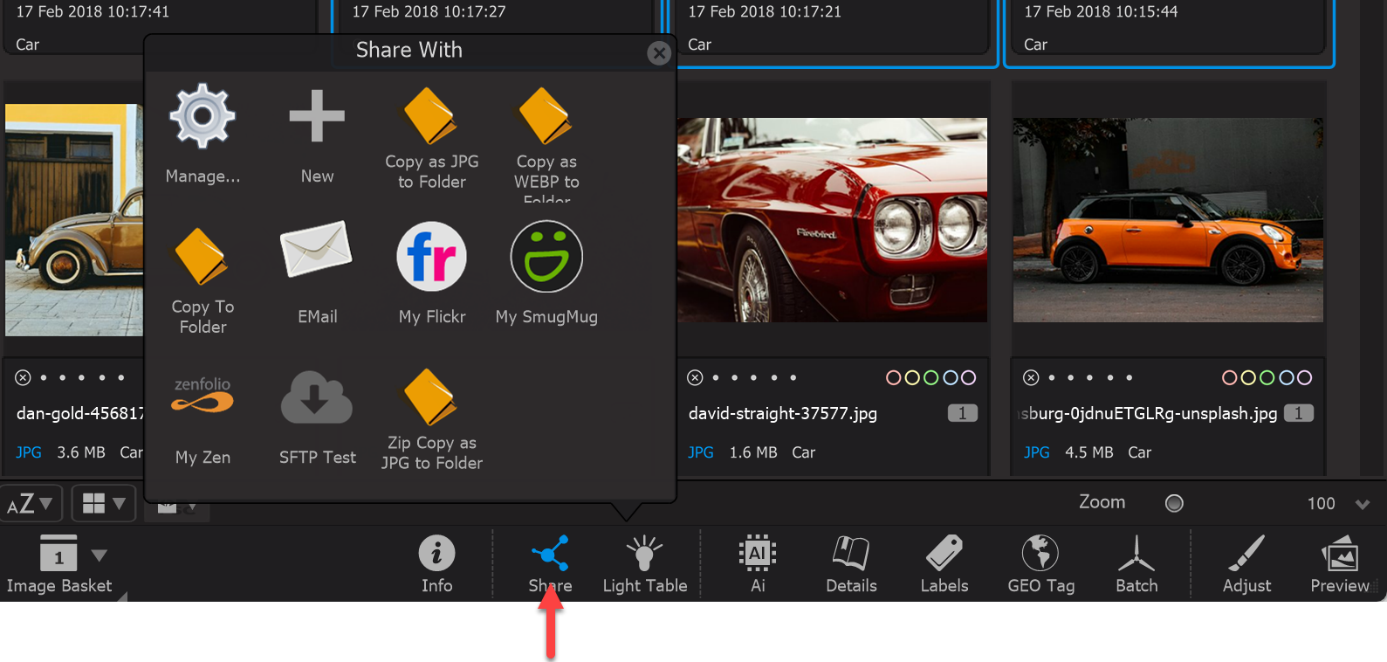
Photo Supreme supports a variety of services for sharing your images through its Share feature, allowing for versatile options depending on your needs. The available services include:
- Flickr: A popular photo-sharing platform where you can upload and organize your images. Flickr Website
- SmugMug: A premium photo-sharing and storage service ideal for photographers looking to showcase their work. SmugMug Website
- ZenFolio: A platform designed for professional photographers to manage and sell their photos. ZenFolio Website
- Email: You can share images directly through email, either using the embedded SMTP client within Photo Supreme or your preferred email client.
- FTP: Use File Transfer Protocol to upload your images to a server or share them with others via FTP.
- Folder: Share images by saving them directly to a folder on your hard drive.
These options provide flexibility in how you share your images, making it easier to reach your audience or collaborate with others.
Working with Transfer Profiles
As mentioned earlier, a Transfer Profile includes details on how you want Photo Supreme to manage images for a specific service. While Photo Supreme offers several predefined profiles, you also have the option to create your own. To set up a new profile, simply click the Share button located on the Command Bar beneath the thumbnails.
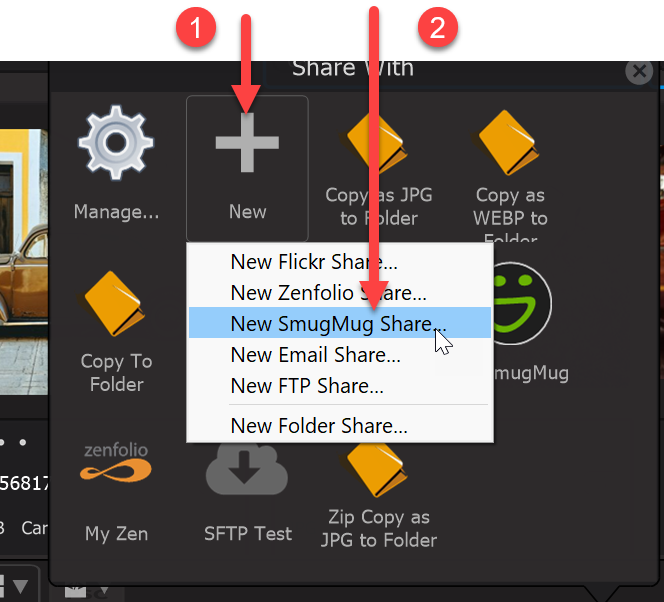
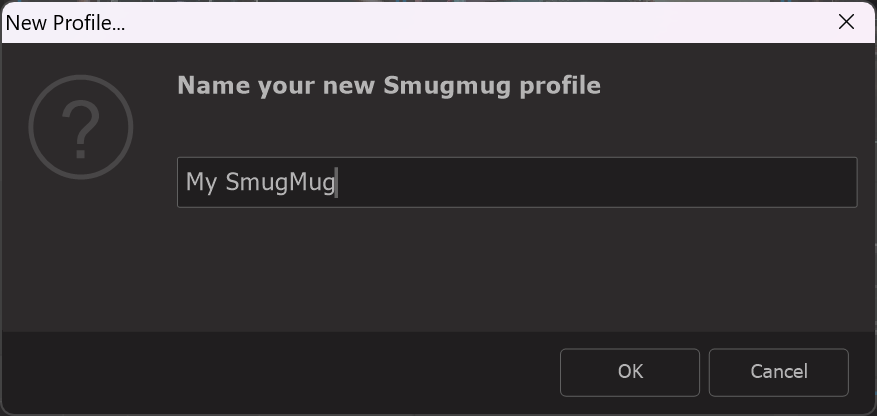
Next, you can name your profile. Choose a name that is meaningful to you, as this will be displayed below the icons in the Share callout. Once you've selected a name, click the OK button.
You can now set up the behavior of the profile. The configuration is divided into several sections:
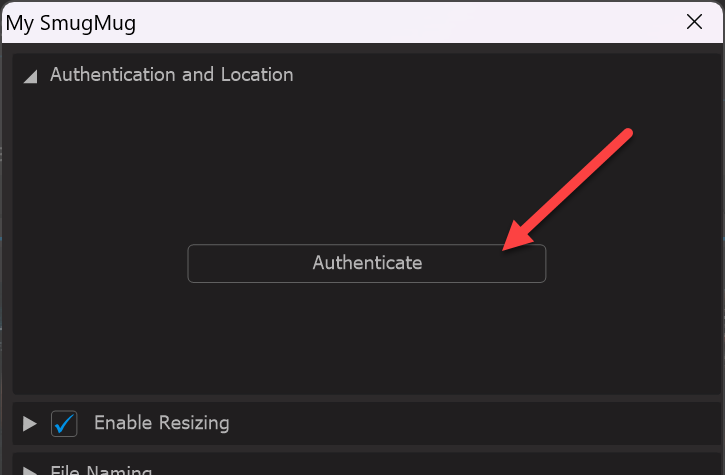
Authentication and Location
In this section, you can link to the service and define the target location for the profile. Both of these options are optional. If you choose not to authenticate within the profile, you'll be prompted to do so when you use it. Similarly, if you don't select a target location, you'll be asked to specify one during the profile's use.
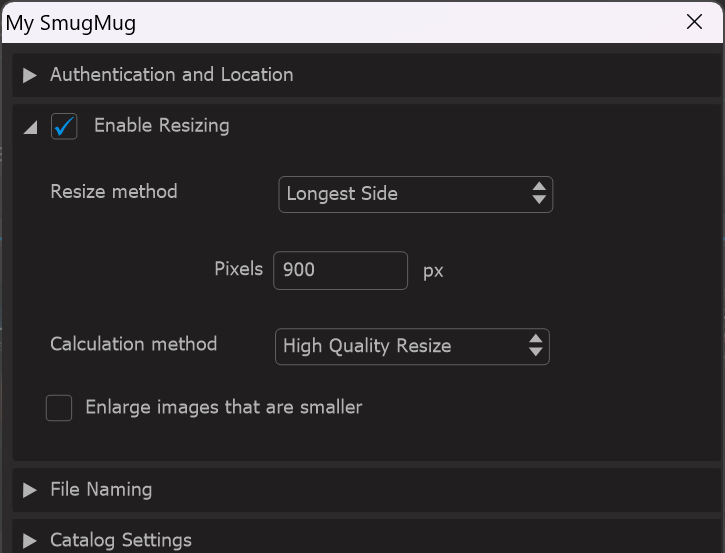
Enable Resizing
In this section, you can specify whether changes should be made and, if so, how the images should be downsized or upsized.
Check the box to enable sizing options. If the box is unchecked, the original image will be sent without any modifications, and other adjustment sections in the profile (such as metadata settings) will be unavailable. If you want to send a copy of the image at its original size, make sure to enable sizing and choose "Keep Original Size" as the resize method.
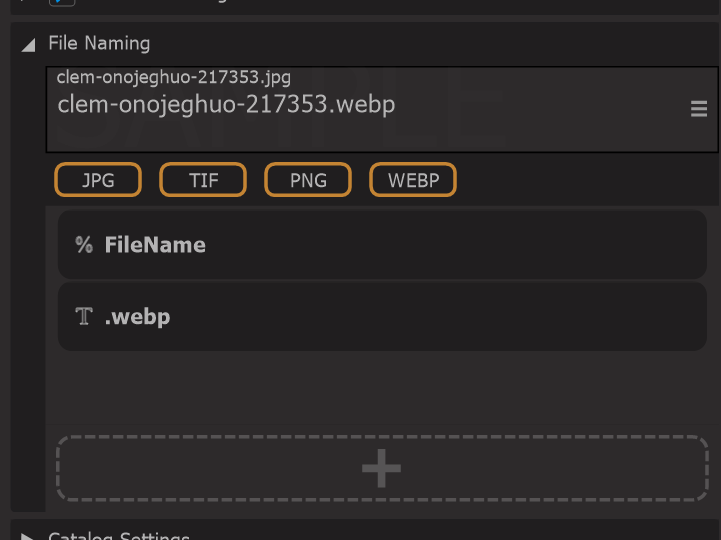
File Naming
Utilize this section to establish the naming scheme for your images that will be transferred.
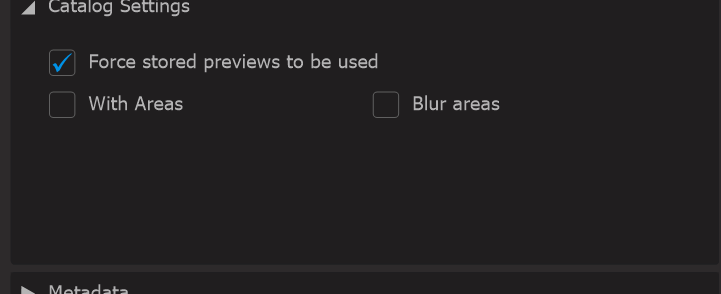
Catalog Settings
This section lets you configure which catalog data to include.
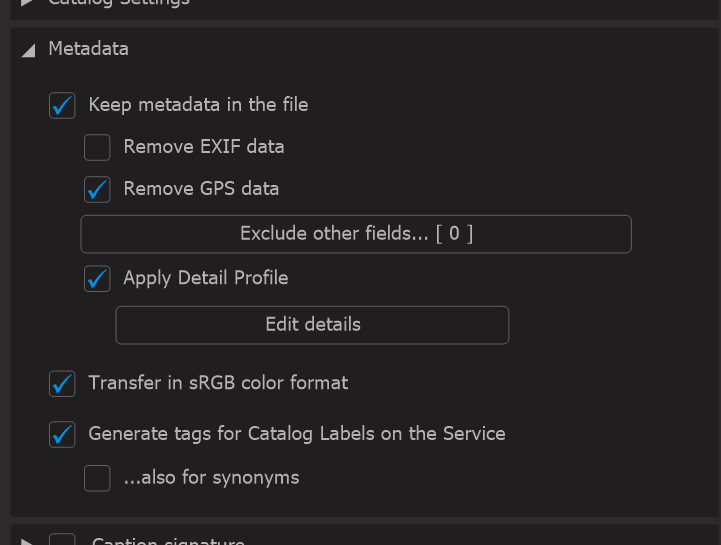
Metadata
In this section, you can determine how to manage metadata for the images being transferred with this profile. Additionally, you have the option to include specific metadata that should be part of the transferred images.
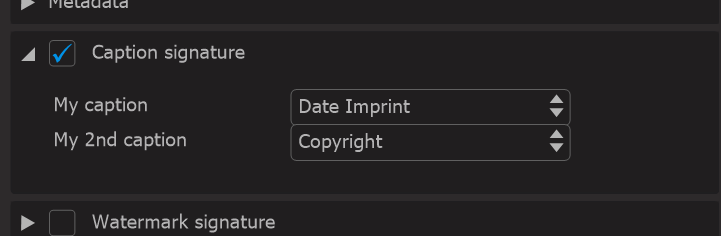
Caption signature
In this section, you can choose up to two caption signatures to be applied as on-image text on the image.
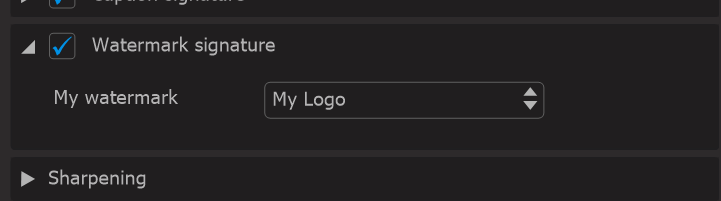
Watermark signature
This section is utilized for adding image watermarks to your photos. You can use a logo graphic or any other image as a watermark.
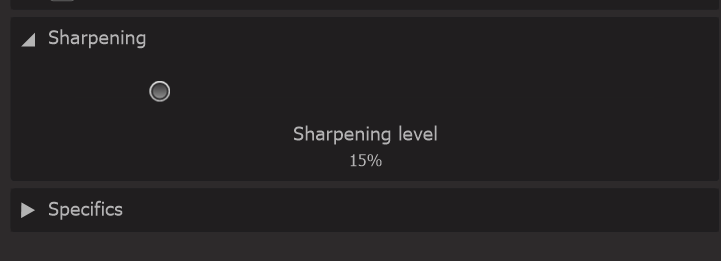
Sharpening
Utilize the Sharpening section to determine the amount of sharpening that should be applied to the transferred image.
Specifics
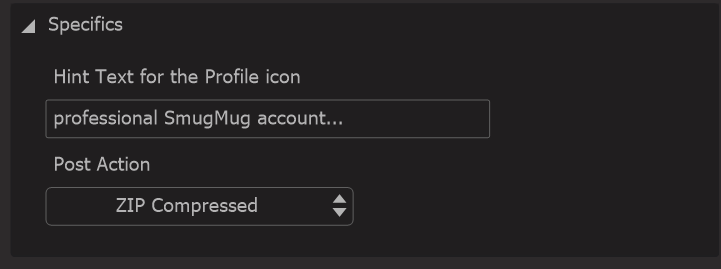
In the Specifics section, you can enter a short description that appears as hover text when users place their cursor over the Sharing icon.
In the Post Action setting, you choose what should happen after the images are prepared. You can select None or ZIP Compressed. When ZIP Compressed is selected, all images are bundled into a single ZIP file. This can be especially useful when sharing images to a folder, sending them by email, or transferring them via FTP.
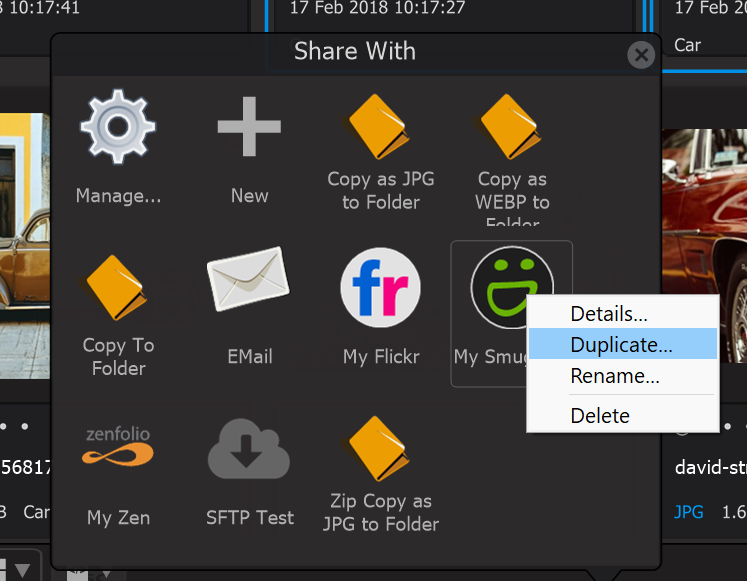
After configuring your profile to your satisfaction, click the OK button at the bottom to save it. Your profile will then be displayed in the Share Callout, ready for use. If you wish to modify your profile, right-click on it and select "Details..." This option also allows you to rename the profile or create a duplicate copy.