Advanced Filtering with Photo Supreme
Catalog Filtering
Until now, all filtering has focused on narrowing down the active set of thumbnails. However, Photo Supreme also offers Catalog Filtering. When you apply a Catalog Filter, it affects the entire application, meaning that everything you see will comply with the active Catalog Filter. For example, if you create a Catalog Filter that displays only your RAW file extensions, the Catalog Explorer (the tree on the left side) will only show relevant entries that match this filter. You won’t see other extensions, and the counts will be limited to those that apply to the filter. The Timeline will only display entries and counts that correspond to the defined filter. This allows you to work with subsets of the catalog easily, without being distracted by other data. You can observe the distribution of subsets in the catalog, both timeline-wise and in terms of image details/metadata or catalog label assignments.
Defining a Catalog Filter is like creating a Dynamic Search (see the Searching manual). By adding items to the catalog filter, you are dynamically constructing the filter. Adding items to a filter is as simple as dragging them from the Catalog Explorer to the Catalog Filter button or area. You can find the Catalog Filter button, represented by a funnel icon, above Catalog Explorer.
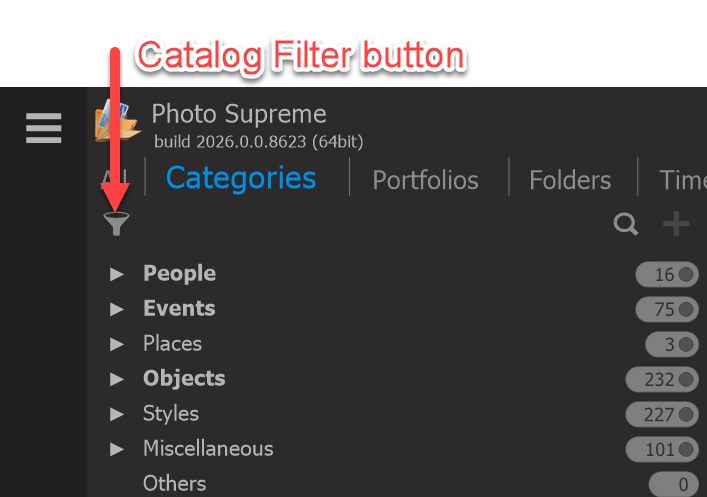
When you click the Catalog Filter button, the Catalog Filter panel opens. You can drag items from the Catalog Explorer into the Catalog Filter area or add them using the + icon. Once items are added, the filter is immediately applied to the entire catalog.
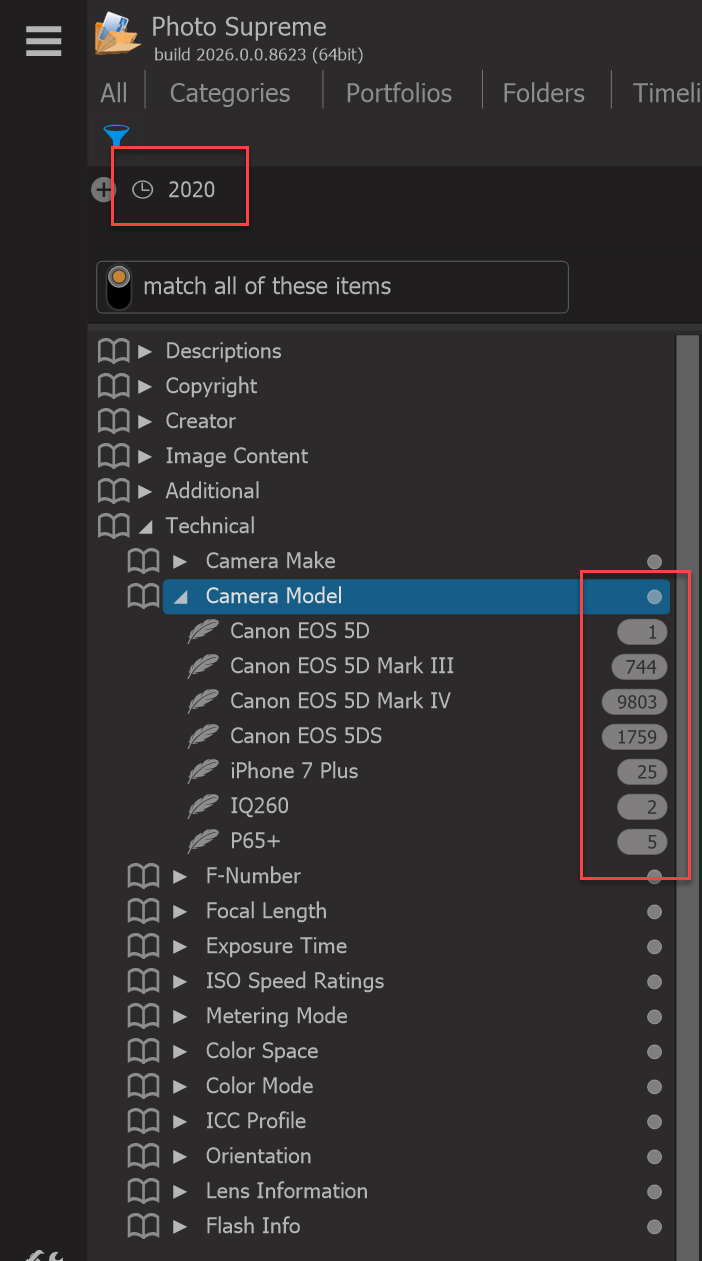
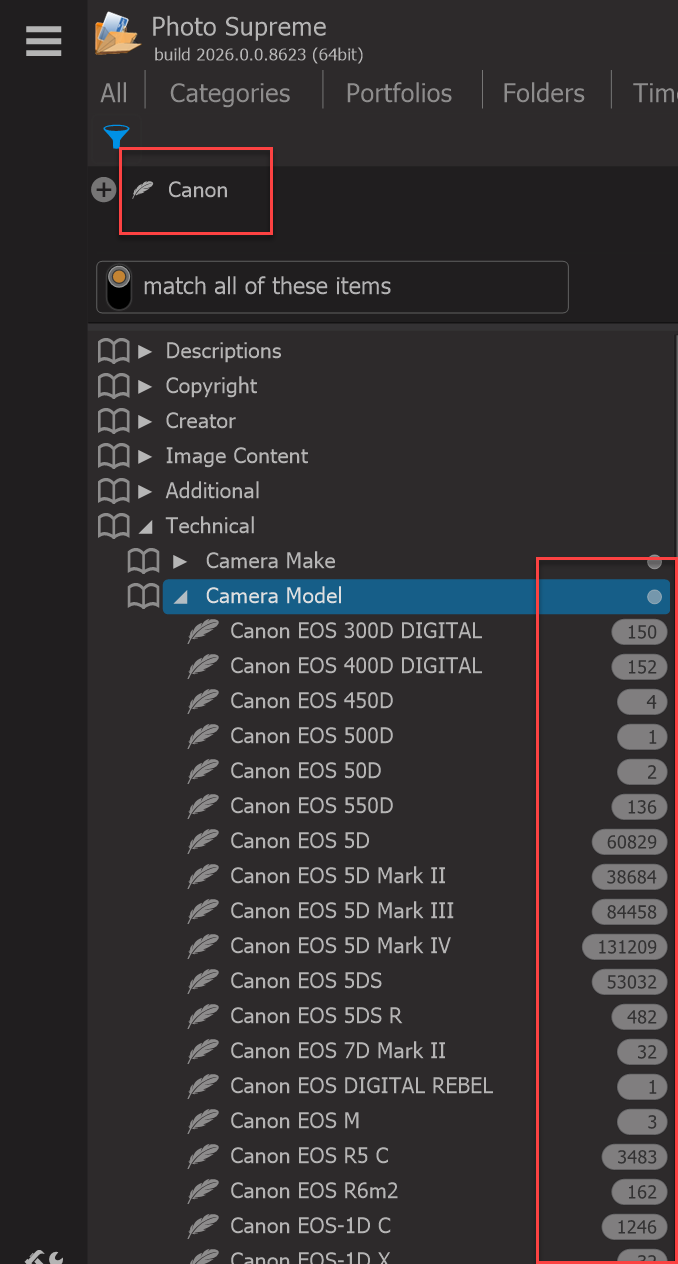
Here’s a screenshot showing a filter that includes the 2020 Timeline item, making it easy to review the technical details for that year. Another screenshot displays the distribution for all photos taken with Canon cameras.