
Advanced Filtering with Photo Supreme
The Filter Bar
The Filter Bar is a part of the application's user interface that allows you to refine a set of thumbnails in the Collection Viewer. It provides quick access to essential filtering options, such as Ratings, Color Labels, and Catalog Labels.
Filtering is applied to the currently opened set of thumbnails. To get started, first select a Catalog Section at the top (like Categories, Portfolios, Folders, etc.) and then choose an item from the left side Catalog Explorer. This item can be a Catalog Label with many associated images. The selected item will then be displayed as thumbnails. To access the Filter Bar, click the Filter button in the toolbar of the Collection Viewer.
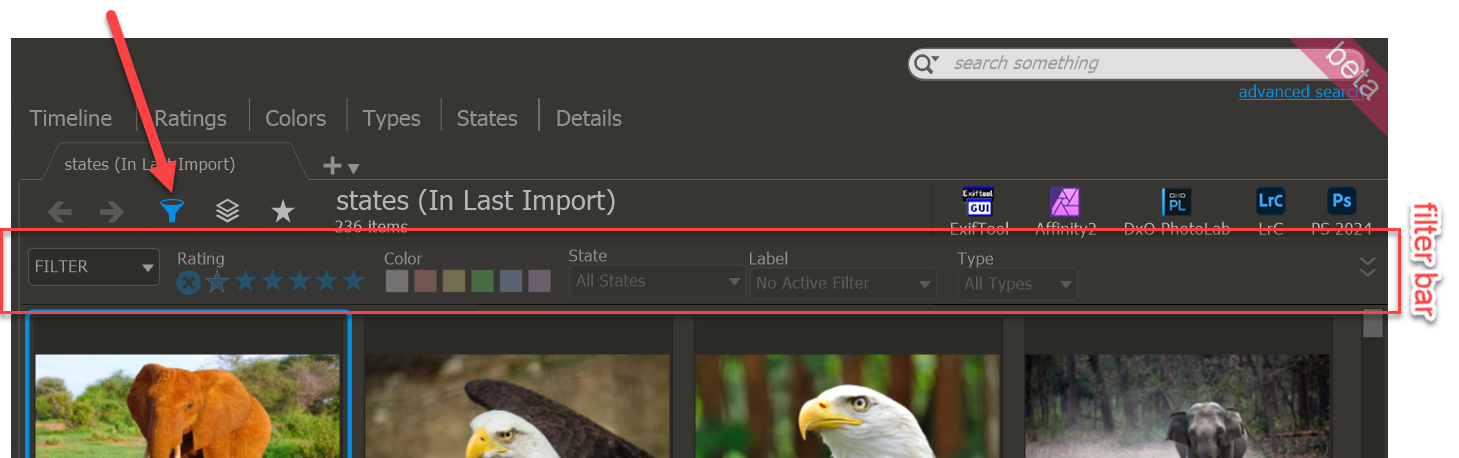
Most of the elements speak for themselves.

The Rating filter option lets you choose which ratings to include in your filter. The first cross icon represents the “Rejected” rating, the “empty” star indicates the “No Rating” option, and the other stars correspond to ratings from 1 to 5.
Click on a star icon to filter for all images that match that rating. You can select multiple ratings, and they will be combined in the filter. To filter a range of ratings (e.g., 1 to 4 stars), click the first rating icon, hold down the Shift key, and then click the 4-star rating icon.
You can also select a rating and all higher ratings by holding down the Alt key and clicking a rating icon. For example, clicking the 3-star rating while holding the Alt key will filter for all images rated 3 stars and above.
Clicking the first rating icon (star) will include all images that have no rating (0).
Clicking the rejected icon (cross) will include all images marked as “rejected.”
To remove a rating, click a selected rating star again.
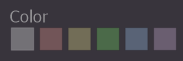
Color Label filtering operates similarly to rating filters, but it focuses on matching color labels. To use it, simply click on any color label or select a range by holding down the Shift key. To filter for a specific color label and all colors above it, hold down the Alt key while clicking the desired color label. Clicking the first, empty color will filter for all images that do not have a color label assigned.
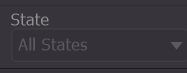
The State filter dropdown lets you filter by available states. When you open the dropdown, you can choose which state to include in the filter.
Tip: To invert the results, hold down the Alt key on your keyboard while selecting a state. For example, Alt+Click on “Bookmarked” will filter for “Not Bookmarked.”
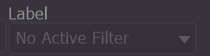
The Label filter dropdown enables you to filter by catalog labels. When you open the dropdown, you'll see a list of all catalog labels associated with the images in the Collection Viewer.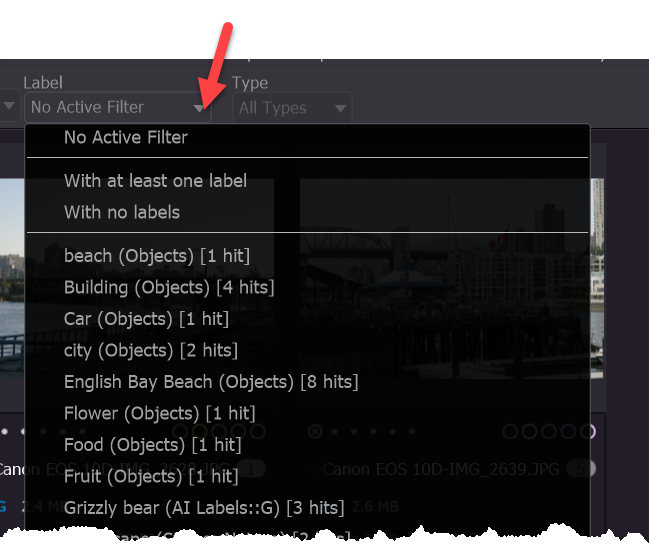
The first option in the dropdown, "No Active Filter," allows you to reset the filtering on catalog labels.
Next, there are two options: one filters for all images with at least one label assigned, while the other filters for images with no labels assigned.
The subsequent entries will display every catalog label used in the current set of images.
By selecting a catalog label, it becomes part of the filter and is marked with a checkmark. Clicking it again will remove it from the filter. While you’re selecting catalog labels from the list, the dropdown remains open, allowing you to choose multiple labels. The filter updates immediately as you add labels to your selection. You can close the dropdown by pressing the Escape key.
Tip: To exclude a catalog label, hold down the Alt key while selecting it. For example, Alt+Click on the catalog label "Paris" will filter for "Not Paris."
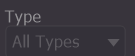
Filtering by Type allows you to include images with a specific file extension. When you click this option, a dropdown will display all the file extensions present in the current set of images.
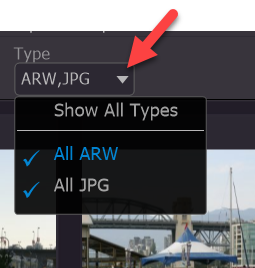
The first option, "Show All Types," will remove any previously selected extensions from the filter.
The following entries will vary, as only the extensions present in the current set of images will be displayed. Click on one or more extensions to include them in the filter; selected types will be marked with a checkmark. Clicking a selected type again will deselect it.
Tip: To exclude a file type, hold down the Alt key while selecting it. For example, Alt+Click on "All JPG" will filter for "Not JPG."
Resetting a Filter
When a filter is active, the "FILTER" button will have a blue caption color, indicating that filtering is in effect.
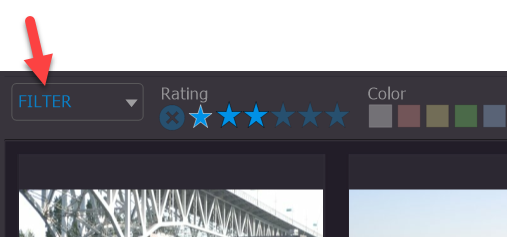
To completely reset a filter, open the FILTER button dropdown and select "Reset Filter." This will remove all previously selected filter options, restoring the full set of images for display.
Saving a Filter
At times, you may find it necessary to use the same filter conditions repeatedly, which can become tedious. To save your current active filter, click the FILTER button and select "Save current filter." You’ll then be prompted to name your filter—choose a meaningful name that reflects its purpose.
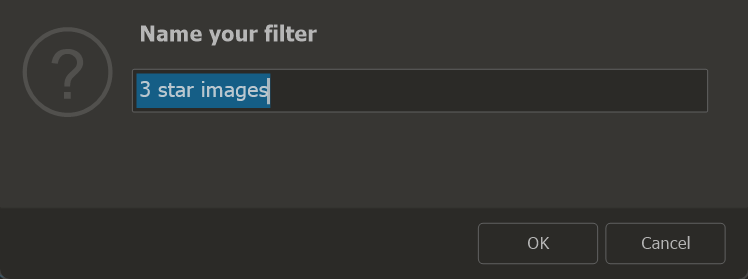
From now on, you can simply select the saved filter from the FILTER button dropdown. The stored filter will be loaded and applied to the active set of thumbnails.
Tip: Right-click on a saved filter to delete it.
The FILTER button dropdown
The FILTER dropdown is organized into sections, and during your first use, you might not see all the sections displayed if they are not applicable (for example, if you don’t have any saved filters yet).
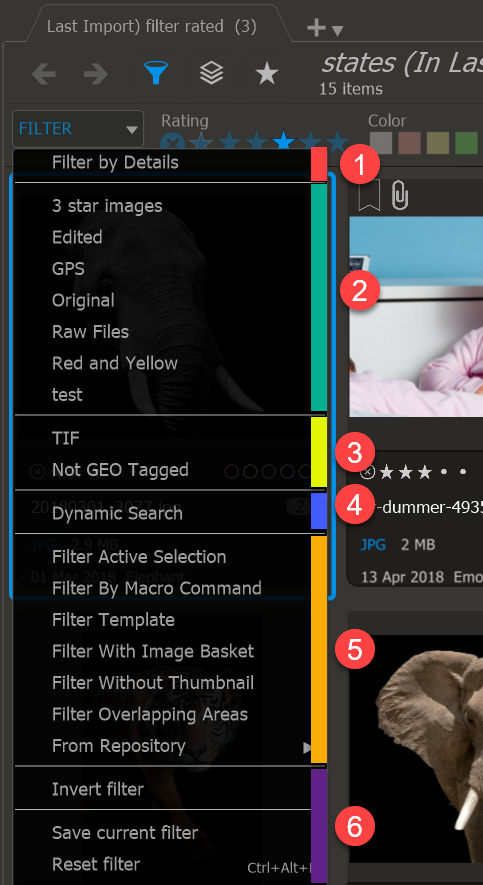
- Use "Filter by Details" to create a filter using advanced search criteria.
- These are your Saved Filters, which means the names displayed here correspond to the filters you have previously saved.
Tip: right-click on a saved filter to delete it.
- These entries enable quick filtering of your personal Favorites. The items in the Favorites section are also shown here, providing powerful filtering options. Note that favorites included in this list are brought together from many different areas, such as folders, catalog labels, and more. You can save even the most advanced combinations as favorites, allowing for nearly limitless usability when applying these favorites as filters.
- If you have any conditions set in the Dynamic Search section, you can select them from here.
- These are Filter Scripts. A filter script is a small program that determines whether an image should be included in a filter. Photo Supreme comes with several Filter Scripts, including the powerful “Filter by Macro Command” script. This item allows you to select Filter Scripts from the Repository.
- These are additional filter commands. They are:
- Invert Filter: this will show you all images that are NOT in the filter conditions.
- Save current filter: this allows you to store the current active filter for future use. Saved filters appear in the 1st section.
- Reset filter: remove all filter items and show all images.