
Stacking with Photo Supreme
Creating Stacks
Stacks can be created either manually or automatically.
Manual stack creation
To create a stack manually, select two or more thumbnails that you want to combine, then right-click on one of the selected thumbnails and choose “Stacking > Stack selected files.” You can also use the keyboard shortcut Shift+S for this action.
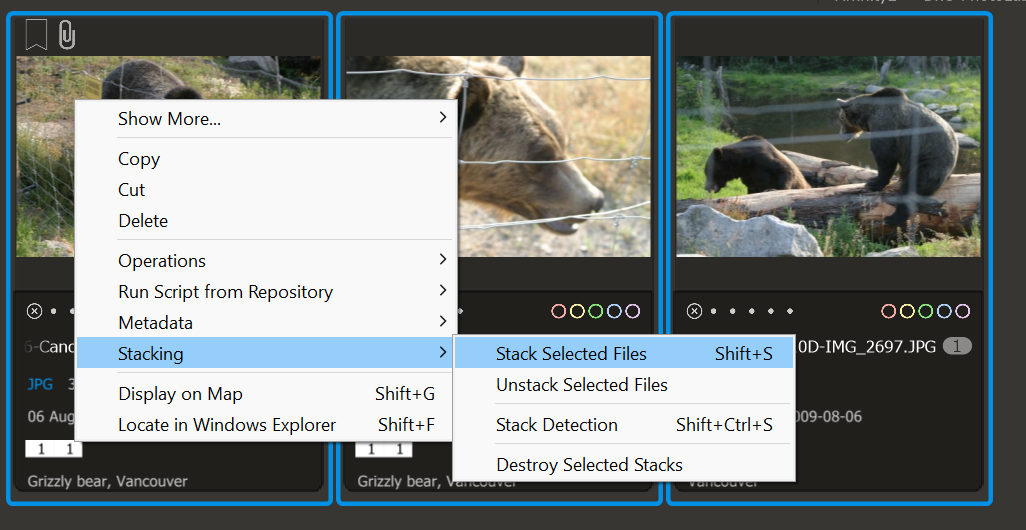
You can identify a stack by its distinctive color marker.
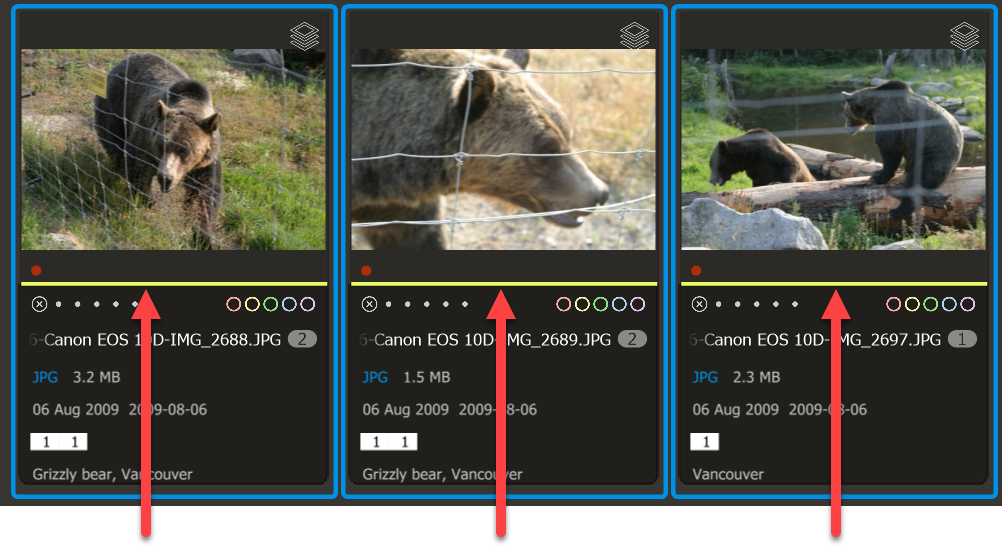
All images within the same stack display the same color marker, allowing you to easily identify which thumbnails are part of that particular stack.
You can easily add images to a stack by copying and pasting them. First, select one or more image thumbnails. Then, right-click and choose 'Copy.' Next, find the stacked image (or the one you want to start a stack with), right-click on it, and choose 'Paste to this Stack.' This will add the copied images to the stack along with the selected image.
Automatic stack creation
Photo Supreme also has the capability to automatically detect stacks. In the Preferences, you can set the rules for how stacks should be created. By default, the automatic stack detection is set to group images taken within a 10-second interval, which is common for burst shots. However, you can customize the detection settings to suit your needs (tip; scroll down if you don’t see all the values).
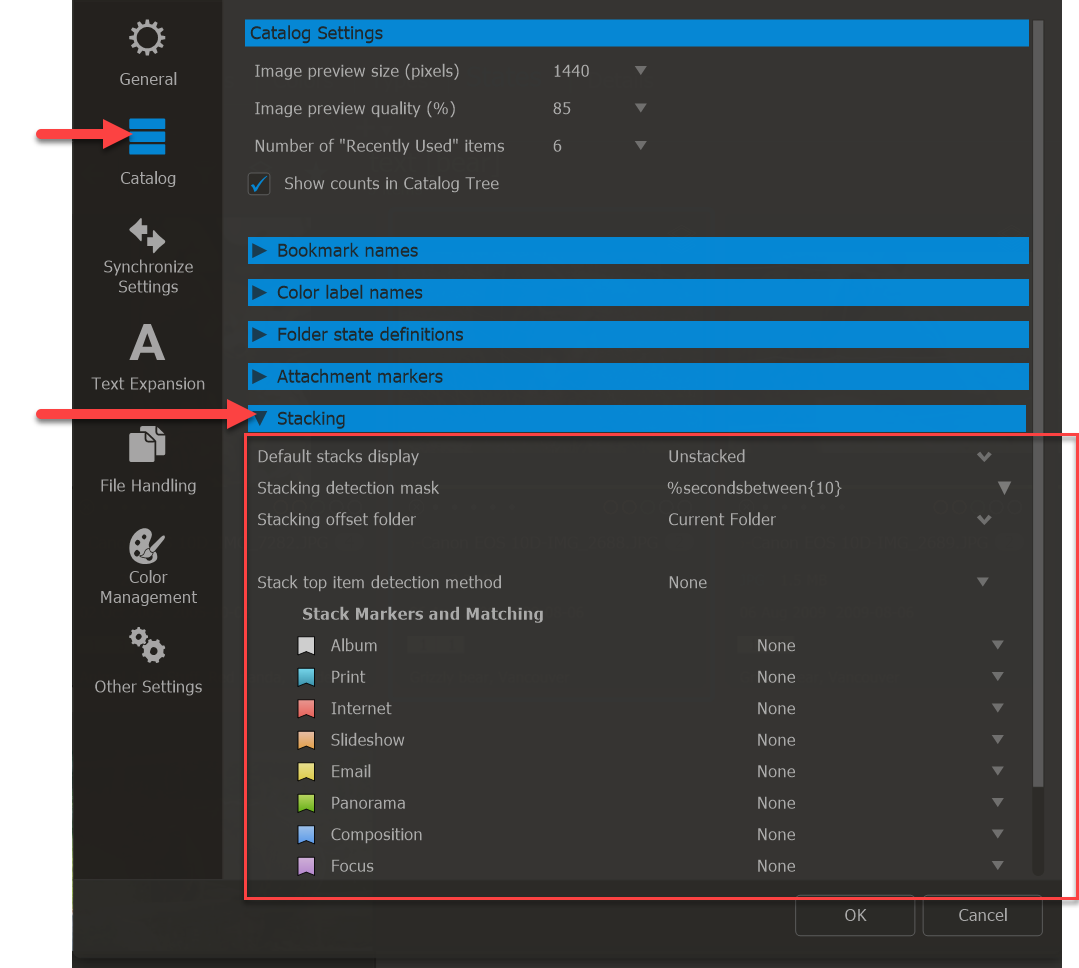
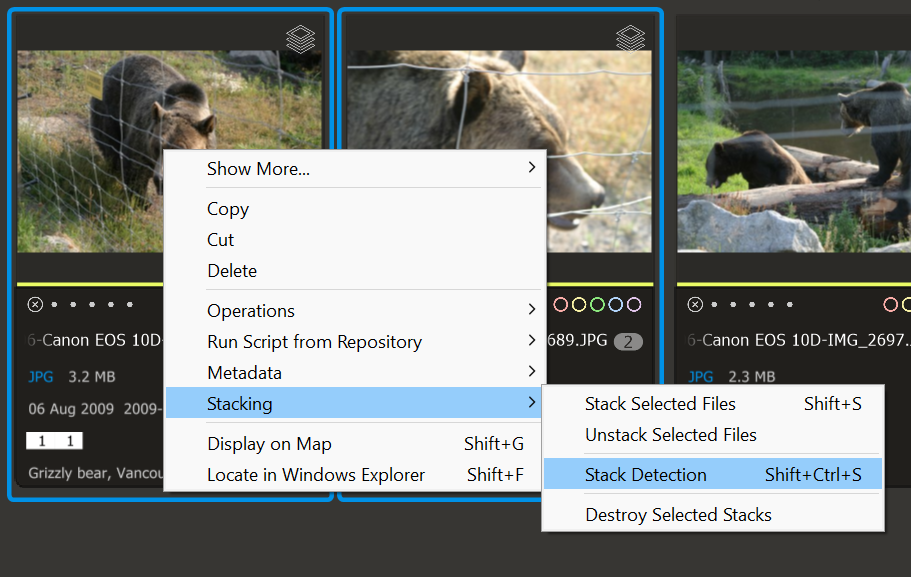
After you've set your stack detection rules, you can initiate the stack detection process for one or more thumbnails by right-clicking on a selected thumbnail and choosing “Stacking → Stack Detection”.
For each selected thumbnail, Photo Supreme will search for matching images that fit the criteria defined by the "Stacking detection mask" within the parameters of the configured "Stacking offset folder" in the Preferences.