Stacking with Photo Supreme
Working with Stacks
Once the stack is created, the thumbnails exhibit certain characteristics.
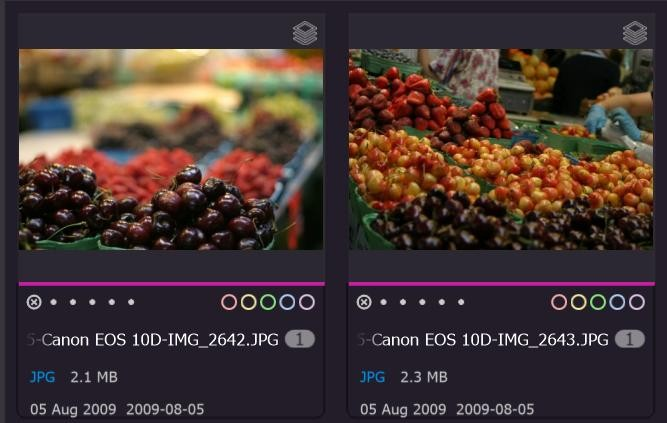
The base color is randomly generated to represent the stack, allowing you to easily identify which thumbnails belong together. In the upper right corner of the stack, you'll find the stack icon. Clicking on this icon opens a menu with options for managing the stack.
In the Collection Viewer, you can choose to display stacks either as individual images or as a single stack. To make this selection, simply toggle the Stack icon in the toolbar of the Viewer.
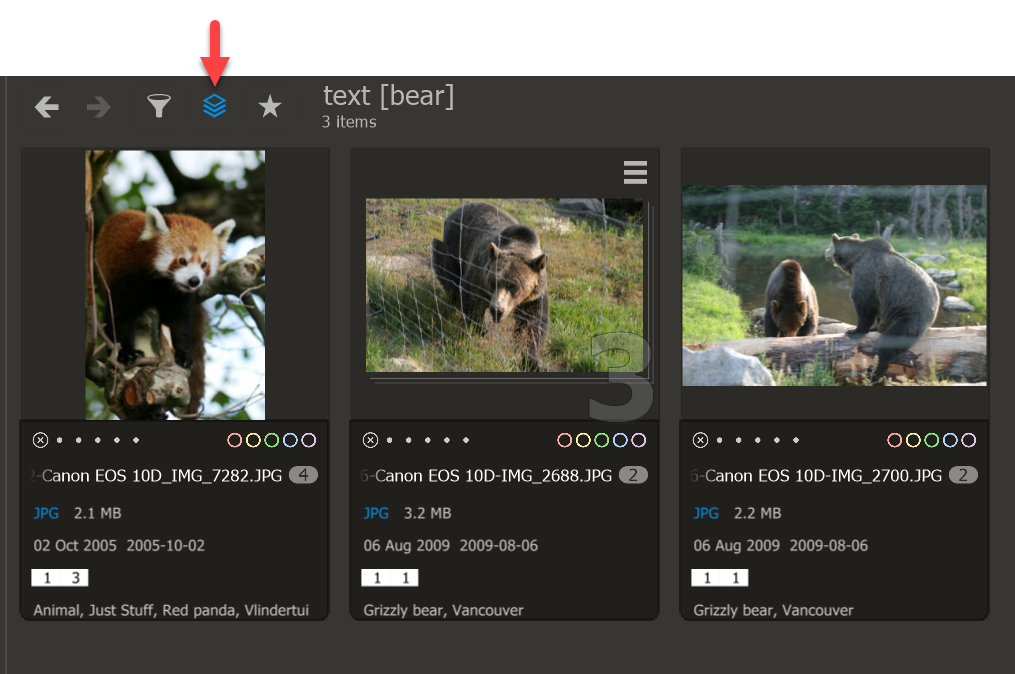
When a stack is displayed as “stacked,” the thumbnail will indicate the total number of images in the stack in the lower right corner (3 in this screenshot). Additionally, the upper right corner features the stack's hamburger menu, which provides access to various options for managing the stack.
Select the stack “top item”
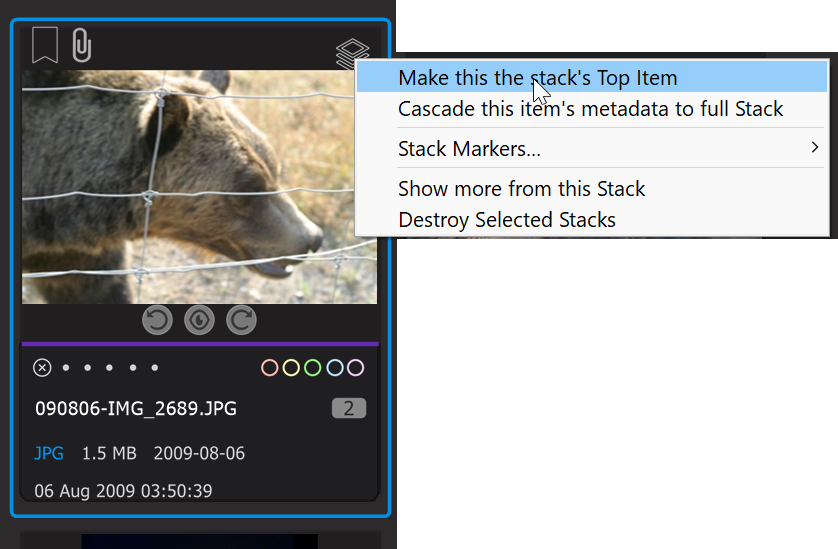
As previously mentioned, you can choose to display stacks as either “stacked” or “unstacked.” When viewing stacks in the “stacked” mode, a single thumbnail represents the entire stack, which by default is the first thumbnail found within that stack. However, you can designate a specific thumbnail as the Top Item to represent the stack more effectively. To set a custom Top Item, click on the stack icon and select “Make this the stack’s Top Item”.
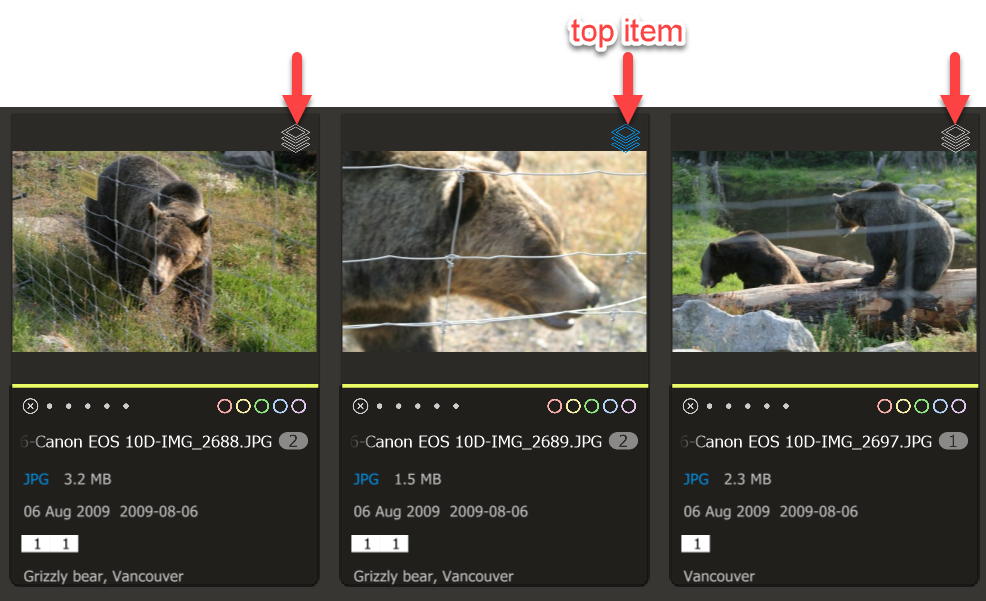
In “unstacked” view you can easily recognize the top item by the highlighted color of the stack icon.
In the Preferences, you can establish a rule to determine a stack's Top Item during the automatic stack detection process.
Working with Stack Markers
The Stack Marker feature provides a way to highlight specific images within a stack for easier identification during your workflow. You can customize stack markers and set detection rules in the Preferences to tailor them to your needs.
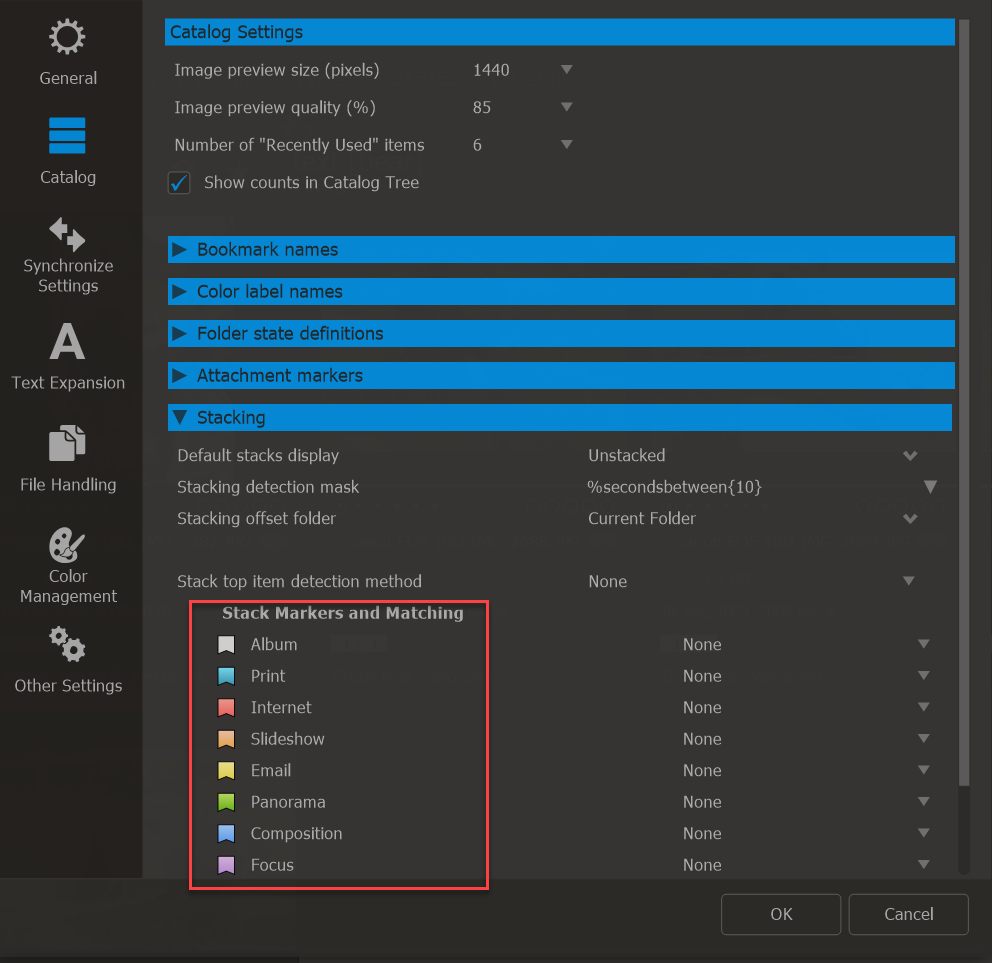
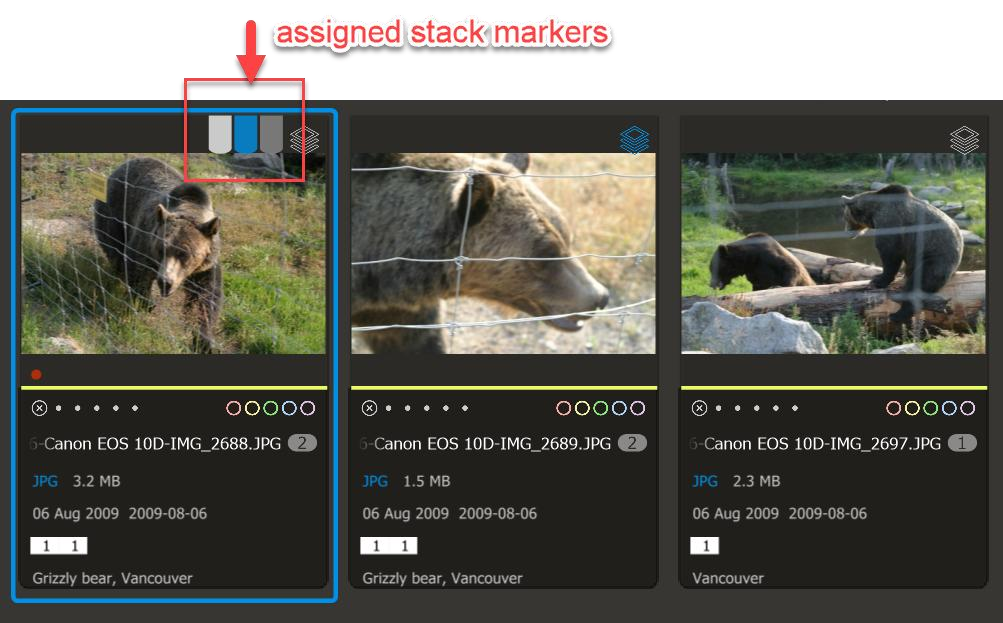
By assigning a specific stack marker to an image within the stack, you can easily identify that particular item and create catalog cross-sections based on this marker. When you set a rule for a stack marker in the Preferences, the markers can be automatically applied during stack detection. If multiple images in the stack meet the marker criteria, each of those images will receive the marker.
You can assign a stack marker to none, one, or multiple images within the stack, including the top item. To manually assign a stack marker, simply click the stack icon to open the menu and select the desired marker from the Stack Markers submenu. The same image can get multiple markers assigned.
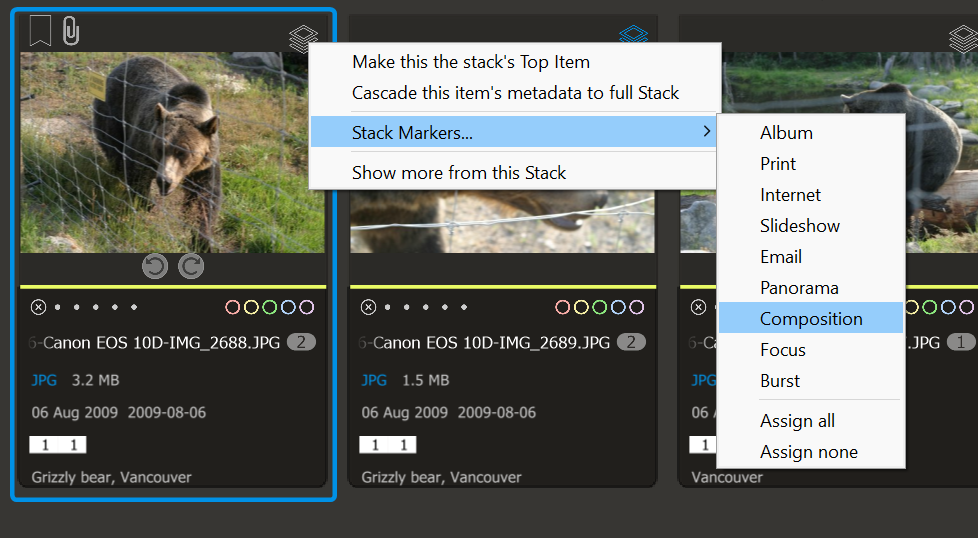
Stack markers are shown on the thumbnail as a series of color indicators. When you hover over a marker, its name will appear.
Cascade metadata to the stack
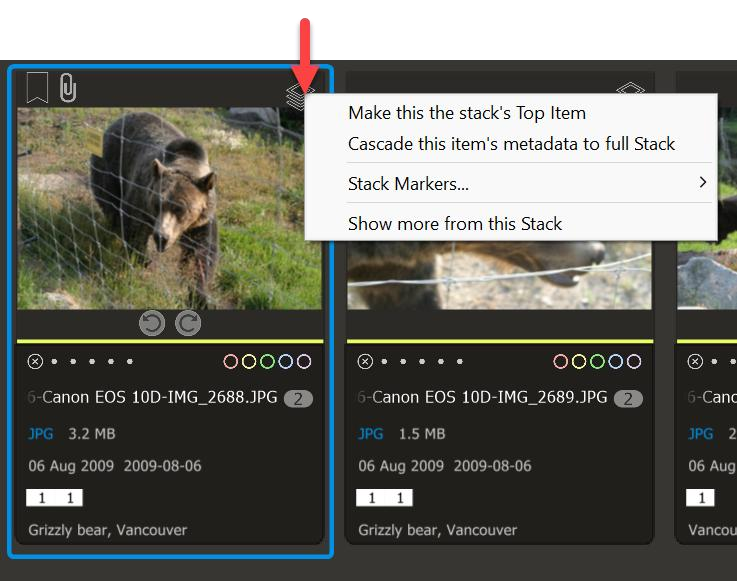
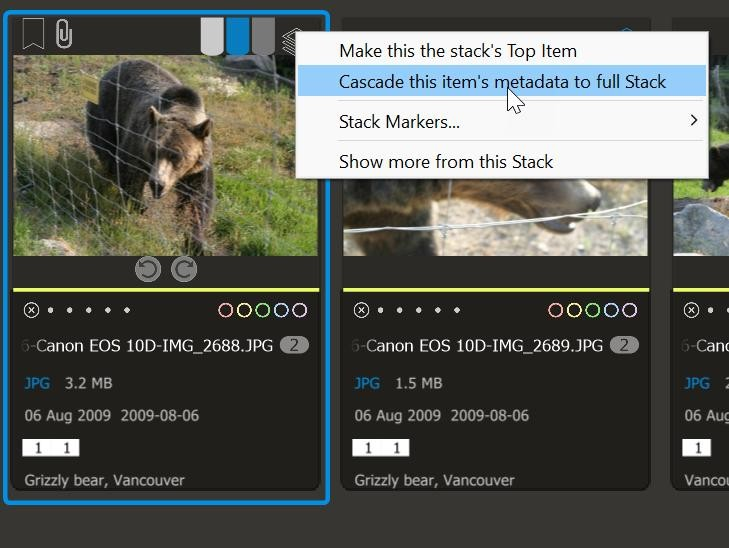
There may be times when you want the entire stack to share the same metadata as one specific image within it. To achieve this, you can use the “Cascade Metadata” feature. First, click on the stack icon of the image from which you want to copy the metadata. Then, select “Cascade this item’s metadata to full Stack.”
This option allows you to (re)distribute the metadata from the chosen item to the other images in the stack. You can specify which metadata should be shared and determine which items in the stack will receive the updates.
You can distribute the following:
- Cascade Image Details: This copies all non-technical and descriptive metadata from the XMP to all images in the stack.
- Cascade Ratings: This transfers the rating of the selected image to all images in the stack.
- Cascade Color Labels: This applies the color label of the selected image to all images in the stack.
- Cascade GEO Coordinates: This shares the GEO details with the other images in the stack.
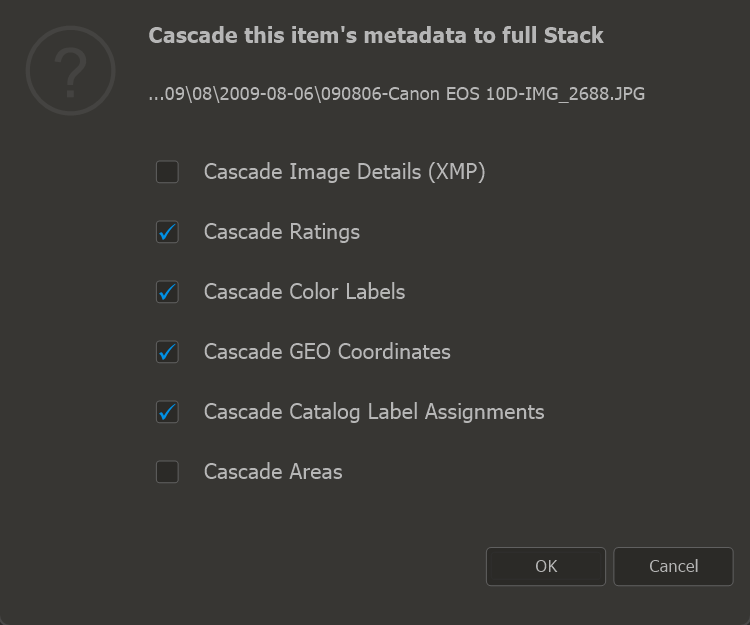
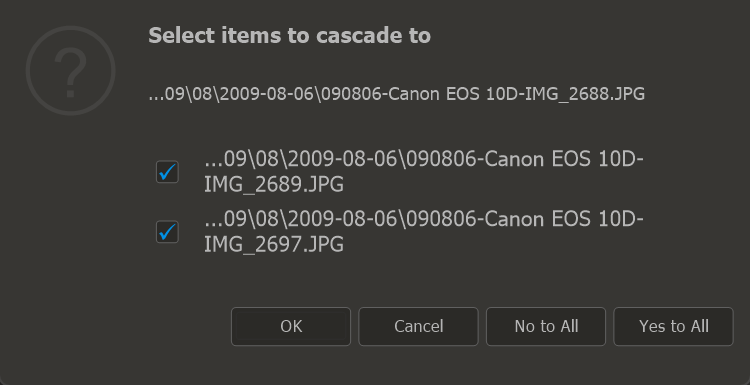
Once you’ve selected the types of metadata you want to distribute, you can then choose which items in the stack will receive the cascaded metadata.