
Photo Supreme Quick Start
Keywording and Catalog Labels
What is keywording and what are Catalog Labels?
Keywording involves enhancing images with descriptive "tags" that identify the image's content. Think of it like attaching Post-It notes to your images. For example, you might add tags for the people in the image (like Simon and John), objects (such as Car and Tree), landmarks (Statue of Liberty), locations (New York), styles (Macro), emotions (Happy), and more. The extent of keywording depends on your needs: the more tags you add, the more effort it requires, but it also makes it easier to accurately identify and find your images. In Photo Supreme, this process is done through Catalog Labels, which serve as “tags” to describe the images.
How do Catalog Labels differ from keywords? Keywords are stored as part of the image's metadata and consist of a flat list of strings. Managing a large list of hundreds or thousands of keywords can be overwhelming. To solve this, Photo Supreme introduces Catalog Labels, which are database tags that can be organized hierarchically and enhanced with additional features. Essentially, Catalog Labels are like advanced keywords. While Catalog Labels are written as keywords by default, they can also be configured to exist solely within the database.
Catalog Labels offer more flexibility than keywords because they can be made "intelligent". For instance, you can configure a label to automatically assign higher-level labels. If you assign the label "Statue of Liberty," the system can also automatically tag it with broader labels like "Statues" and "Artwork." This ensures consistency in your catalog without extra effort.
Catalog Labels can also apply specific metadata when assigned. For example, you can create Catalog Labels for each photographer you work with, and these labels can automatically add that photographer’s contact details to the image’s metadata. If the contact information changes, you only need to update the Catalog Label once, and it will update the metadata for all relevant images.
While organizing images with Catalog Labels in Photo Supreme is useful, you don't want to rely solely on the software for your data. That’s why Photo Supreme allows you to write the catalog information back into the image's metadata. This ensures that the data travels with the file, giving you more flexibility and independence. All Catalog Labels assigned to an image can be embedded in the file itself, maximizing interoperability and ensuring your catalog data remains portable.
Creating Catalog Labels
This document cannot prescribe how you should build your catalog or what the most appropriate catalog labels are for your images. The key to creating a strong Catalog Structure is to design one that fits your specific needs or field of work. The best way to do this is by determining the criteria you’ll use to search for your images.
As mentioned earlier, Catalog Labels can be organized hierarchically. Each label can be broken down into sub-labels, and those sub-labels can have their own sub-labels, creating multiple layers if necessary. However, it’s important to note that such detailed breakdowns aren’t required. The entire system of hierarchical Catalog Labels is referred to as the Catalog Label Structure, or simply the Catalog Structure.
Before setting up your own Catalog Structure, here's a tip: start with a minimal number of Catalog Labels and let your collection grow as needed. Create new labels only when they become necessary. You can always reorganize labels later, moving them into different categories or merging duplicates that represent the same concept.
To build your catalog structure, go to the "Categories" section in the Catalog. You can access it by clicking on it in the Catalog Bar. 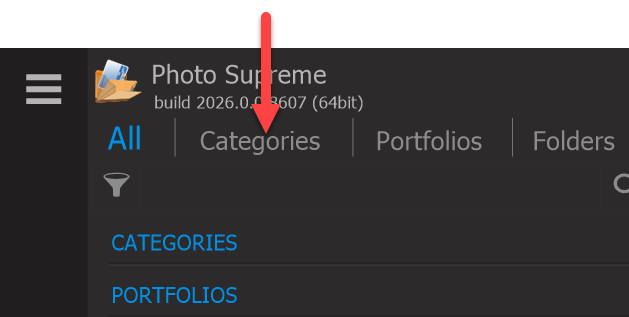
Upon initial installation, the application includes some pre-created Categories and Labels. A Category serves as the top-level container for your catalog labels. You can define as many Categories as you need or rename the existing ones. However, keep in mind that certain Categories have specific functions within the software. If you choose to rename these, be aware that the software will still use them for their original purpose.
For example, the Category "Places" is designed to store geographical information. Renaming it to something like "People" wouldn’t make sense, as the labels within that Category would still be written to the geographical metadata fields of your images.
Categories with special functions include:
People | Catalog Labels in this Category are linked to the "PersonInImage" metadata field and will be exchanged with it. |
|---|---|
Events | Catalog Labels assigned to this Category will be stored in the "event" metadata field. Note that if multiple Event labels are assigned, Photo Supreme will map the highest-level label to the "event" metadata field. |
Places | This Category is used to maintain geographical hierarchies. |
Objects | Catalog Labels in this Category are linked to the " ArtworkOrObject" metadata field and will be exchanged with it. Automatically detected Objects or Landmarks, based by Artificial Intelligence with Google Vision, are places in this category. |
Miscellaneous | During import, pre-existing keywords are read, and a Catalog Label is created for each keyword. If a keyword cannot be linked to an existing top-level Category, such as when there's no hierarchical keyword information, it will be imported as a Catalog Label in the Miscellaneous Category. After the import, you should organize this Category by moving the labels to more appropriate Categories. |
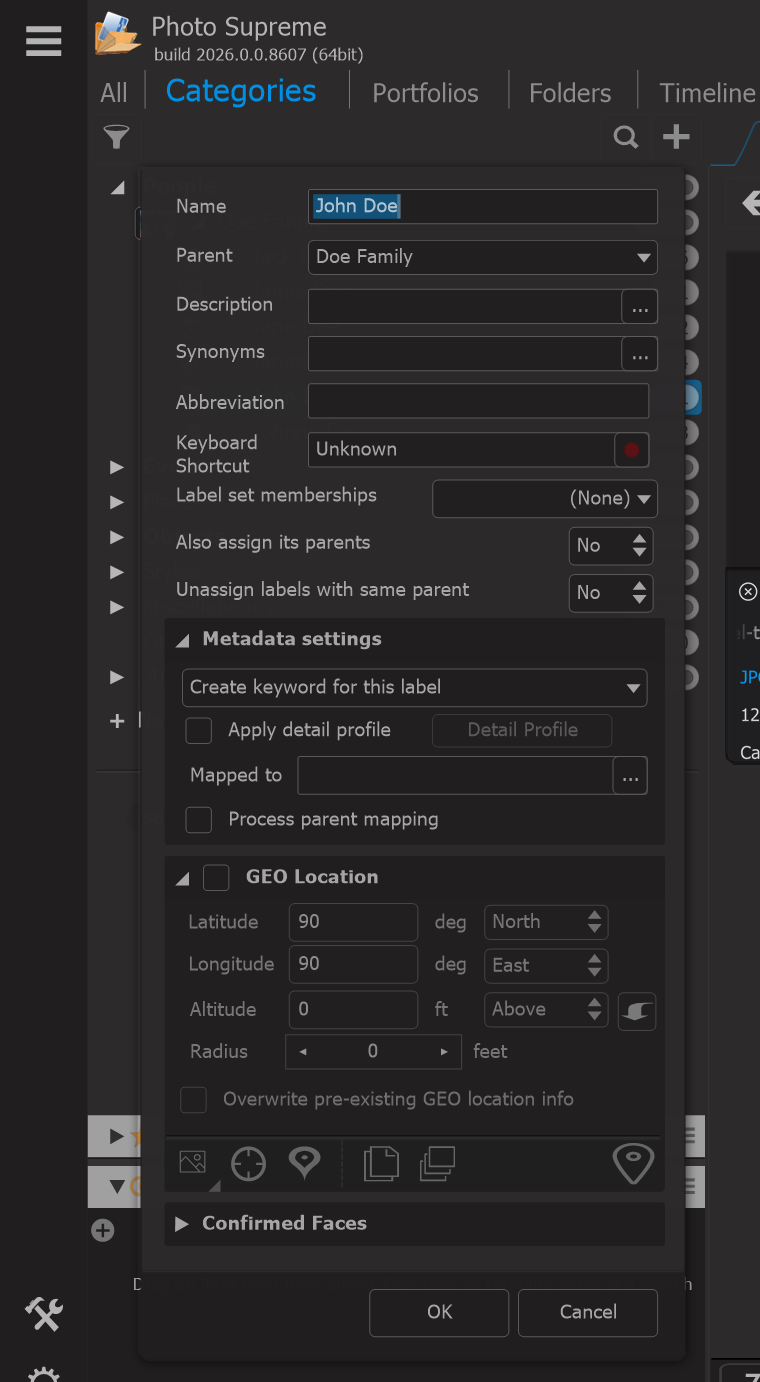
To create your first Catalog Label:
Select the appropriate category (e.g., Events).
Press [Insert] or right-click on the Category and choose "Add Item".
Enter the details (for the majority of Catalog Labels, just a name is sufficient).
Save your new Catalog Label by clicking the "Apply" button.
To create a sub-level under an existing Catalog Label:
Select the label.
Press [Insert] or right-click on the Category and choose "Add Item".
Enter the details (usually, just a name is enough).
Save your new sub-Catalog Label by clicking the "Apply" button.
Once again, begin with a small number of Catalog Labels and allow your structure to expand gradually as needed.
TIP: use the Tips System from the help (?) icon for an explanation about the individual fields
Assigning Catalog Labels
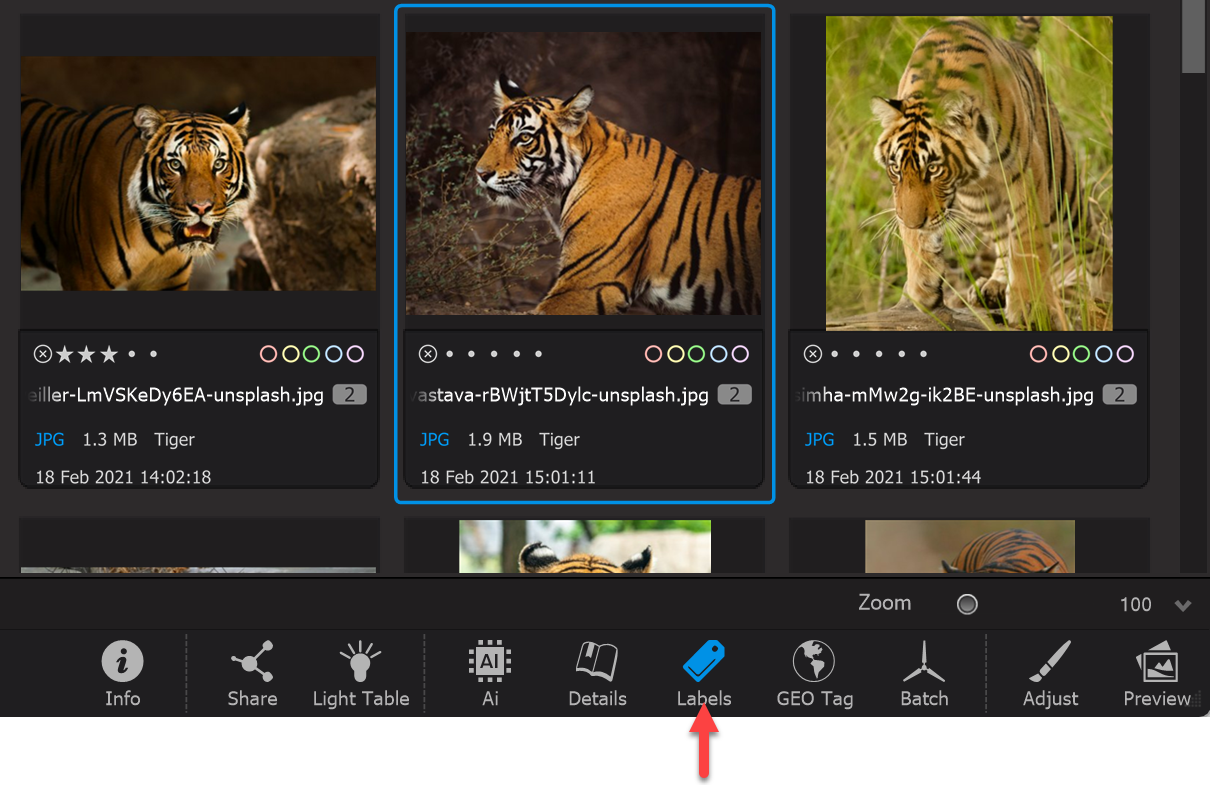
Now that you have established a Catalog Structure, or at least a portion of it, you can begin assigning these Catalog Labels to your images. This is done in the Label Assignment Panel, which can be accessed by clicking the Labels button in the Command Bar located below the thumbnails.
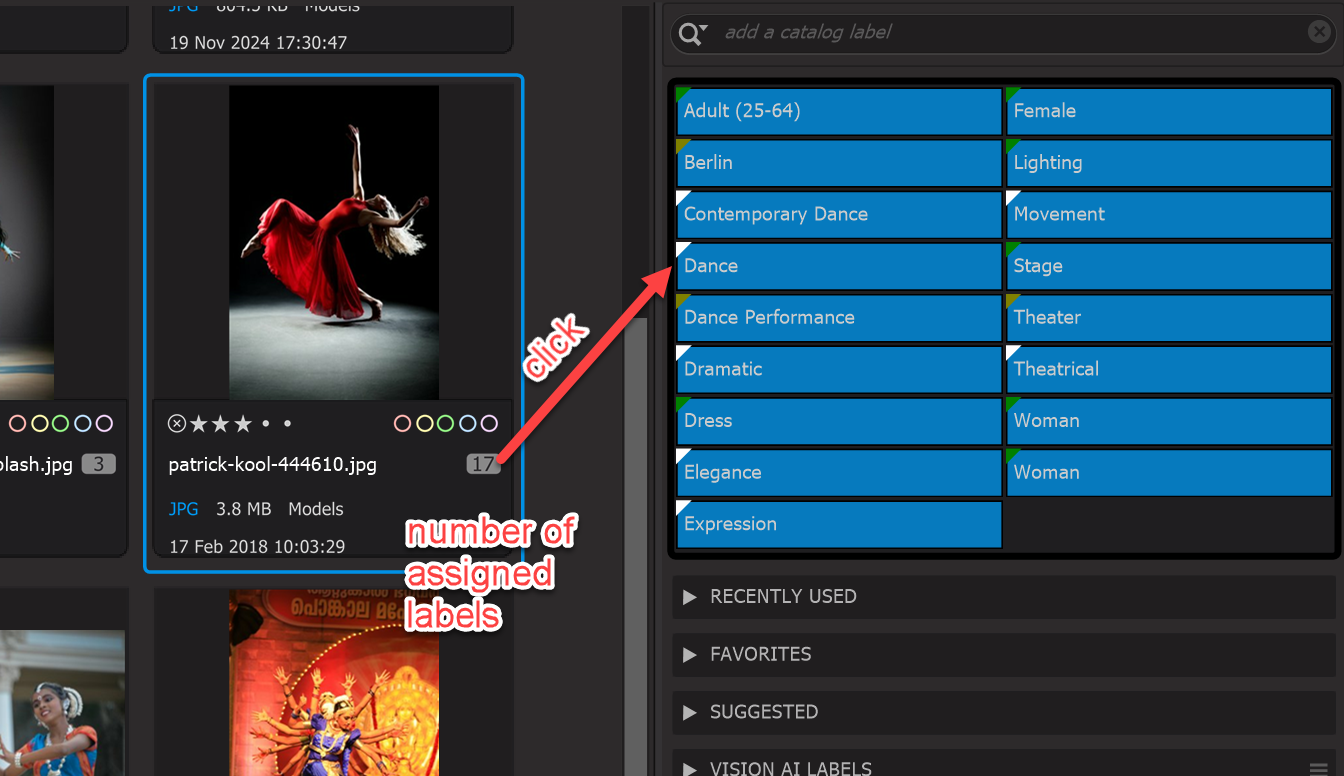
The Label Assignment panel operates based on the current selection, meaning it displays, assigns, and removes Catalog Labels for the thumbnails currently selected in the Collection Viewer. For images that already have assigned Catalog Labels, the labels assigned to all selected images will appear in blue (in Dark Theme). Labels assigned to only some images in the selection will be shown in orange (in Dark Theme). By clicking an orange box, you can assign that label to all selected images, which will then change to blue. Clicking the label again will change it from blue to gray, unassigning it from all images.
The color-coded triangle in the upper left corner of a label in the Label Assignment Panel indicates the category to which the label belongs. You can modify the color for a category by editing its details in the Catalog Tree (right-click -> Edit Category). The background color you set there will be used as the triangle color.
TIP: When you click an orange box, it will turn blue (in Dark Theme). However, by holding down the Ctrl key (or the Cmd key for macOS users), you can instantly change the box to gray, which means it will be unassigned from all selected images.
Assigning a new label is easy: just type the Catalog Label name in the search field of the Label Assignment Panel and select the appropriate label from the drop-down list. If no matching label is found, you can create a new label on the spot.
TIP: You can check your cataloging workload by opening the States section (click on States in the top Catalog Bar). From there, select the "Not Catalog Labeled" state.