
Install Photo Supreme Server with SQL Server 2022
Installing Photo Supreme Server
Now that we have SQL Server up and running, we’re ready to install our application. If you already have a running SQL Server instance, make sure that it is configured correctly. Important configuration items are:
- Mixed authentication mode.
- The Full-Text Filter Daemon Launcher service should be installed, running, and configured to start automatically.
- Your SQL Server installation should accept TCP/IP connections.
For shared or server access, also install Photo Supreme on the server so that it can create the database.
We can now install the software. Download the software from our website and double-click it to start the installation process. The installation process is straightforward; follow the on-screen instructions. At the end of the installation, you can launch Photo Supreme.
When you run Photo Supreme for SQL Server for the first time, it will ask you to set up a new SQL Server database. This is the Catalog database.
Tip: if you already had Photo Supreme installed with an earlier version of SQL Server then hold down the Ctrl+Alt+Win key combination and start PSU while keeping these keys pressed.
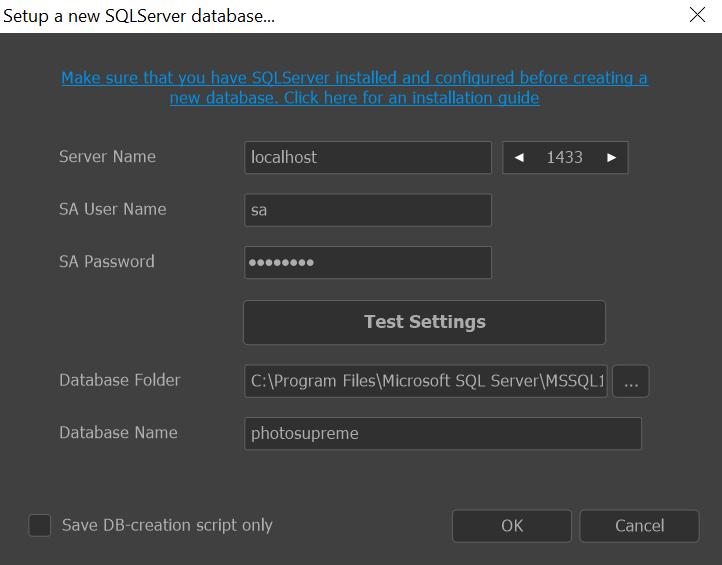
- Enter the SQL Server System Administrator (SA) password. This is the password that you have entered during the installation process. If you do not know the SA password, then ask your database or network administrator.
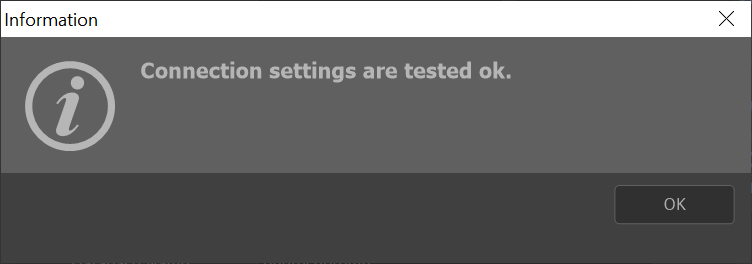
- Click “Test Settings” to verify whether the software can establish a connection with the SQL Server database. If all is well, you should get this message.
- Optionally select the Database Folder. This is the folder where the physical database files will be stored. If you’re not running SQL Server on the local computer, then keep in mind that you should enter a folder that exists and is accessible for the SQL Server Service that runs on the server. Typically, this will be a local folder on the server. Enter the server folder here.
- Optionally name your database. The default is “photosupreme,” and we recommend keeping this name.
- Click OK and let Photo Supreme create your database. Once the database is created, you will get this message:
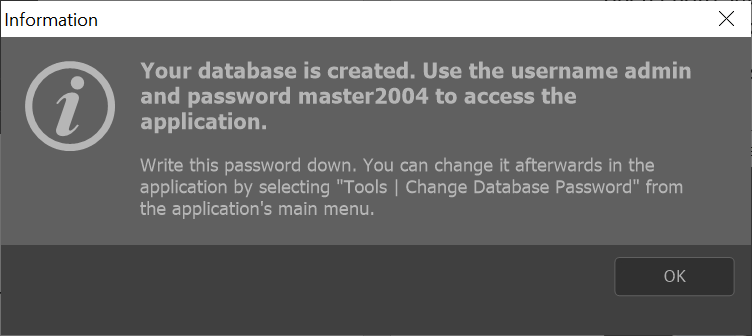
- Keep the admin password in your records. This is the application password needed to open Photo Supreme. This is not the database password, nor the SQL Server user password. Click OK to confirm the message.
- Congratulations! You are now ready to use Photo Supreme. By default, you get the login dialog. The default password is pre-filled. Just click OK to enter.
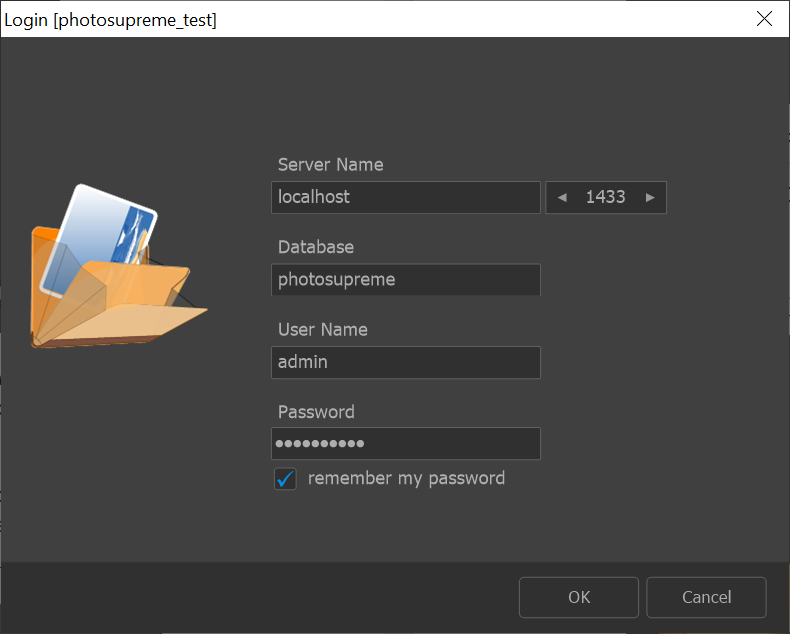
- Congratulations! You are now ready to use Photo Supreme with SQL Server.