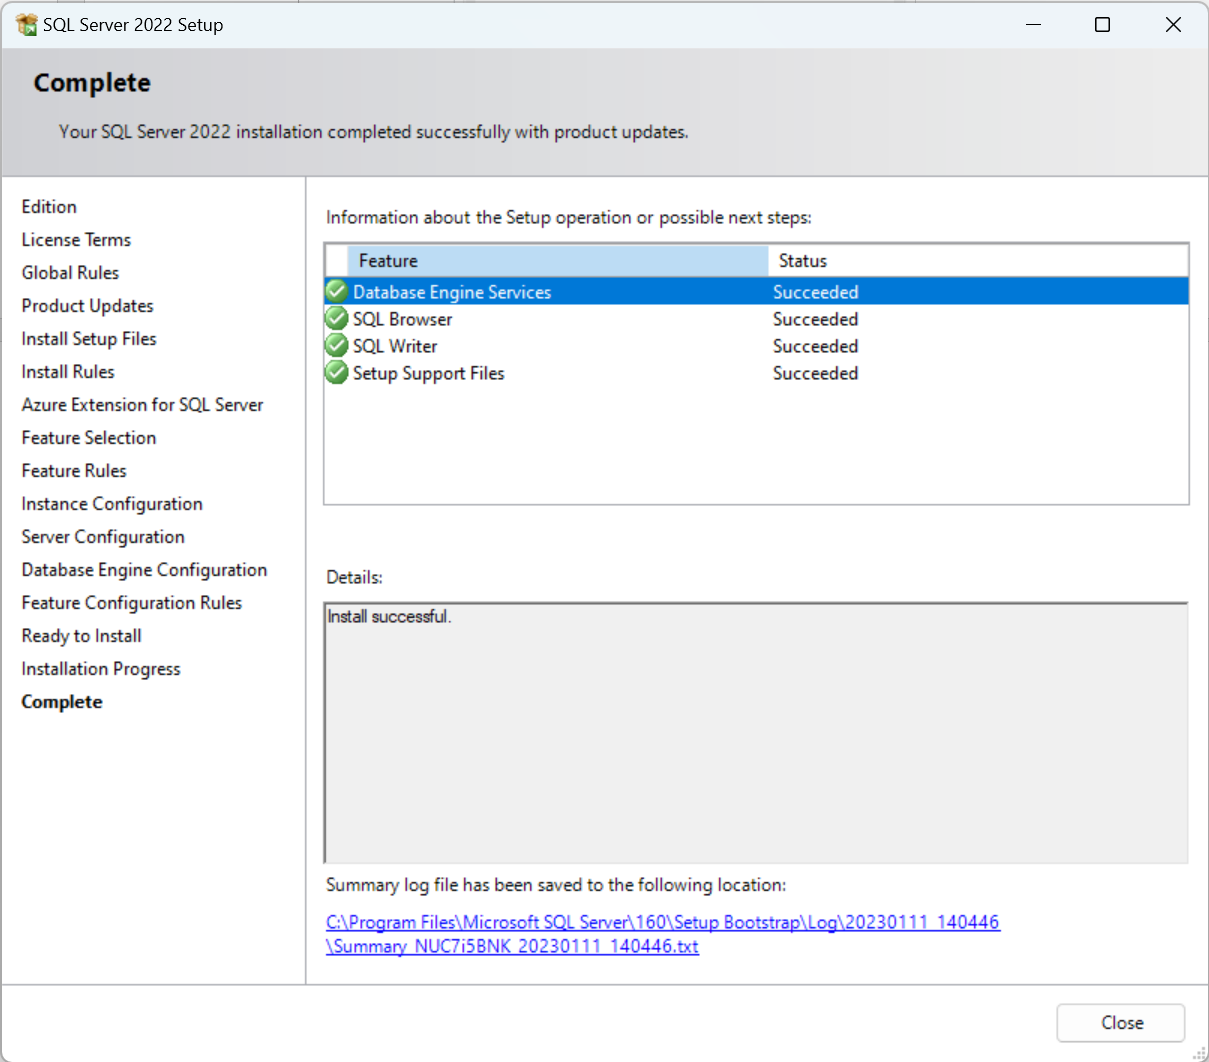
Install Photo Supreme Server with SQL Server 2022
Installing SQL Server
If you are new to SQL Server or performing a new installation, you can use this guide. This document explains how to install SQL Server version 2022 and how to configure the installation for running Photo Supreme. While the document uses the SQL Server Developer edition, you can use these instructions as a guideline to install other SQL Server editions as well. The differences are minor.
When installing any SQL Server edition for use with Photo Supreme, make sure that:
- SQL Server is installed with Mixed Authentication Mode,
- Full-Text Search services are installed,
- TCP/IP access is enabled.
If you are running an existing SQL Server instance, make sure that it meets the requirements above.
If you plan to install SQL Server on a dedicated server, configure its firewall to allow access through the SQL Server TCP/IP port (1433 by default). For a named instance, also allow TCP/IP port 1434 and grant network access to sqlservr.exe.
This document assumes that you downloaded the full version of the SQL Server 2022 software or that you have access to the full SQL Server setup files (as downloaded or on an installation DVD). The free SQL Server Express edition 2019 can be downloaded here:
https://www.microsoft.com/en-US/sql-server/sql-server-downloads
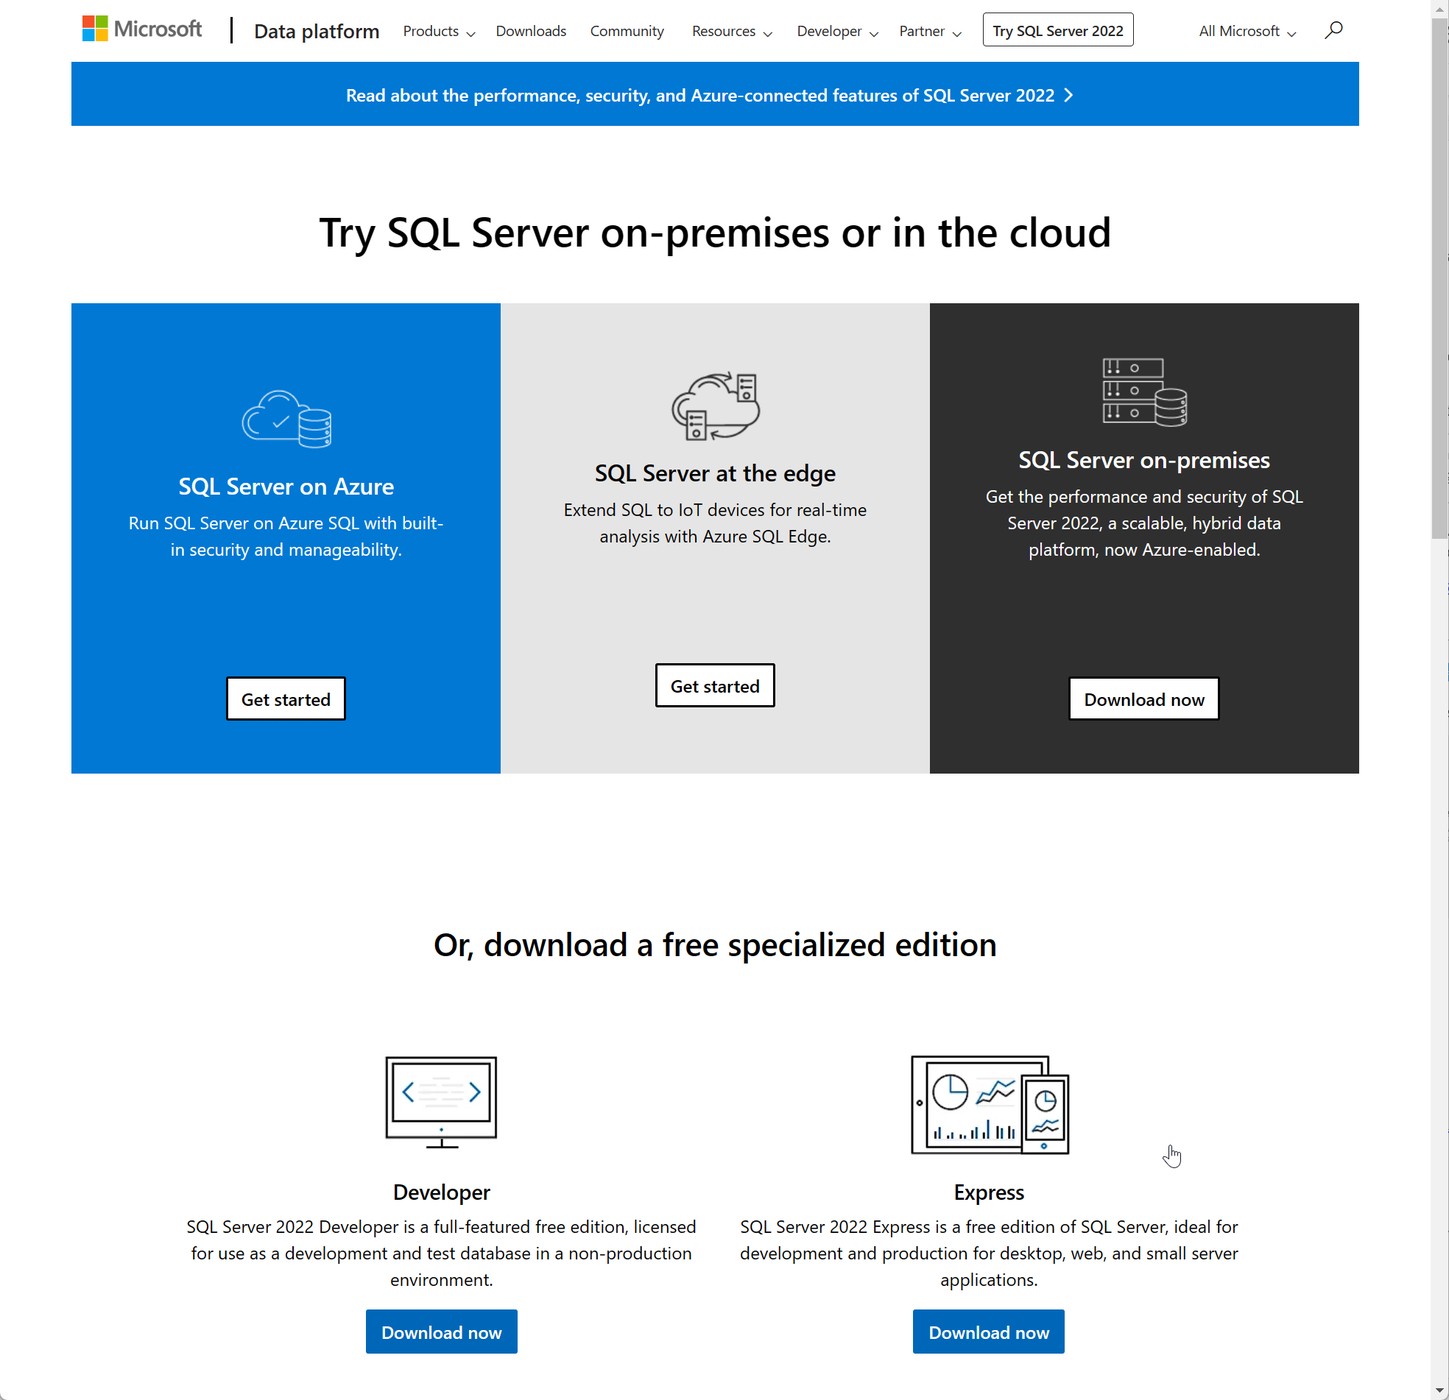
Save the downloaded file to a temporary folder on your hard drive. When the download is complete, run the file. We will go through each step. Please follow the instructions carefully.
For this manual, the database will be installed to my local machine.
- Start the downloaded installation file.
- If Windows prompts you for permission, allow the installer to run.
- Click “Custom.”
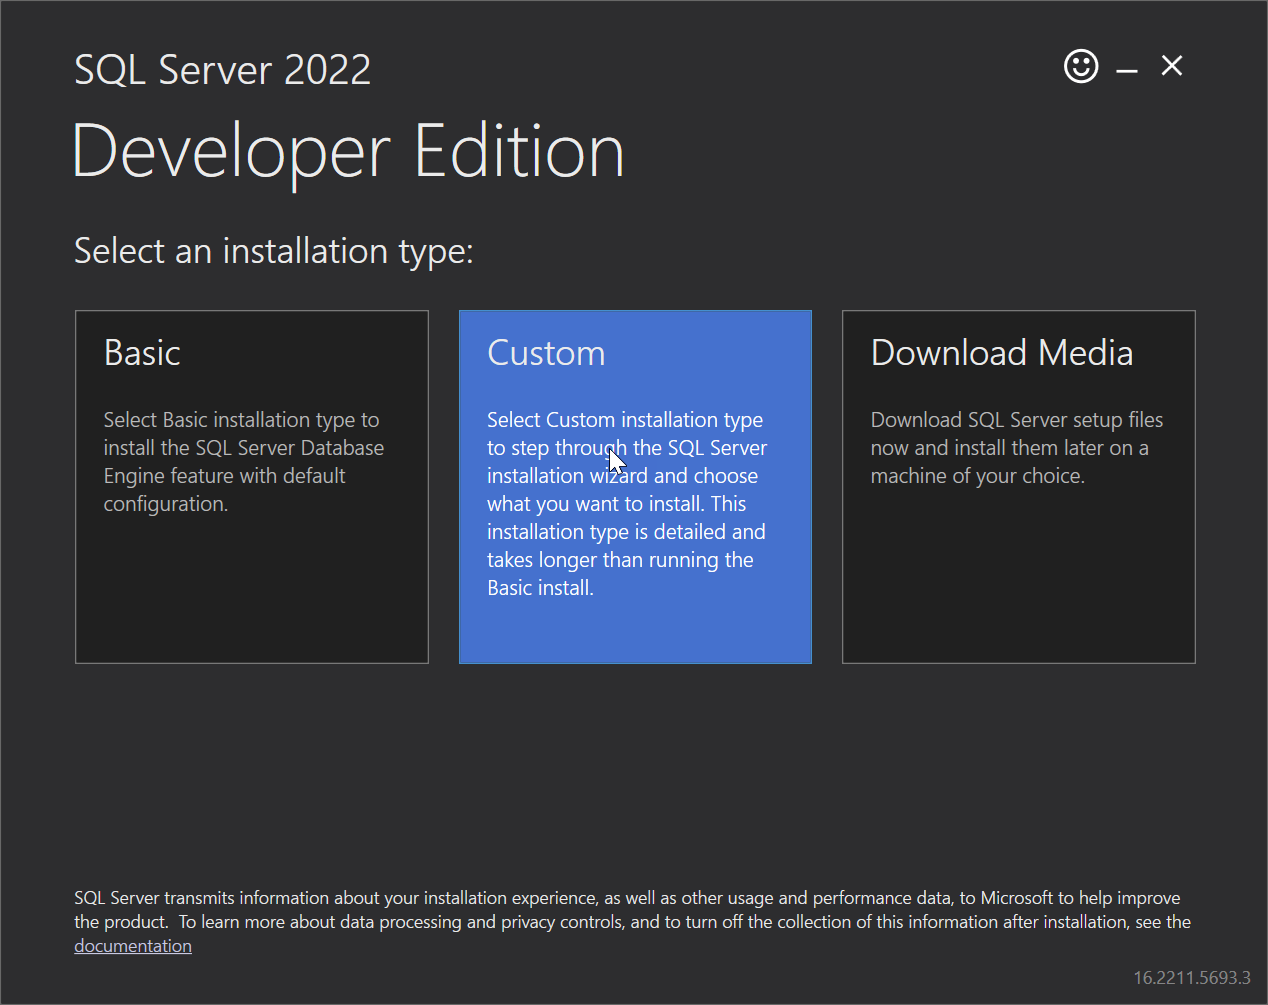
- Specify the download location.
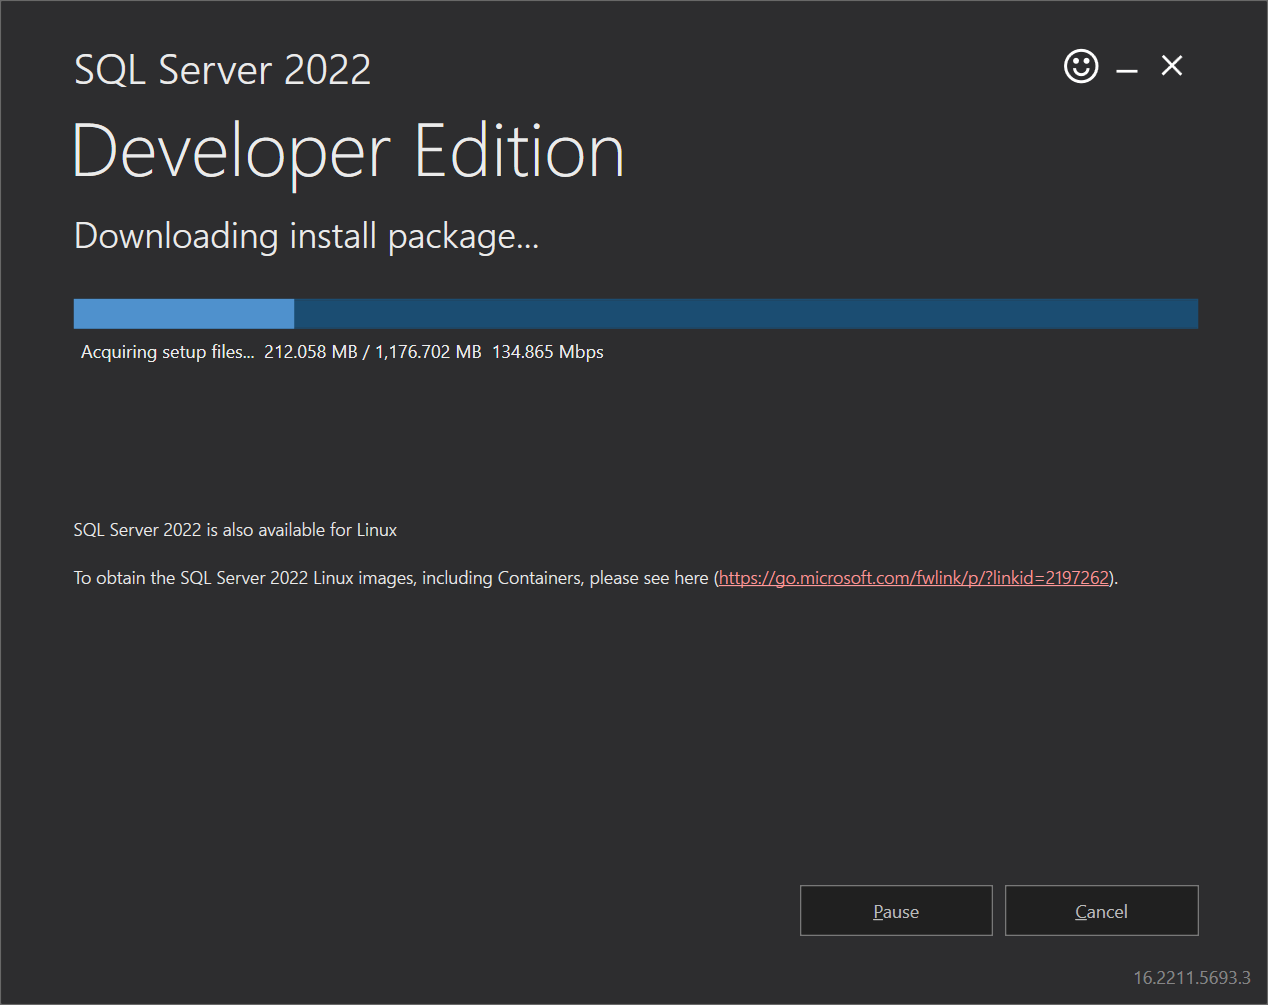
The installer will download the full media files to your hard drive. In this example, the download location is the Windows Downloads folder.
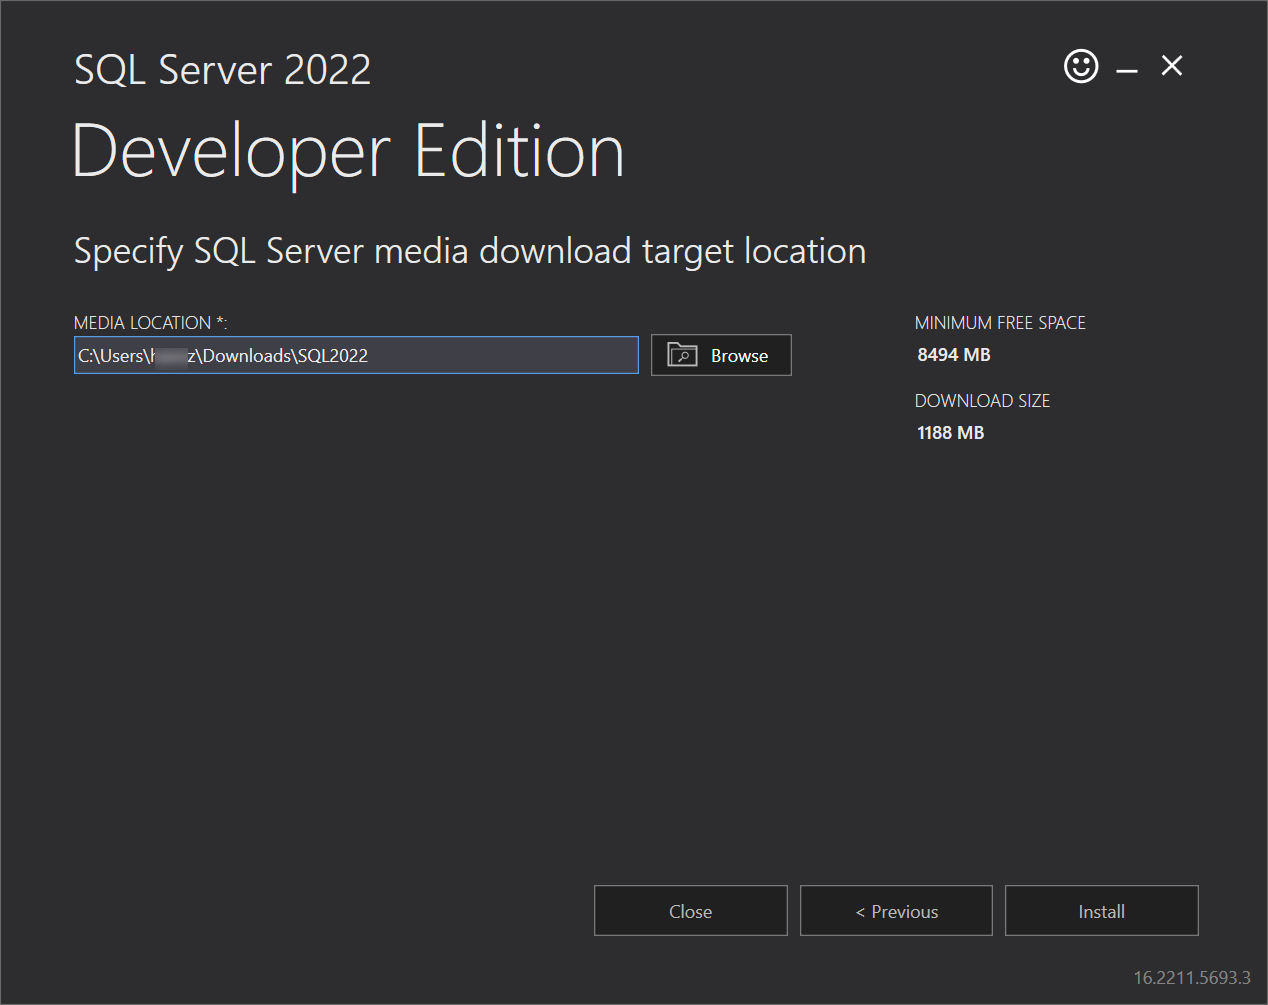
- Click Install and wait for the download to complete.
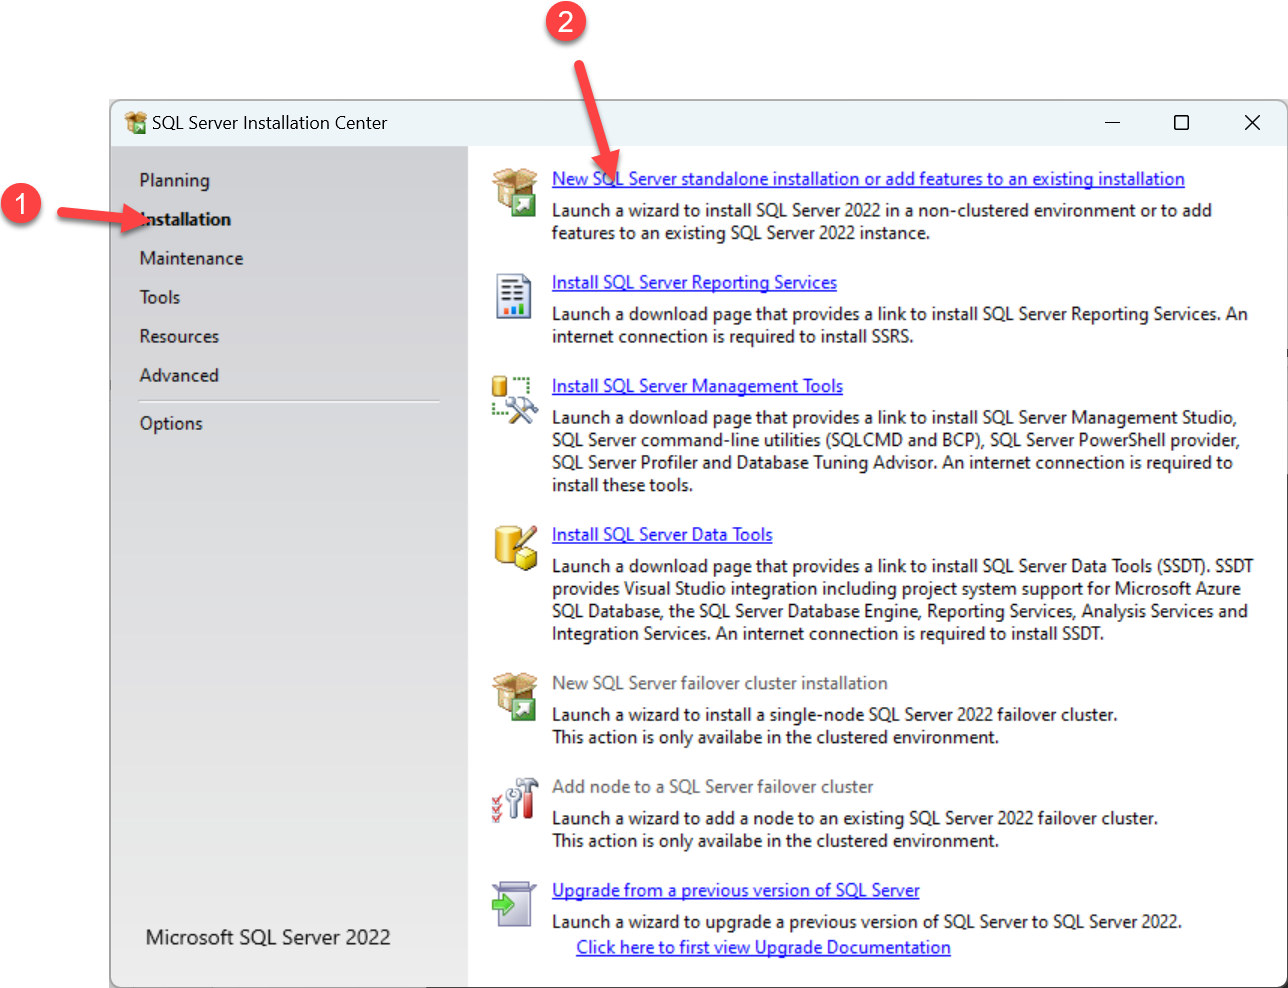
- Click “Installation” and “New SQL Server stand-alone installation or add features to an existing installation”.
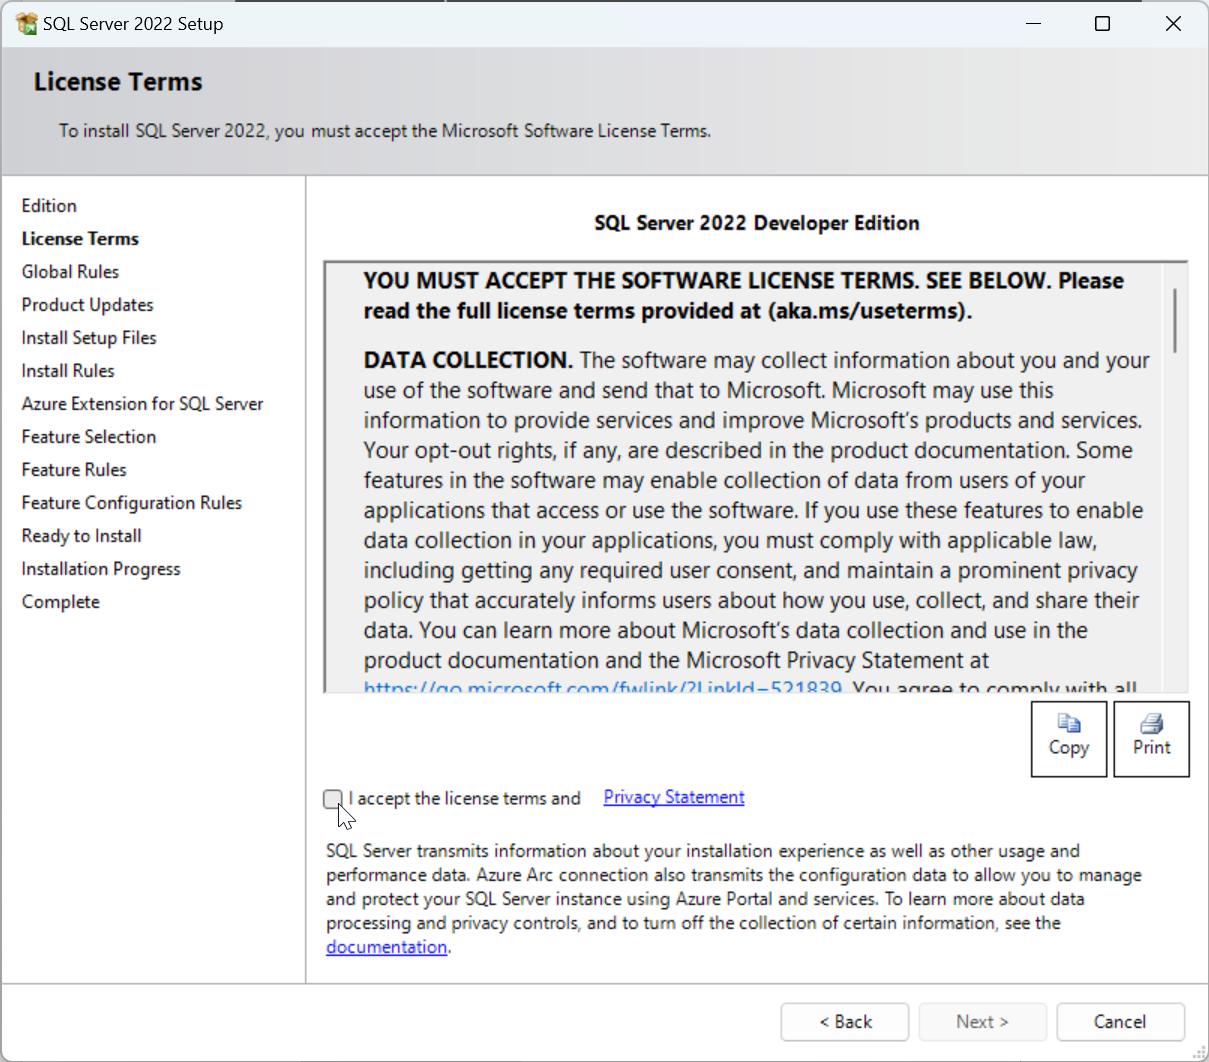
- If you agree, select the checkbox to accept the license terms.
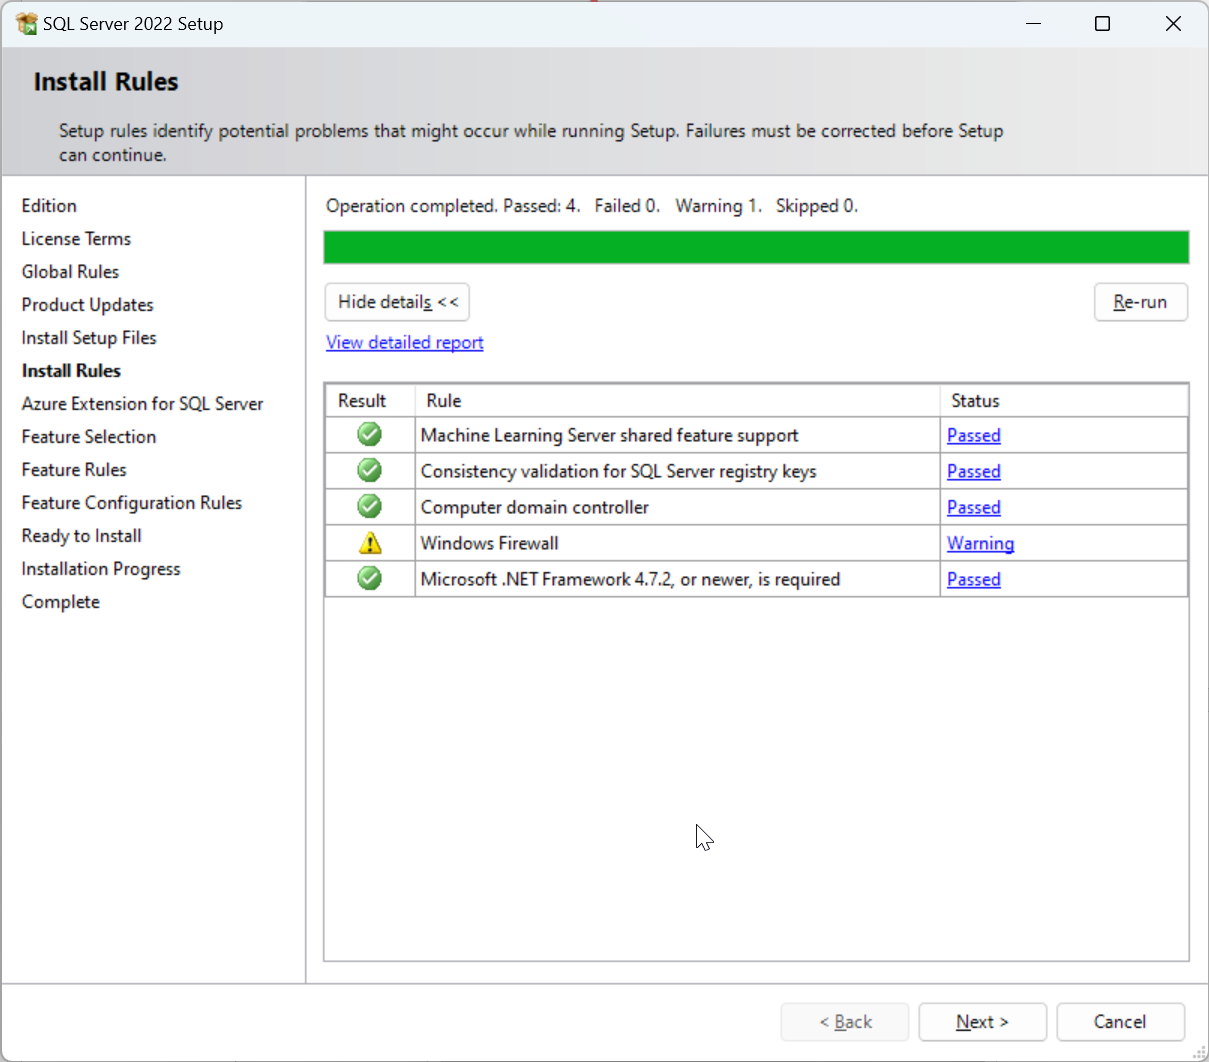
- A requirements check is performed. Make sure that your system meets every requirement. If it does not, the installer identifies what is missing and suggests how to resolve it. Resolve all requirements before continuing.
- In this manual we will not be using the Azure Extension
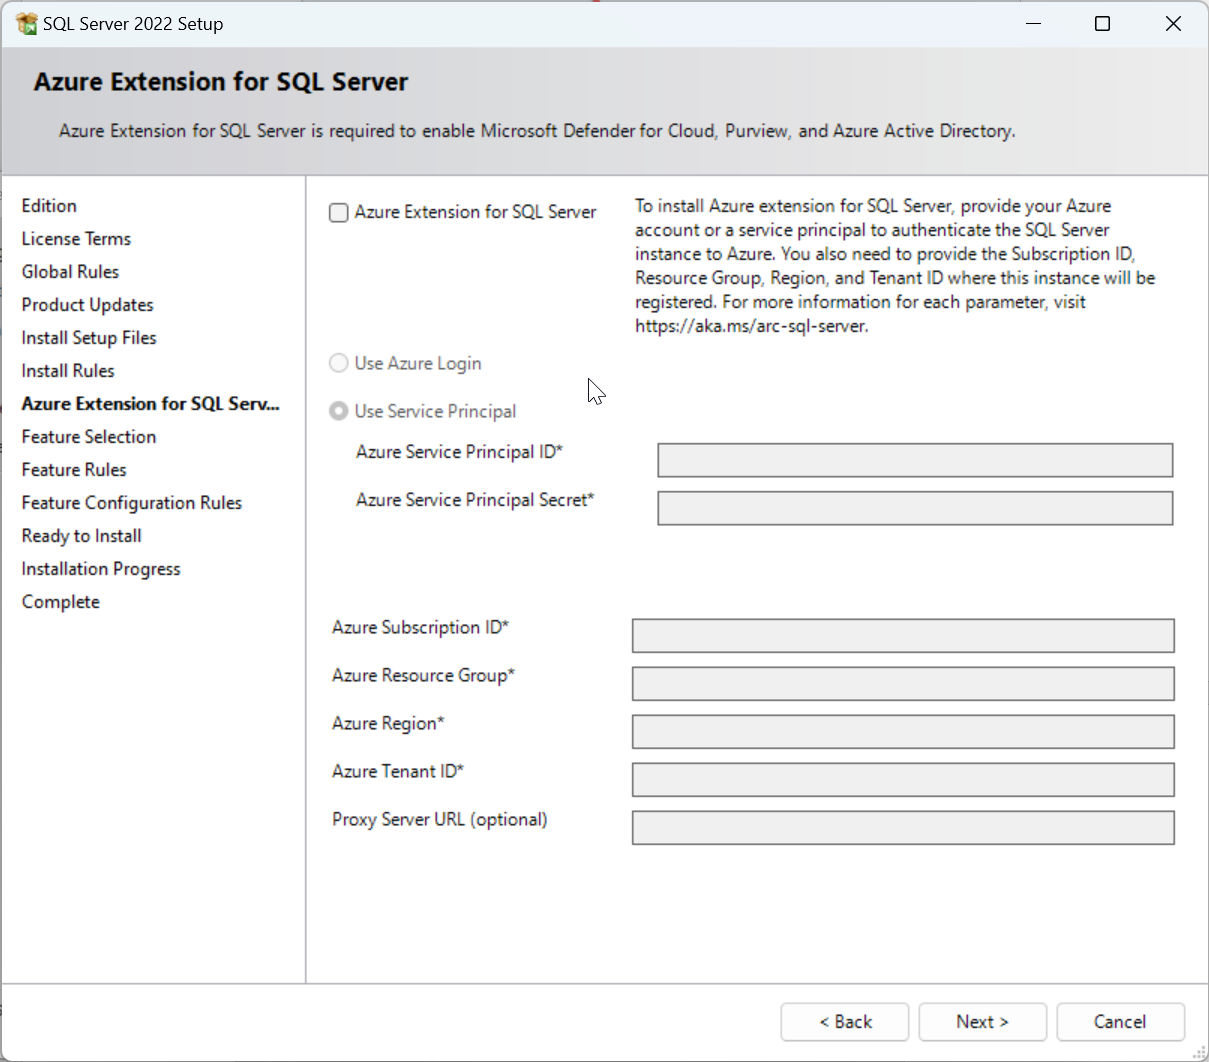
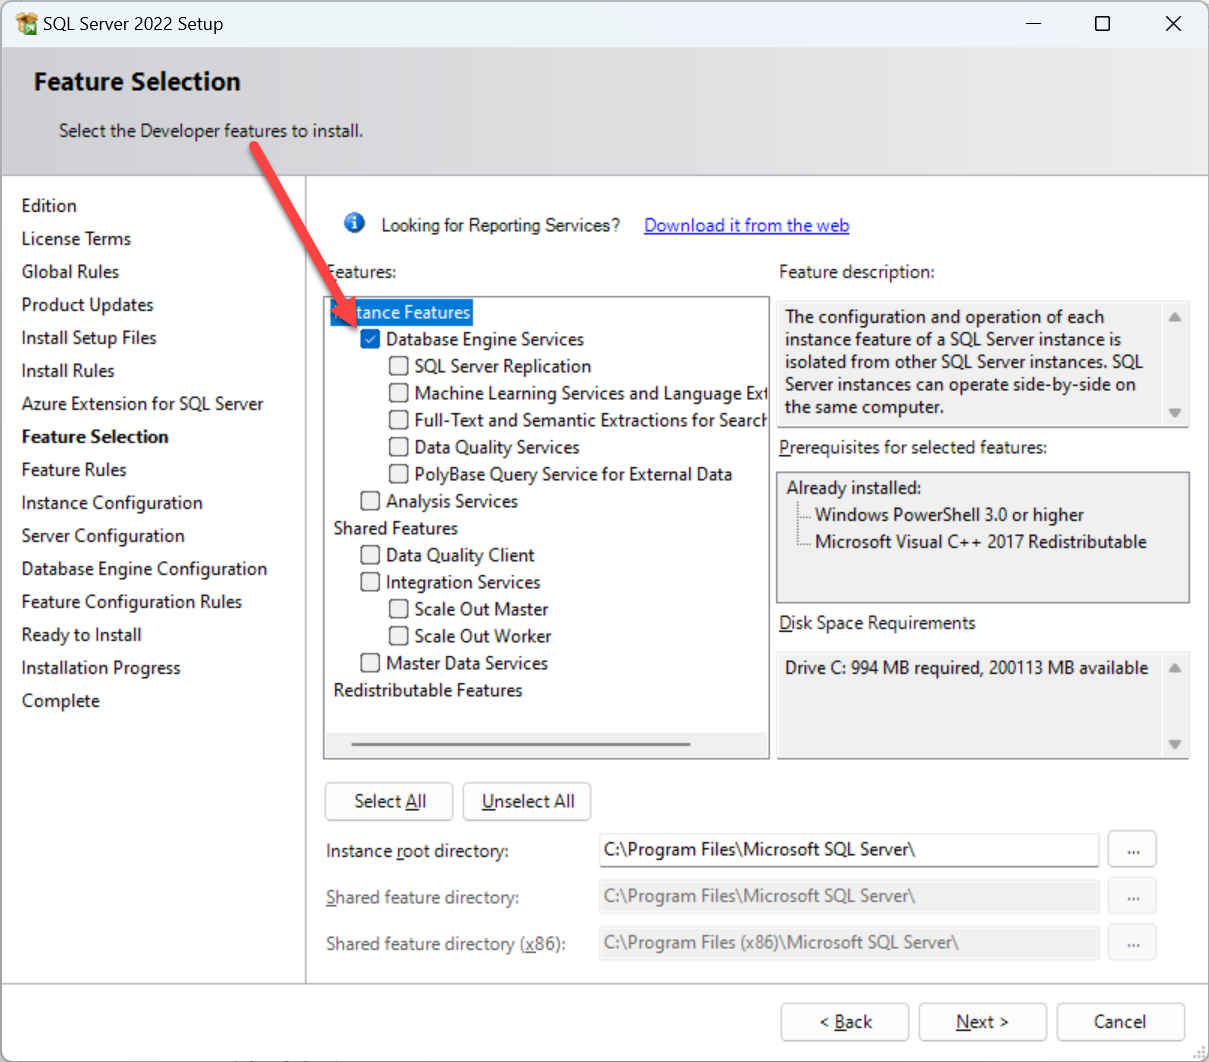
- Select the features to install.
Database Engine Services is required for Photo Supreme.
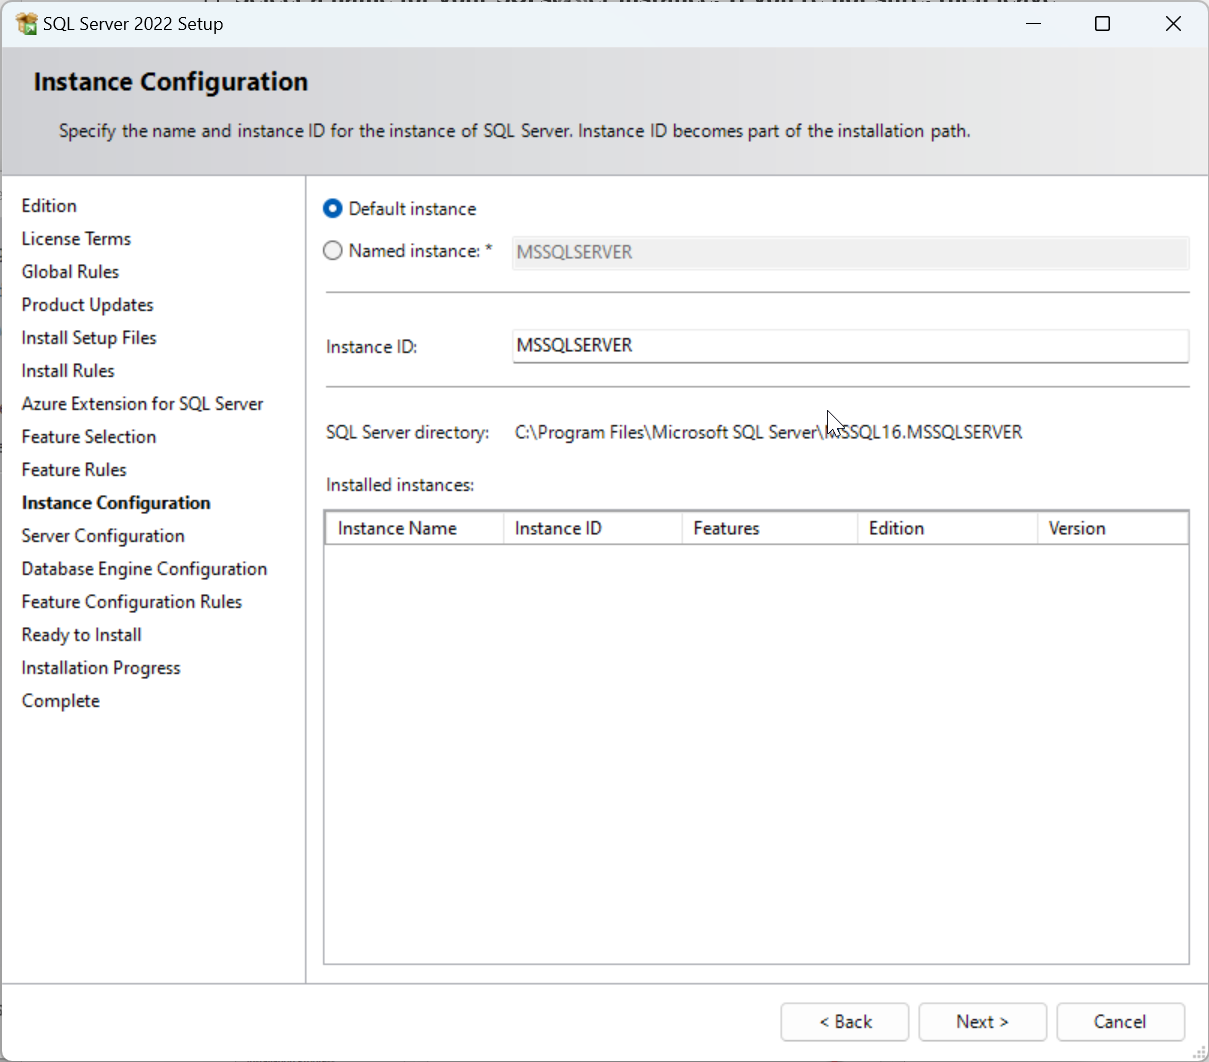
- Select a name for your SQL Server instance. If you’re not sure, then leave these settings as-is.
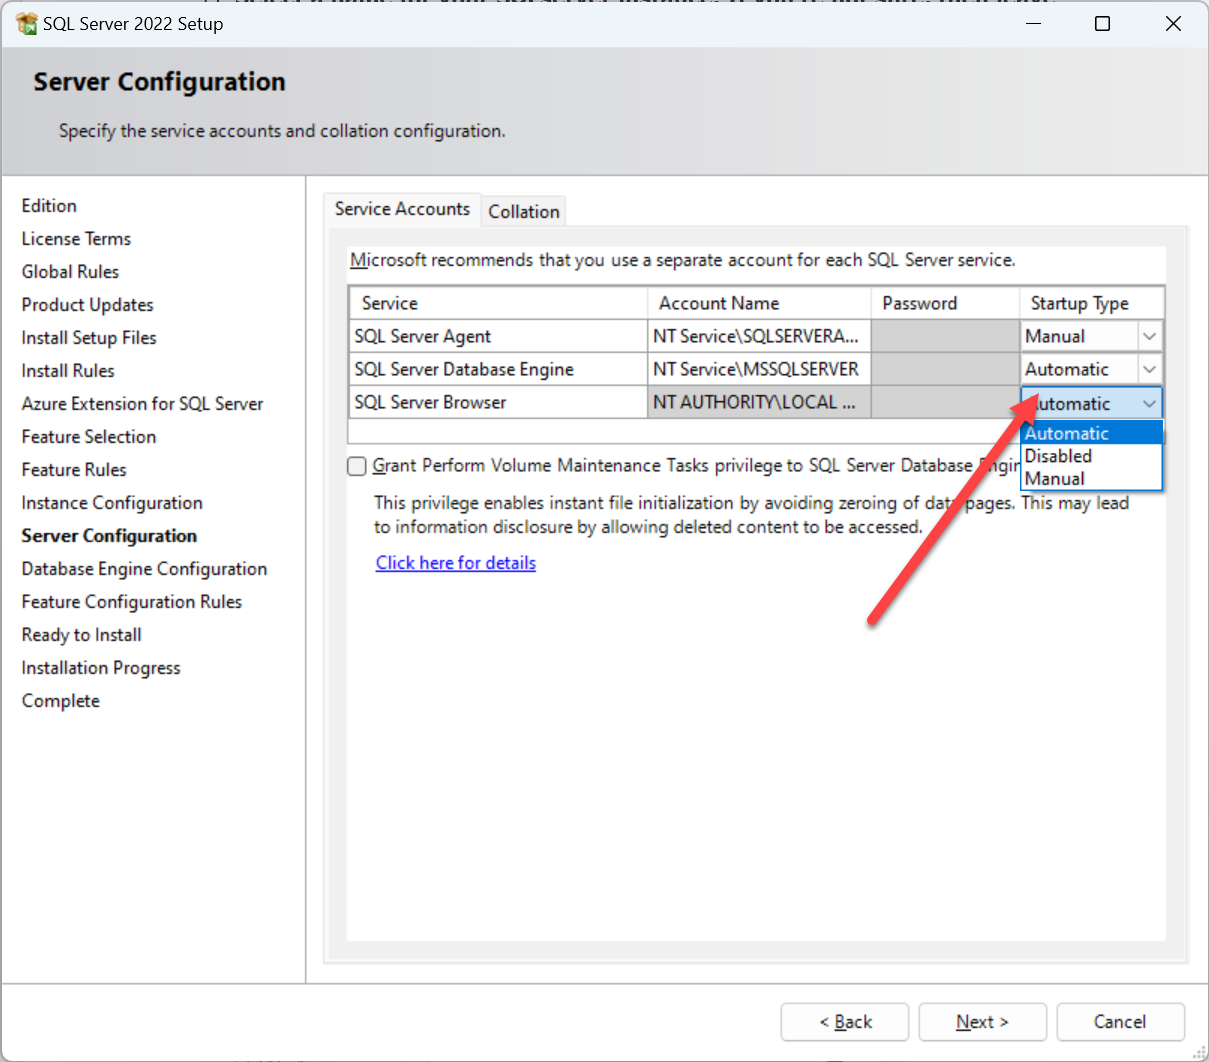
- You are then asked for the server service accounts.
Make sure that you select the Automatic option for the SQL Server Browser service.
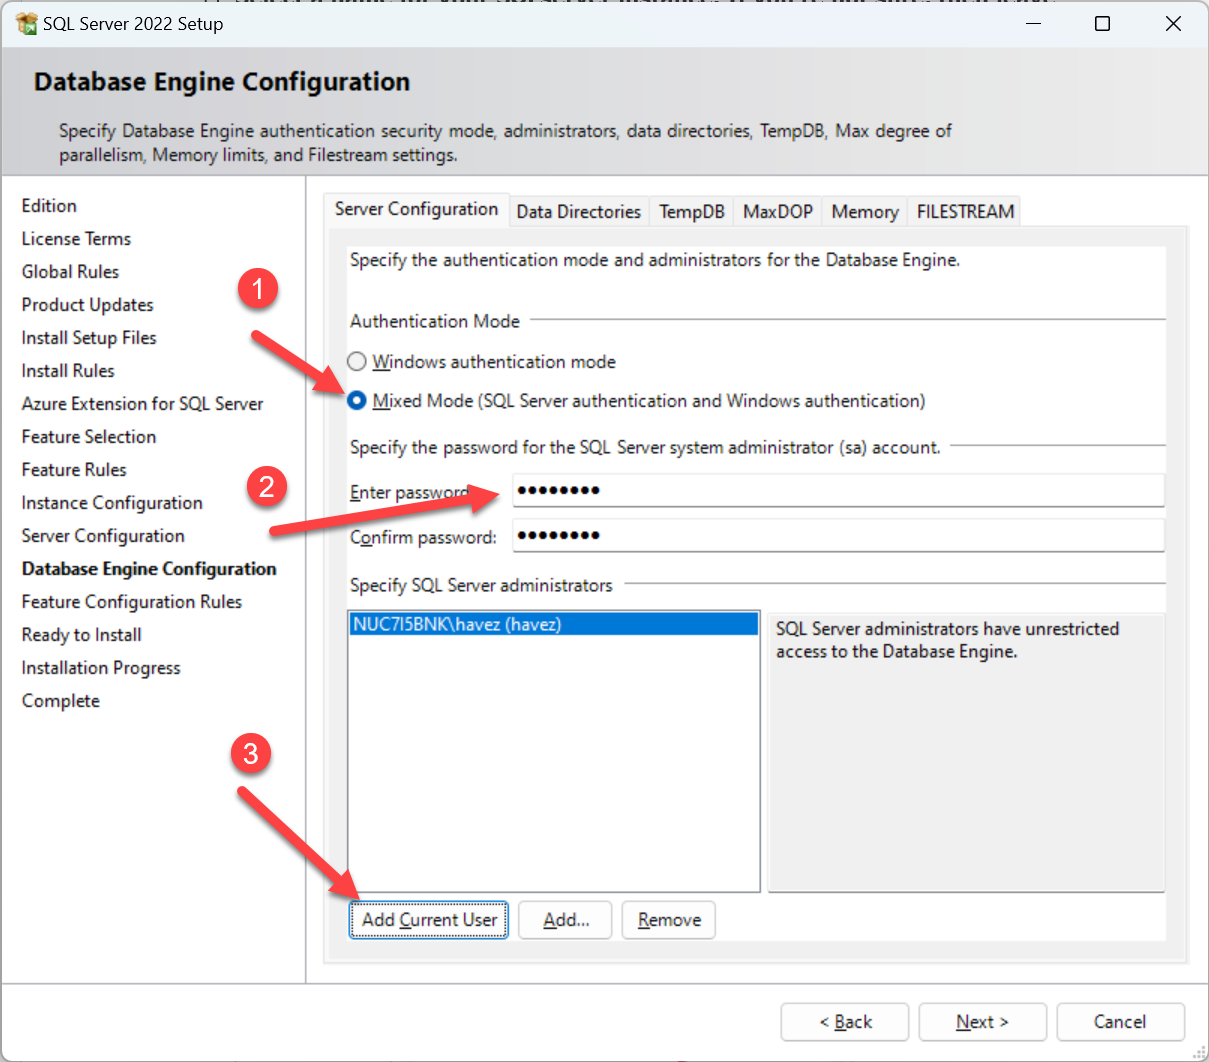
- It is important that you configure the Database Engine to use Mixed Authentication Mode, as highlighted in the screenshot below. When enabled, you must enter a password for the system administrator (sa) account. This is the main password for using the database. Store this password securely for future use. The Photo Supreme installation also needs the SA password to create its database. Then click “Next.”
The software now starts the installation process.
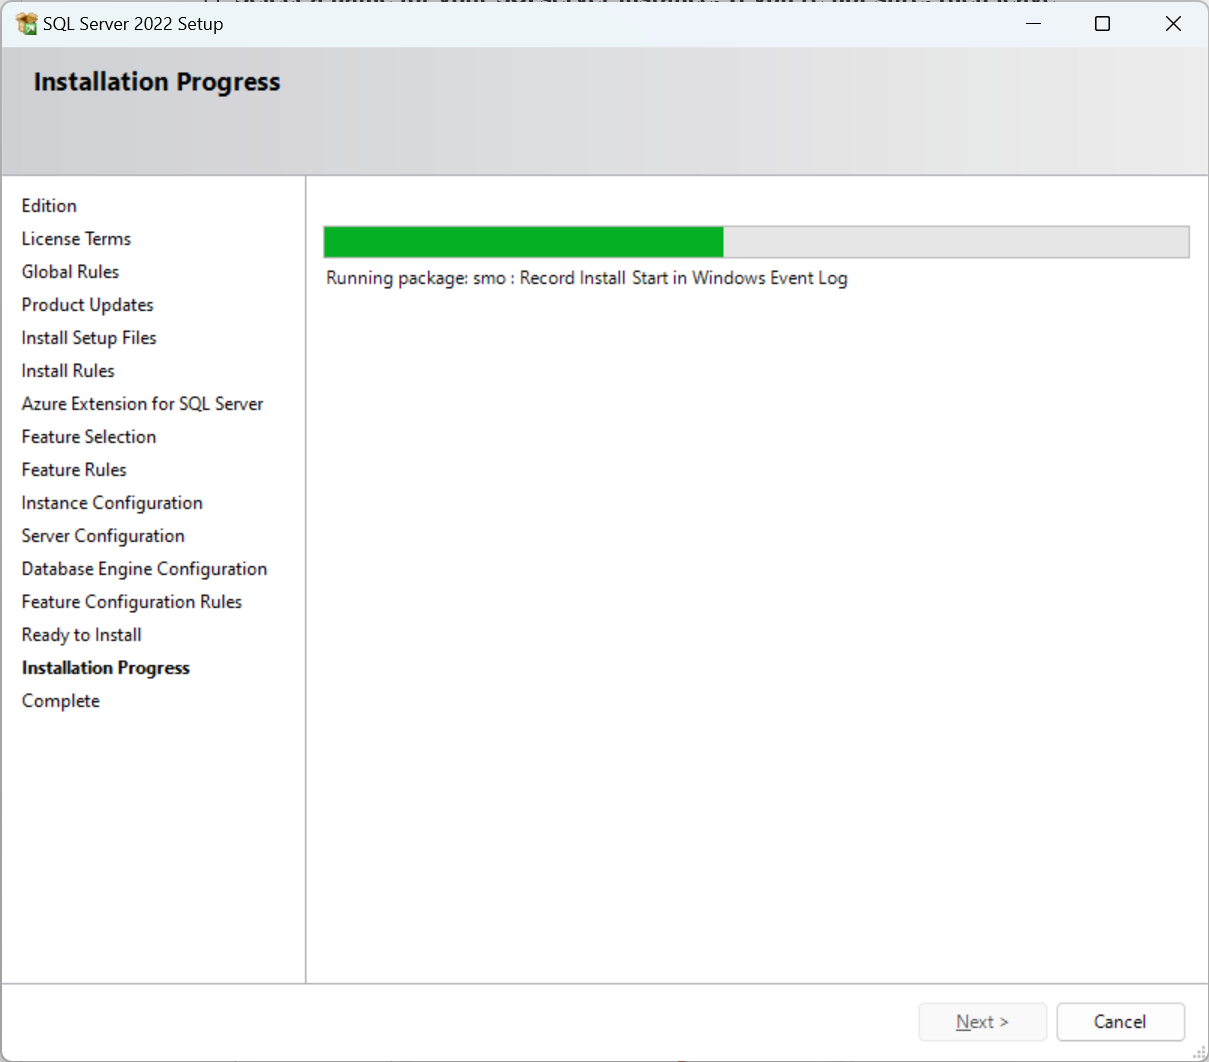
- Wait for the installation to complete and click Close.