
Cataloging with Photo Supreme
Working with Metadata
Metadata refers to data that describes the characteristics or properties of a document, distinguishing it from the main content. For instance, in a word processing document, the content comprises the actual text and formatting information, while the metadata may include attributes like the author, modification date, or copyright status. There can be some overlap where certain information might be classified as both content and metadata. However, metadata is generally valuable on its own, independent of the content. For example, a list of all fonts used in a document is considered useful metadata, whereas information about the specific font used in a particular paragraph would typically be viewed as content.
Metadata enhances the effectiveness of uses and applications when working with documents and files, significantly increasing the utility of managed assets in collaborative production workflows. For instance, an image file might contain metadata such as its working headline, description, thumbnail image, and intellectual property rights information. Accessing this metadata facilitates tasks such as linking images to file names, finding image captions, or verifying copyright clearance for using an image. Importantly, applications can perform various functions with metadata in files, even if they cannot interpret the native file format of the document itself.
File systems usually provide basic metadata, such as file modification dates and sizes. Other metadata can be supplied by different applications or uses, and it may or may not be stored alongside the associated file.
What is XMP?
For multiple applications to work effectively with metadata, a common standard that they all understand is essential. The eXtensible Metadata Platform (XMP) serves this purpose by providing a standardized framework for defining, creating, and processing metadata. Developed by Adobe, the creator of Photoshop™, XMP ensures consistency across various applications.
With Photo Supreme, you gain access to:
- A predefined set of the most commonly used XMP schemas.
- The ability to use XMP embedded within your files.
- A user interface for accessing XMP data.
- Options to extend existing XMP.
- Validity checks on metadata properties.
Metadata for image files
Certain image formats support the embedded storage of metadata, meaning the metadata is stored within the image file itself. This ensures that the information travels with the image file. Formats that allow embedded metadata include JPG, PSD, PNG, WEBP, TIFF, HEIC, and DNG.
Conversely, some formats, such as BMP, GIF, ICO, and proprietary RAW file formats, do not support embedded metadata. For these formats, a "sidecar" file is created to hold the metadata. This sidecar file shares the same base name as the original file but has a different extension:.xmp. For example, if you have a BMP file named “sample.bmp”, its metadata will be stored in a sidecar file named “sample.xmp”.
Photo Supreme ensures that the XMP sidecar file stays with your original file. When you move an image file within Photo Supreme, the sidecar files will move along with it. Similarly, if you copy the original file, the sidecar files will also be copied, making the use of sidecar files seamless for you.
In addition to non-embedded formats, Photo Supreme will create XMP sidecar files for files marked as read-only. This allows you to maintain metadata for images in the file system, even for files that Photo Supreme cannot write to. However, keep in mind that many third-party applications may not read XMP data from sidecar files for formats that support embedded XMP. If you're using other tools in your workflow that rely on metadata, be sure to verify whether those tools can also read sidecar files for read-only files.
What about IPTC and Exif?
Photo Supreme utilizes the highest level of metadata available, which is XMP. Metadata can be stored as either embedded XMP or as an XMP sidecar file. If your images contain existing IPTC-IIM data but lack XMP, Photo Supreme will convert these IPTC fields to XMP using the field mapping structure outlined by the IPTC organization in its specifications. This conversion also applies to any pre-existing Exif technical metadata.
When writing metadata to a file, Photo Supreme will create XMP. For file formats that support embedded IPTC records (such as JPG and TIFF), it will map the relevant metadata from the XMP to the IPTC fields and store those appropriately. Similarly, if the file format supports Exif metadata, relevant information will be saved in the Exif metadata (e.g., author or description). This ensures maximum compatibility with other tools, even those that do not support XMP.
In addition to writing embedded or sidecar data, all your XMP information will also be recorded in the catalog database. This allows you to search your catalog for images containing specific metadata, regardless of whether those images are online or offline. For instance, you can find images stored on an external drive that meet certain criteria, even if the drive is not currently attached.
Editing Metadata as Image Details
In Photo Supreme, you can modify the metadata fields using the Image Details panel.
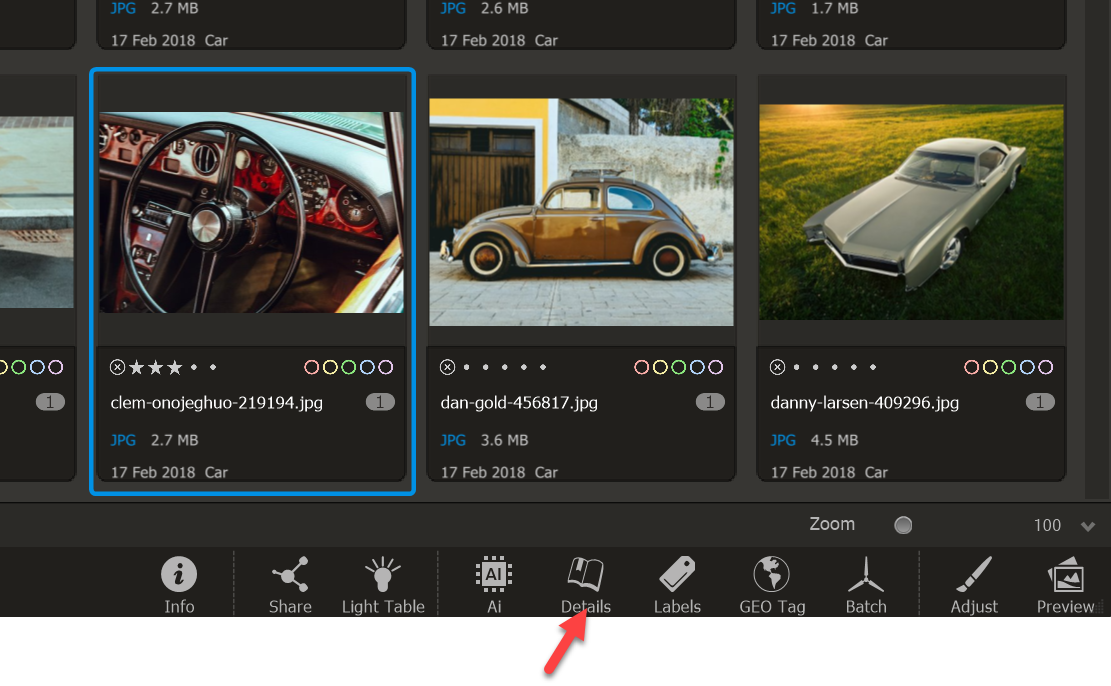
To open the Image Details panel, click the “Details” button in the Command Bar located below the thumbnails. By default, Photo Supreme presents the Image Details in an advanced view, showcasing numerous fields.
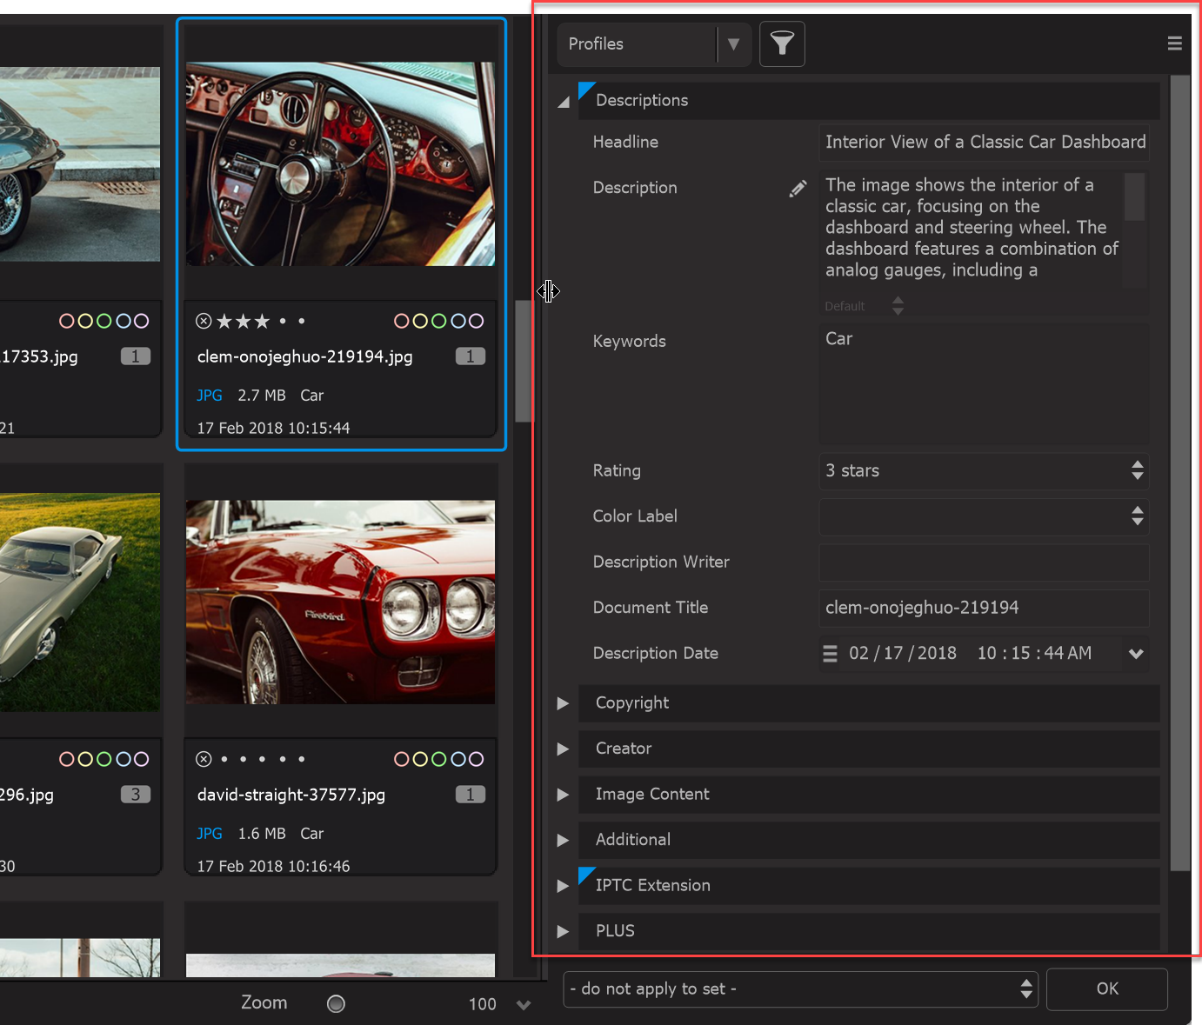
Using the menu button in the upper right corner, you can choose from various editors. Try each of them to determine which one best fits your needs.
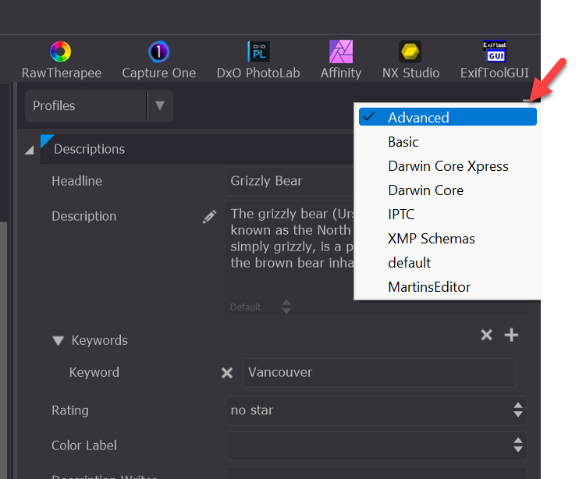
TIP: When editing the fields, you can utilize Macro Commands. Right-click in the field to choose any available macro command. When you apply the metadata, the macro commands will be replaced with their corresponding values.
After editing the Image Details, you can click the “Apply” button to save the changes. At this point, the metadata will be updated in the catalog. If you have auto-sync enabled in the Preferences, these changes will also be automatically written to the file, along with the corresponding IPTC and Exif metadata.
Working with Detail Profiles
A Detail Profile enables you to save and retrieve a set of frequently used metadata fields. By selecting the profile later, you can quickly fill these fields with the values saved in the Detail Profile. In this manual, we will create a Detail Profile to store your copyright information.
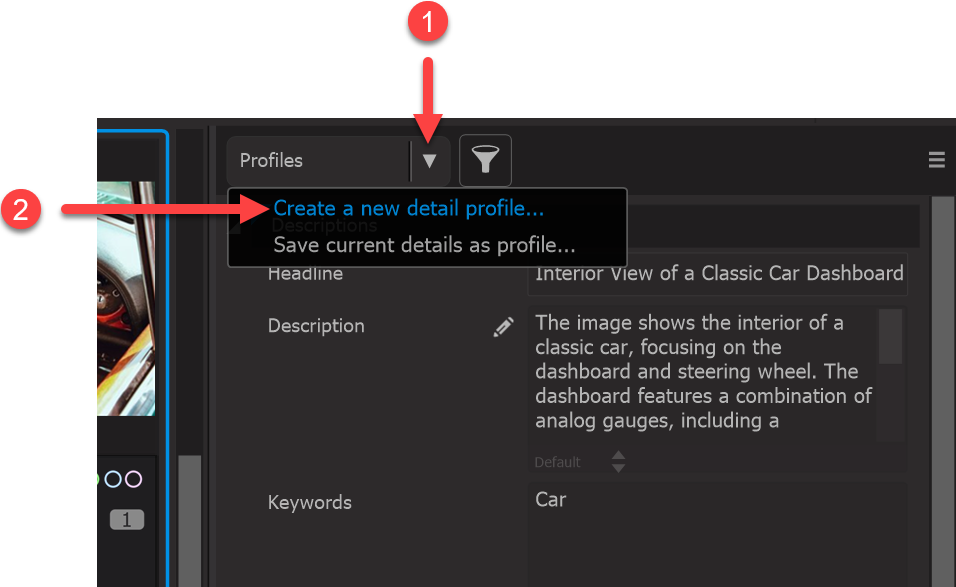
The Profiles dropdown at the top of the Image Details panel gives you access to the Detail Profiles. To create a new Detail Profile, select “Create a new Detail Profile” from the dropdown menu. This will open a new editor in a dedicated form, allowing you to enter the generic content in your chosen fields.
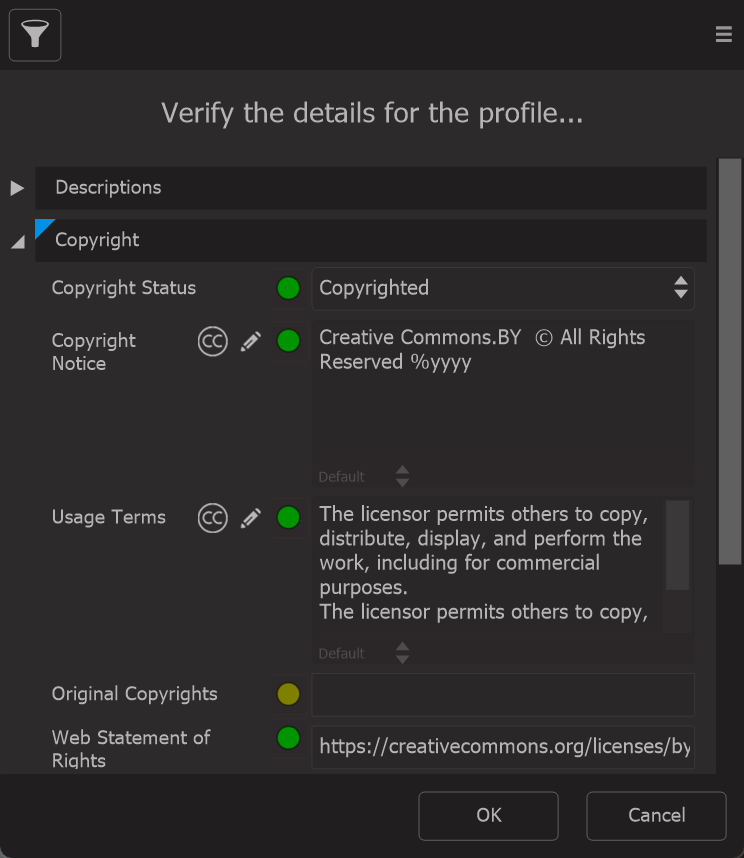
Only fill in the fields that are relevant to you. As shown in the screenshot above, some fields feature a green icon, indicating that the information for that field will replace any existing content in the image's field when you apply this Detail Profile.
Photo Supreme offers three methods for applying the information from a Detail Profile field to an image: "Replace," "Append," and "Clear". You can change the state by clicking on the icon and selecting a new state from the dropdown menu.
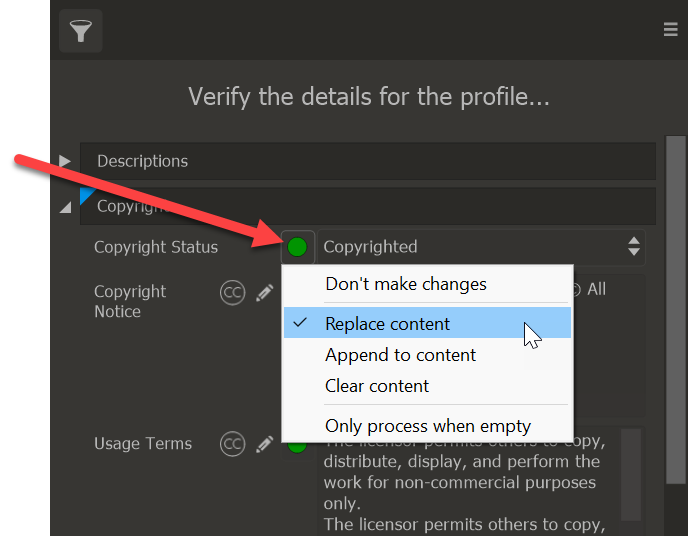
Each state is represented by an icon of a different color: green for Replace, blue for Append, and red for Clear.
- Replace: When the Detail Profile is applied, the specified value for this field will overwrite any existing value in the image’s metadata for that field.
- Append: When the Detail Profile is applied, the specified value will be added to the end of the existing value in the image’s metadata for that field.
- Clear: When the Detail Profile is applied, the existing value in the image's metadata for that field will be removed.
Click OK to save your Detail Profile, and you can assign a file name for it. After creating a Detail Profile, it will appear in the Profiles dropdown menu. Select the profile, and it will be applied to the image details for that particular image.
Working with Text Expansion
Text Expansion is a feature that allows you to enter a short abbreviation that automatically expands into a longer block of text or a predefined phrase. This functionality can greatly improve productivity by minimizing the need to manually type repetitive text, common phrases, or detailed information.
In tasks that involve repetitive data entry, Text Expansion can quickly populate parts of metadata fields with predefined text, saving time and reducing the likelihood of errors.
Here’s a closer look at how text expansion functions:
Key Components and Functionality:
- Abbreviation: You create a short sequence of characters or a specific keyword that triggers the expansion.
- Example: Typing "addr" could expand into a full address like "1234 Elm Street, Springfield, IL 62704."
- Expanded Text: This is the content that the abbreviation converts into. It can range from a few words to a full sentence or even a paragraph.
In Photo Supreme, you can create your own Text Expansion lists. To get started, open the Preferences and navigate to the Text Expansion section.
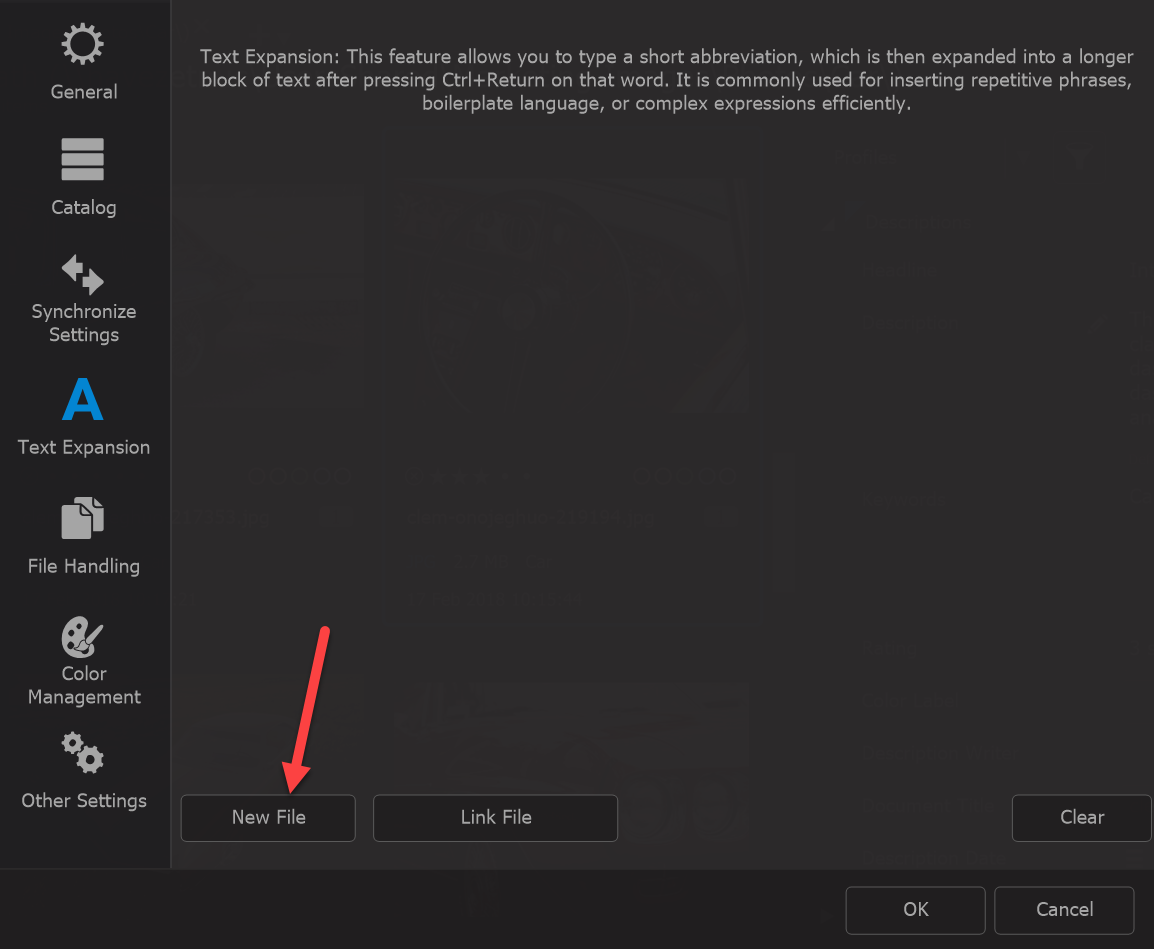
In this section, you can either link to an existing Text Expansion file (CSV or TSV format) or create a new one.
For this manual, we’ll start fresh and create a new file. Click the “New File” button, and you’ll be prompted to provide a name for the file. Choose a name that reflects the type of list you are creating. For example, if you’re making a list for the FC Liverpool team, you might name the file “LiverpoolFC” Once done, you’ll see a blank list where you can enter the abbreviation and phrase, one per line.
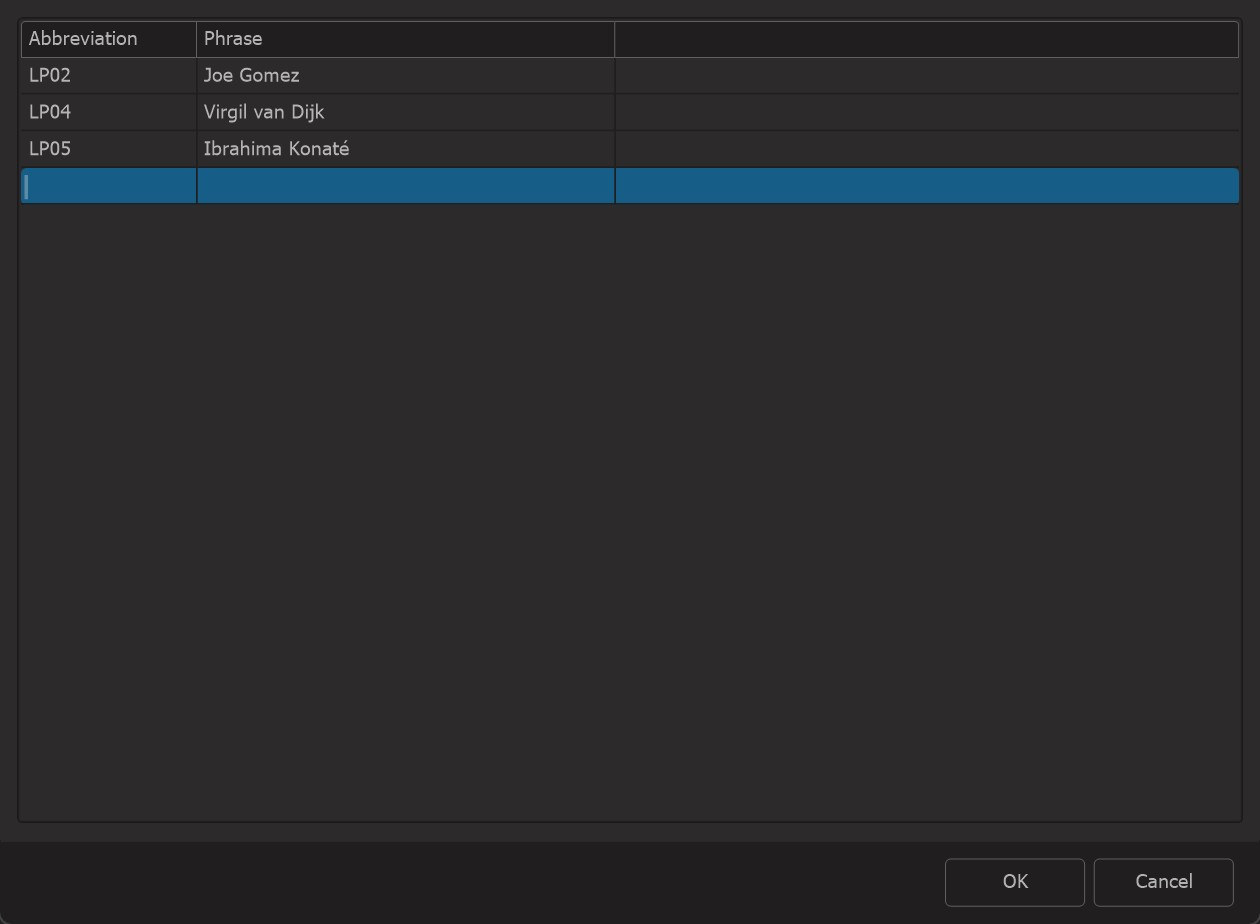
When finished, click OK to save the list to file and have it linked in Photo Supreme. From now on, when I enter one of the abbreviation terms in a text field, it gets the option to expand that abbreviation to the full phrase that matches that abbreviation.
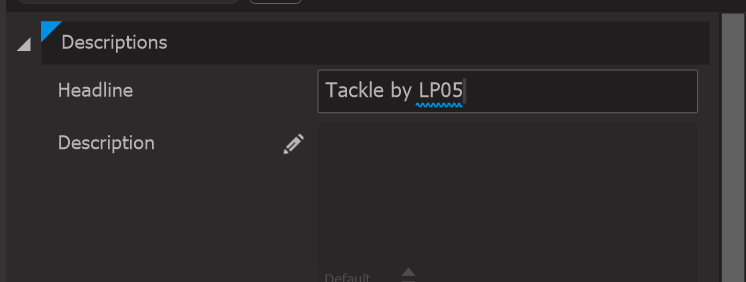
The Text Expansion abbreviation is marked by a highlighted curly line underneath it. To expand it to the full name, place the cursor on the abbreviation and press Ctrl+Return.
Note: You can use the same abbreviation multiple times. When expanding it, you'll have the option to choose the desired one.
Manually create your own Text Expansion file
To create your own Text Expansion file outside of Photo Supreme, you'll need to make a file that includes the abbreviation/text pairs. This file can be linked to Photo Supreme through Preferences -> Text Expansion. Once your Text Expansion file is linked, you can utilize the abbreviations in input fields across Photo Supreme, allowing you to quickly expand them into their full text.
Create the Text Expansion File
The Text Expansion file is a plain text document that can be formatted as either a Comma Separated Values (CSV) file or a Tab Separated Values (TSV) file. You can use spreadsheet software like Excel or a simple text editor such as Notepad on Windows or TextEdit on macOS to create a new file. In this file, enter an abbreviation/text pair on each line.
You can use the same abbreviation multiple times. In such cases, when you type the abbreviation, you'll be prompted to choose which text to use.
Once you've created the file, save it as a CSV file.
After saving the Text Expansion file to your disk, you can link it in Photo Supreme. To do this, go to Preferences, select the Text Expansion tab, and click the “Link File” button. Then, choose the saved file from the previous step.
You can link multiple Text Expansion files simultaneously, which is particularly useful for working with specific sets relevant to particular events. For example, if you’re covering a Formula One race, you might have a set of abbreviations for each driver, team, team manager, and circuit all loaded at once. This allows for quick and efficient text expansion tailored to the context of your work.
Using Text Expansion
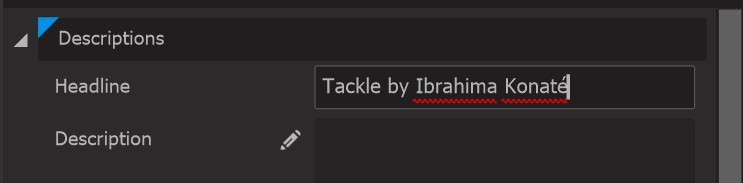
Now that you have created and linked your Text Expansion file(s) in the Preferences, you're ready to start using them. Utilizing Text Expansion is straightforward: just type the abbreviation in a text field. For example, I've linked a Text Expansion file containing all the teams from the English Premier League. Each abbreviation is a combination of a two-letter team code and the player’s number; for instance, "LP05" represents FC Liverpool’s player number 5, which expands to " Ibrahima Konaté".
When typing "LP058" in any text field, it will be recognized as a Text Expansion abbreviation, indicated by a highlighted curly underline.
A highlighted abbreviation can be expanded into its full phrase by pressing Ctrl+Return while the cursor is positioned over the abbreviation.
The same abbreviation may be present in different linked Text Expansion lists. By right-clicking on the highlighted abbreviation, you can choose which phrase you want to use for the expansion. Utilizing Text Expansion can significantly enhance your typing speed.