GEO Tagging with Photo Supreme
GEO Batch processing
Batch Processing allows you to handle multiple images simultaneously in one operation. Photo Supreme offers a powerful Batch Processor that can batch process various tasks, including GEO Tagging, in numerous combinations. The following commands related to GEO Tagging are available for batch processing:
- GEO Forward Lookup - Find coordinates for a specific location name.
- GEO Lookup Altitude – Fill in the Altitude for already GEO Tagged images (lat/lon).
- GEO Remove - Remove GEO tags from selected images.
- GEO Reverse Lookup - Perform a reverse lookup to retrieve location details based on coordinates.
- GEO Tag from GPX File - Apply GEO coordinates from a GPX track log.
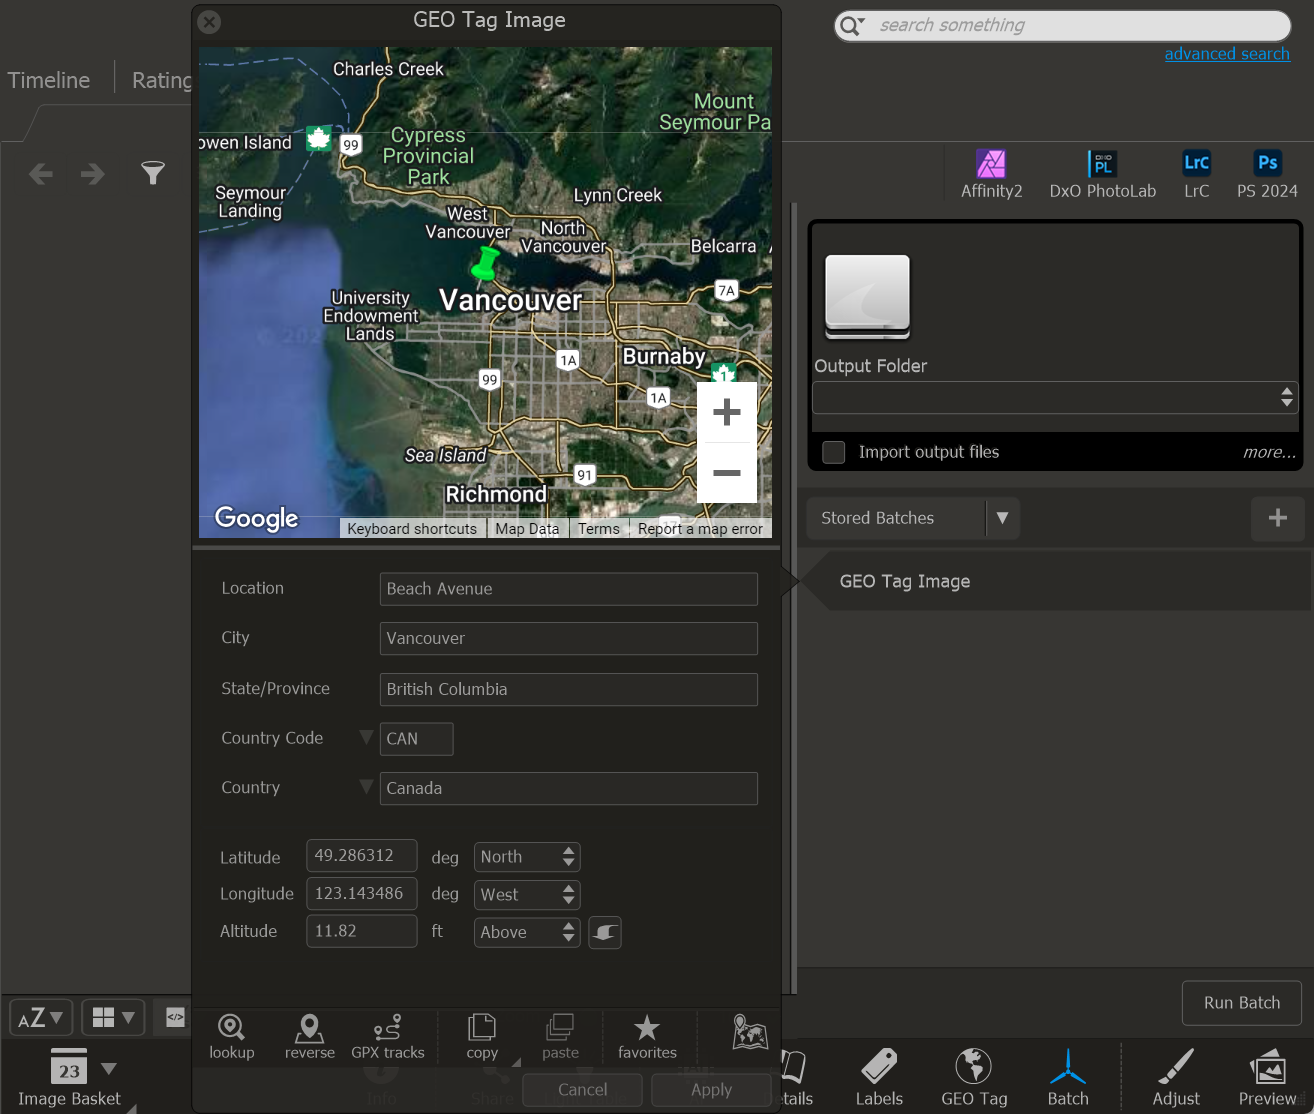
- GEO Tag Image - Add GEO tags to selected images.
You can access and use these commands by opening the Batch Panel through the Batch button located in the Command Bar below the thumbnails.
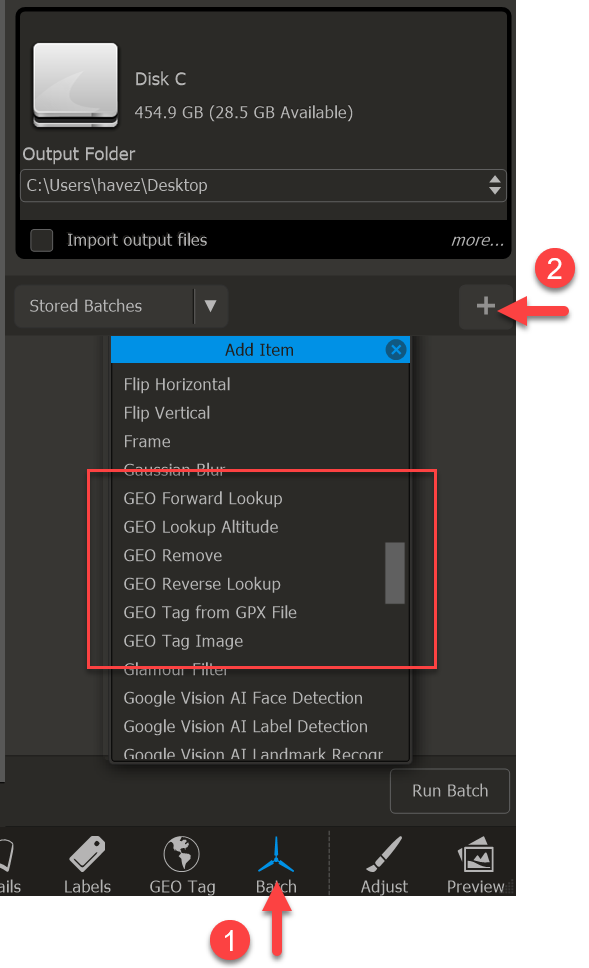
Once you open the Batch Panel, it will display the last loaded batch. To start a new batch, click on "Stored Batches" and then select "New Batch..." This will create a new batch, aligning your screen with the instructions in this manual.
Next, click the plus (+) button to add a new Batch Command. A popup will appear with a list of all available Batch Commands. Scroll through this list to find the GEO batch commands, which are grouped together.
The Batch Panel processes the currently selected thumbnails, so be sure to select only the images you want to include in the batch process.
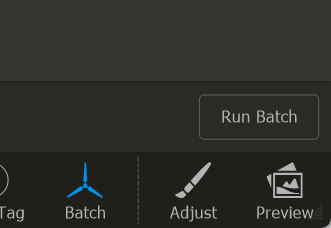 Once you've added all the relevant batch commands and selected the appropriate images, you can execute your batch by clicking the “Run Batch” button located at the bottom of the Batch Panel.
GEO Forward Lookup
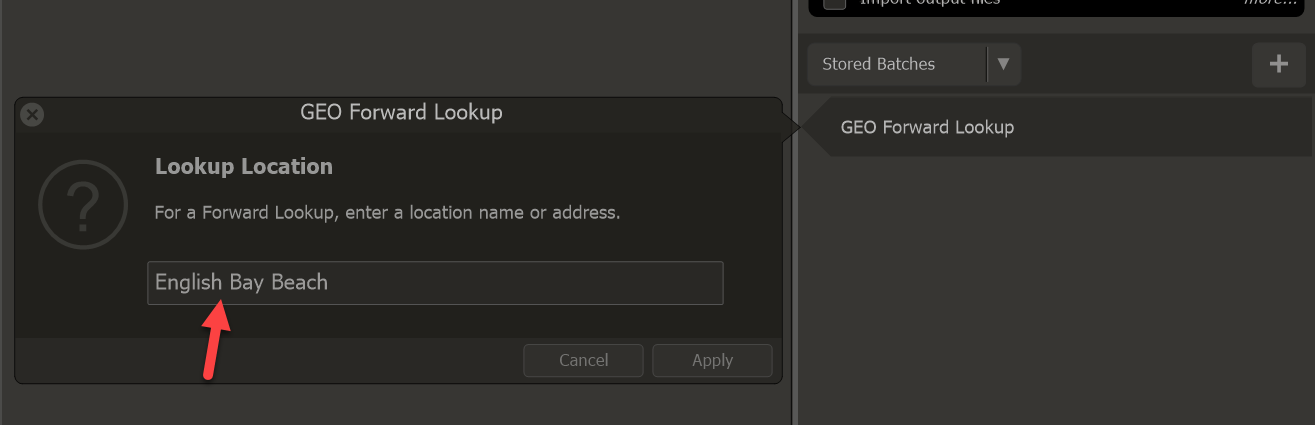
Add this command if you want the GEO coordinates to be populated based on a location name. You can specify the lookup name in the settings of this batch command.
GEO Lookup Altitude
For a collection of images that already have their latitude and longitude populated but lack altitude details, you can use this batch command to retrieve the corresponding altitude for those coordinates.
GEO Remove
This batch command is quite useful for removing GPS coordinates from one or more images. When you use this command, only the GPS coordinates are deleted, while the location information remains intact. If you also wish to remove location information, you can do so by using the “GEO Tag Images” batch command to update those fields. You can combine both commands in a single batch process for convenience.
The GEO Remove batch command does not require any additional settings.
GEO Reverse Lookup
This batch command enables you to perform a reverse lookup for the existing location details (such as street, city, and country) in the metadata of the selected images.
The GEO Reverse Lookup batch command does not require any additional settings.
GEO Tag from GPX file
This batch command allows you to apply a GPX track-log to a selected group of images. When you use it on multiple selected images, the command will load the GPX file, optionally adjust the time, and then find the relevant GEO coordinates in the GPX track-log for each selected image.
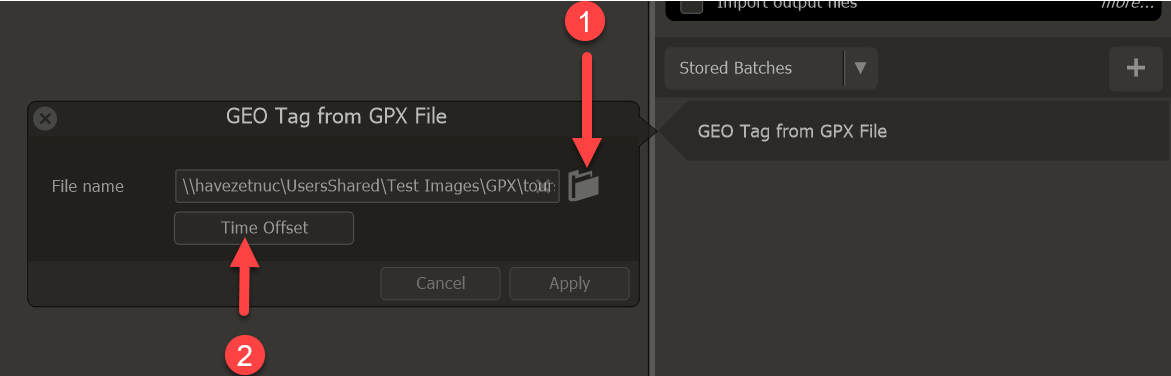
When you add this batch command, the editor for the command will open. Click the folder icon to select a GPX file from your disk. If necessary, you can click the Time Offset button to synchronize the camera time with the GPX time. Finally, click Apply to confirm the settings for the batch effect.
GEO Tag Image
When you add this batch command, the editor for the command will appear. This editor resembles the GEO Tagging panel discussed earlier in the manual. In essence, it provides you with the batch functionality to work with the GEO Tag Panel. For a detailed description of its features, please refer to the previous chapters.