
GEO Tagging with Photo Supreme
GEO Tagging images
This section explains how to GEO Tag individual images or groups of images.
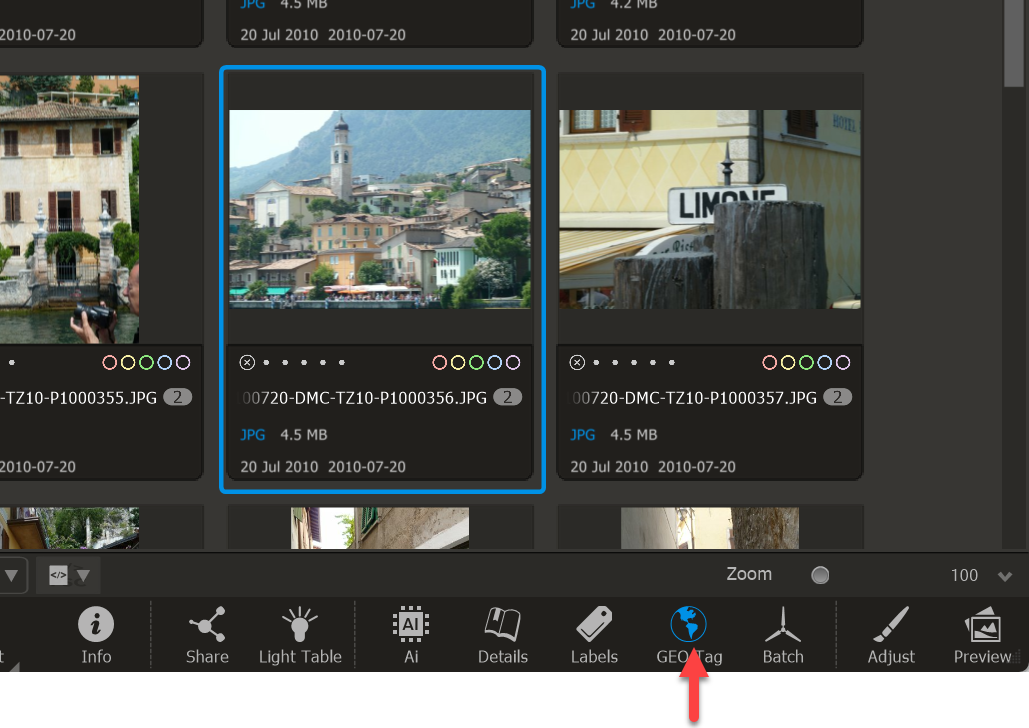
To generate GEO Tagging information for your images, use the GEO Tag panel. You can access this panel by clicking the appropriate button on the Command Bar located below the thumbnails.
As previously mentioned, there are three categories of photographers with different GEO tagging requirements:
- Photographers who do not use any GPS recording.
- Photographers who utilize cameras with built-in GPS chips.
- Photographers who rely on external GPS recording devices.
Each group has distinct needs, and Photo Supreme caters to all of them. The first group can manually enter GEO coordinates, search for locations, and refine coordinates within Photo Supreme. The second group, whose images already contain coordinates, can use the software to adjust those coordinates and look up additional location details, such as altitude. The final group can import GPX track logs into Photo Supreme to adjust coordinates and retrieve location information and altitudes.
The GEO Tag Panel consists of three main sections:
- The upper section features the Map.
- The middle section contains the Location Details.
- The lower section displays the GEO Details.
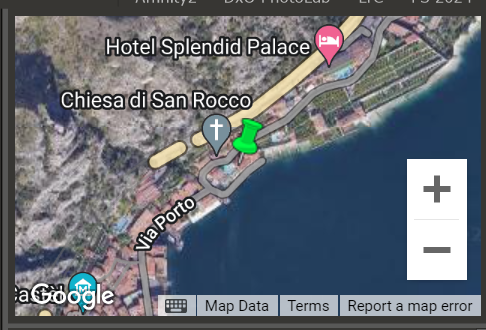
1. Map. The upper section displays the Map, which utilizes either OpenFreeMaps, or Google Maps for GEO tagging in Photo Supreme.
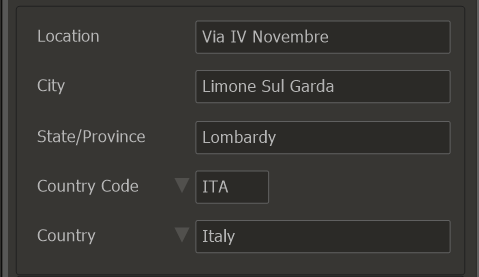
2. Location Details. The middle section presents the Location Details, which provide "real world" information such as the physical location, city, state, and country where the image was captured.
You can input this information in two ways:
Manually enter the location details.
Retrieve the information using reverse lookup based on coordinates.
Access details from your saved favorites.
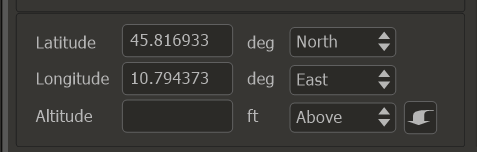
GEO Details. The lower section displays the GEO Details. You can input this information in several ways:
Manually enter the coordinates.
Obtain the coordinates based on the Location Information (forward lookup).
Import coordinates from another image file.
Copy and paste the coordinates from another image or mapping software like Google Maps.
Retrieve coordinates directly from the map.
Extract coordinates from a GPX track-log.
Use coordinates from your saved favorites.
The GEO Tag Panel functions for the files you have selected, whether it's a single image or a group of images. It's important to note that the GEO Tag Panel is designed to represent a single set of coordinates. When you select multiple images and input either Location or GEO details, that information will be applied to all selected images.
Manually input the Location Information.
This is the simplest method for entering Location Information. The Location Details section of the GEO Tag Panel is designed for specifying where the image was captured. Conceptually, it’s important to differentiate between the actual location where the image was shot and the location depicted in the image. The location information in the GEO Tag Panel refers specifically to the former. Generally, this will align with what the image represents, unless you are using an exceptional lens, such as a 1200mm, or photographing a subject from a considerable distance.
It is advisable to avoid entering the information manually and instead utilize the reverse lookup feature, which will be explained in the following chapter of this manual. With reverse lookup, the Location Details will be automatically populated based on the provided coordinates (latitude/longitude pair). If you find that the retrieved information is inaccurate or requires minor adjustments, you can always modify the details afterward.
Get the details based on coordinates (reverse lookup).
You can obtain the Location Details using existing coordinates through a process known as a “reverse lookup.” During a reverse lookup, the entered GPS coordinates are queried online, and the corresponding location details are returned.
Important: Regardless of the map service you select, reverse lookups in Photo Supreme are handled by the Google Geocoding Service and therefore require a valid Google API key. To use both reverse and (forward) lookups in Photo Supreme, you must obtain your own personal API key from Google. You can begin this process here:
https://manualsu.idimager.com/version11/QuickStart-SetupGoogleAPI.pdf
After obtaining your own Google API key, enter it into Photo Supreme's Preferences. You can find this setting in the Other Settings section.
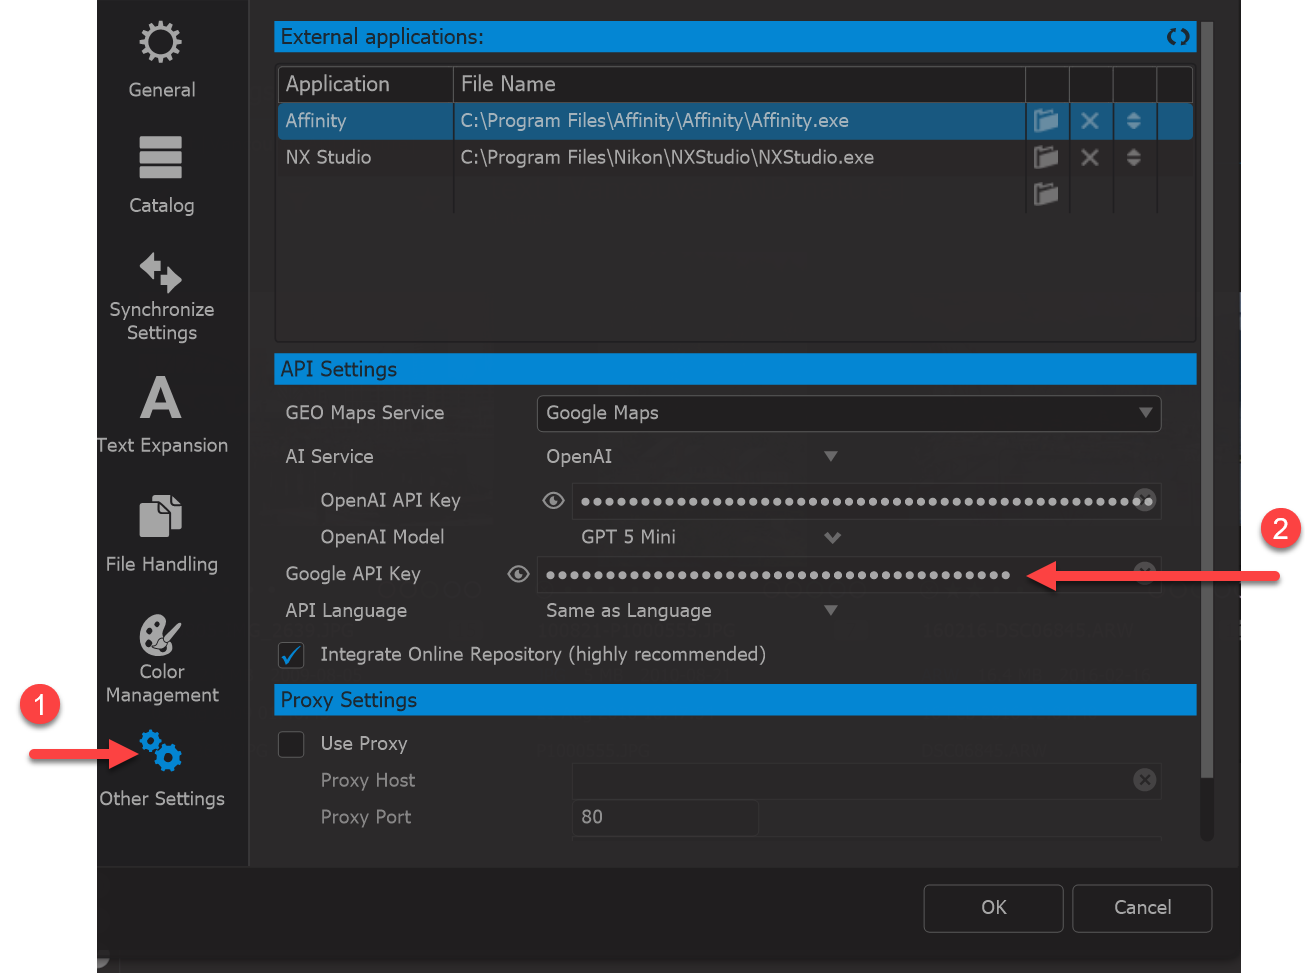
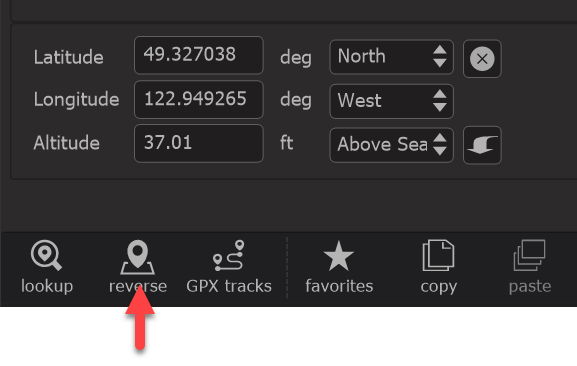
Performing a reverse lookup is as simple as clicking a button. After entering the GPS coordinates for latitude and longitude, just click the “Reverse” button.
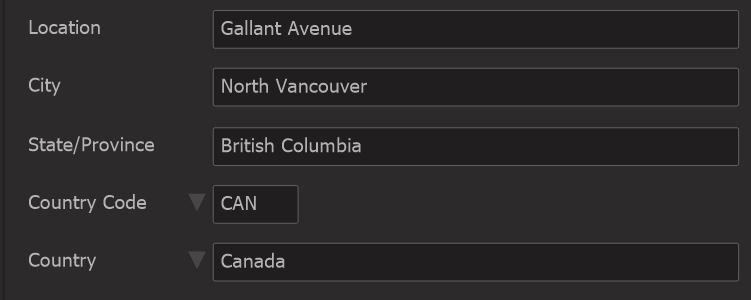
This action will fill in the Location Detail fields by querying the Google Geocoding services.
Enter the coordinates by hand
Some photographers may not have access to a GPS recording device or a camera with a built-in GPS chip, or a GPS fix may not have been available at the time the photo was taken. In these situations, coordinates can be entered manually.
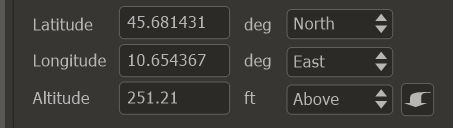
You can enter the latitude and longitude directly into the corresponding fields, selecting whether the latitude is North or South and whether the longitude is East or West. Once the coordinates are entered, click the Reverse button to retrieve the associated location information.
Keep in mind that manually typing coordinates can be time-consuming. More efficient alternatives include performing a forward lookup using location details to obtain coordinates or copying and pasting coordinates from your preferred mapping application or website.
Get the coordinates based on the Location Information (lookup)
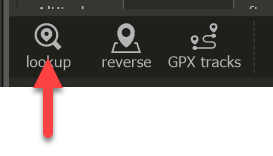
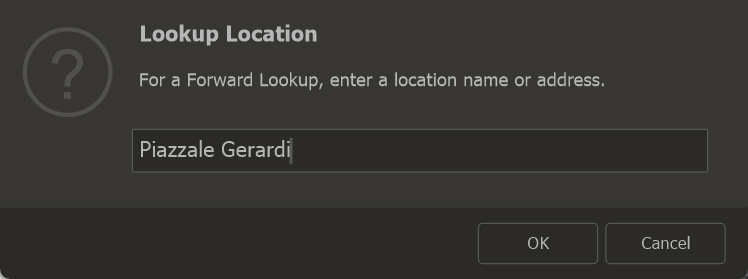
When you have some basic information about an image, you can use it to find the corresponding coordinates. Simply click the “Lookup” button and input the partial details you possess. This action will query the Google Geocoding Services to retrieve the matching coordinates, along with any missing Location Details associated with the information you've entered.
Copy/paste the coordinates from either another image or from 3rd party Maps software like Google Maps
Another method for obtaining coordinates is by copying them from a different image. Here’s how to do it:
- Select the image containing the desired coordinates.
- Open the GEO Tag Panel.
- Click the Copy button.
- Select the image to which you want to transfer the coordinates.
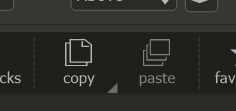
You can also copy and paste coordinates from other software. The key requirement is that the coordinates copied to the clipboard must be in the latitude, longitude format (with a comma separating the values) and should use the international “period” decimal separator for both latitude and longitude. For example: 40.691312, -74.04393.
To copy and paste coordinates from the Google Maps website, follow these steps:
- Open Google Maps (there’s a button in the GEO Panel).
- Locate the desired spot on the map as you normally would.
- Right-click on the map.
- Select "What's Here."
- Copy both coordinates from the Maps search bar (ensure you select them both).
- Paste them into Photo Supreme.
Get the coordinates directly from the map
When your computer is connected to the internet, the top section of the GEO Tag Panel displays a map area. You can move the map to any location by dragging it around.
TIP: Right-click on the map and select "Search" to find a specific location.
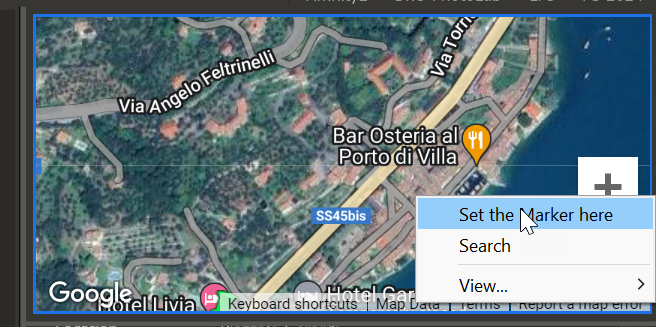
To copy the coordinates from a precise spot on the map, right-click on the map background and choose “Set the Marker Here”. This action will capture the coordinates of the location where you right-clicked.
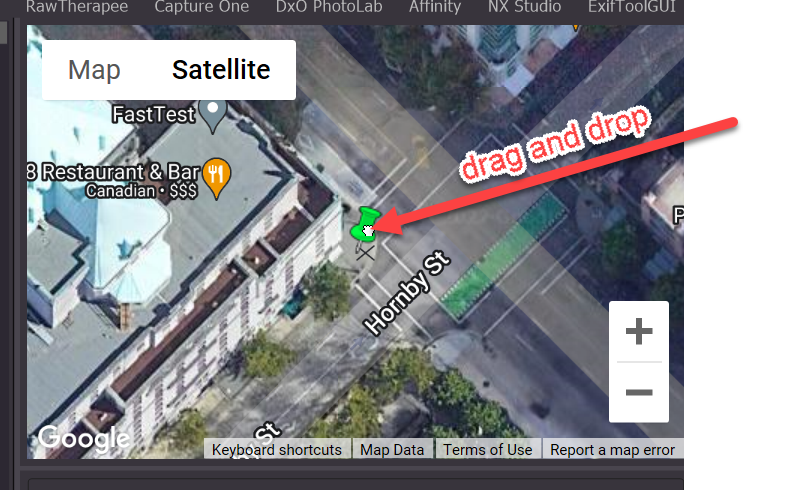
Another method to obtain updated coordinates is by dragging the pin marker on the map. Once you drop the marker, the corresponding coordinates will automatically populate in the GEO Details section.
Read the coordinates from a GPX track-log
A GPX track log is generally recorded using a separate GPS device, which can either be a dedicated tracker or a highly rated GPS tracking app on a smartphone. Regardless of the type of recorder you use, it generates a file containing a series of coordinates recorded at specific intervals, typically formatted in the widely used GPX format. Photo Supreme can read these GPX files and align your photos with the track log to extract the relevant coordinates for each image. In the GEO Tagging panel, you can load one or more GPX files by clicking the “GPX tracks” button located below the Location Details.
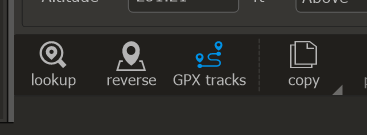
This opens a file selection dialog where you can choose one or more of your GPX track logs.
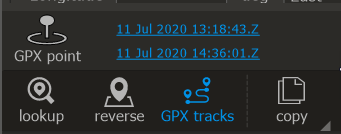
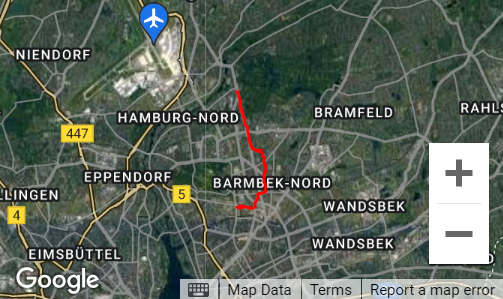
After loading the GPX tracks, Photo Supreme shows the time range of the entire track log. For example, in this instance, the track spans from July 11, 2020, at 13:12:43 to July 11, 2020, at 14:36:01. The times are displayed in Zulu time, which corresponds to GMT offset 0. Additionally, the track is represented visually on the map.
Since the track log will be utilized to map photos onto it, ensuring that the recorded time of the track log aligns with the camera's recorded time is crucial. If you're uncertain about the synchronization, you can adjust the times accordingly. Click on the time frame of the GPX track to modify the times. This step is necessary only if the time on your camera differs from that of your track log.
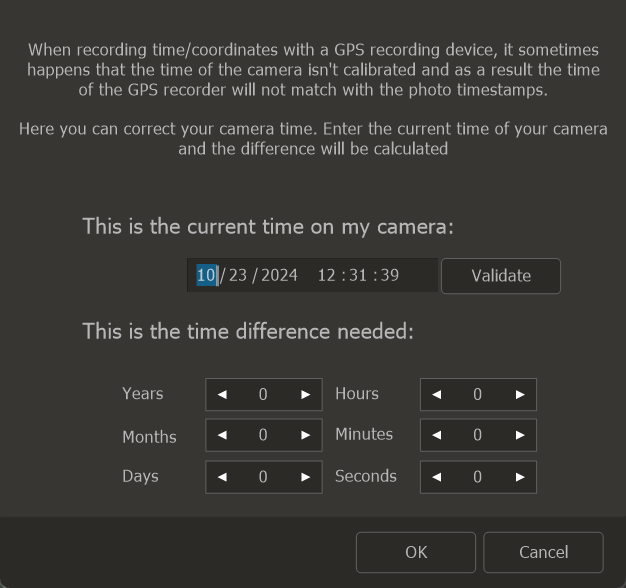
In the dialog that appears, you can synchronize your camera's time. Ensure that the time matches the current location. After making the necessary adjustments, click OK.
You are now set to assign coordinates from the track log to your selected photos. The GPX track log will stay loaded, even if you choose different photos.
Next, select a photo thumbnail for which you wish to assign coordinates from the track log. Then, click the “GPX Point” button. This action will align the photo's date with the track log's date and retrieve the most accurate GPS coordinates from the log.
Get the coordinates from a Favorite
The GEO Tagging Panel enables you to create Favorites, which are sets of information that you can save for future use. A Favorite includes not only coordinates but also the location details at the time it was saved. To save a Favorite, click the Favorite button and choose “Store as new Favorite”.
To access the details of your saved Favorites (including coordinates and location information), click the Favorites button and select the desired favorite from the dropdown menu.