
GEO Tagging with Photo Supreme
Working with GEO Fences
From Wikipedia: A geofence is a virtual perimeter for a real-world geographic area. A geo-fence could be dynamically generated (as in a radius around a point location) or match a predefined set of boundaries (such as school zones or neighborhood boundaries).
In simple terms, a GEO Fence is like creating a boundary around a specific point or location. It’s similar to putting a fence around your garden, with your house at the center. The distance of the GEO Fence represents how far out from the house the fence extends.
After you have GEO-tagged your images in Photo Supreme, whether using a camera, GPS recorder, phone app, or another method, each image will have a defined point location. Since GEO coordinates can be tricky to remember or work with, it can be challenging to find your GEO-tagged images. This is where GEO Fences become useful.
In Photo Supreme, you can start from a specific location and create a GEO Fence around it. You usually begin with an image that has coordinates. Select the thumbnail of that image, right-click on it, and choose Show More > Nearby Images (GEO-Fence). This will bring up the GEO-Fence dialog.
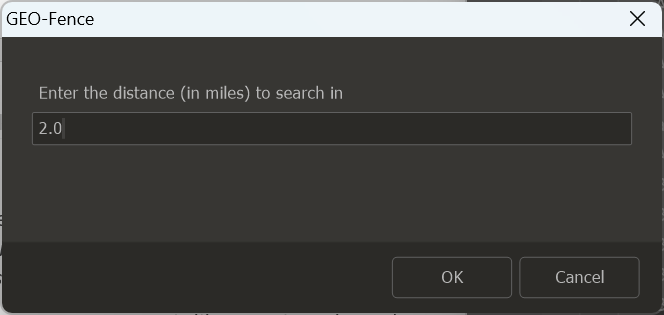
This is where you specify the location for the GEO Fence around the GEO coordinates of the selected image. Enter the desired distance radius for your search; for example, you might choose a radius of 2 miles. Keep in mind that the measurement unit (miles or kilometers) will depend on your settings for the “Measurement System”.
Once you've set the distance, click OK to begin the search for images within this GEO Fence. The Collection title will display the GEO Fence’s center point along with the specified distance radius.
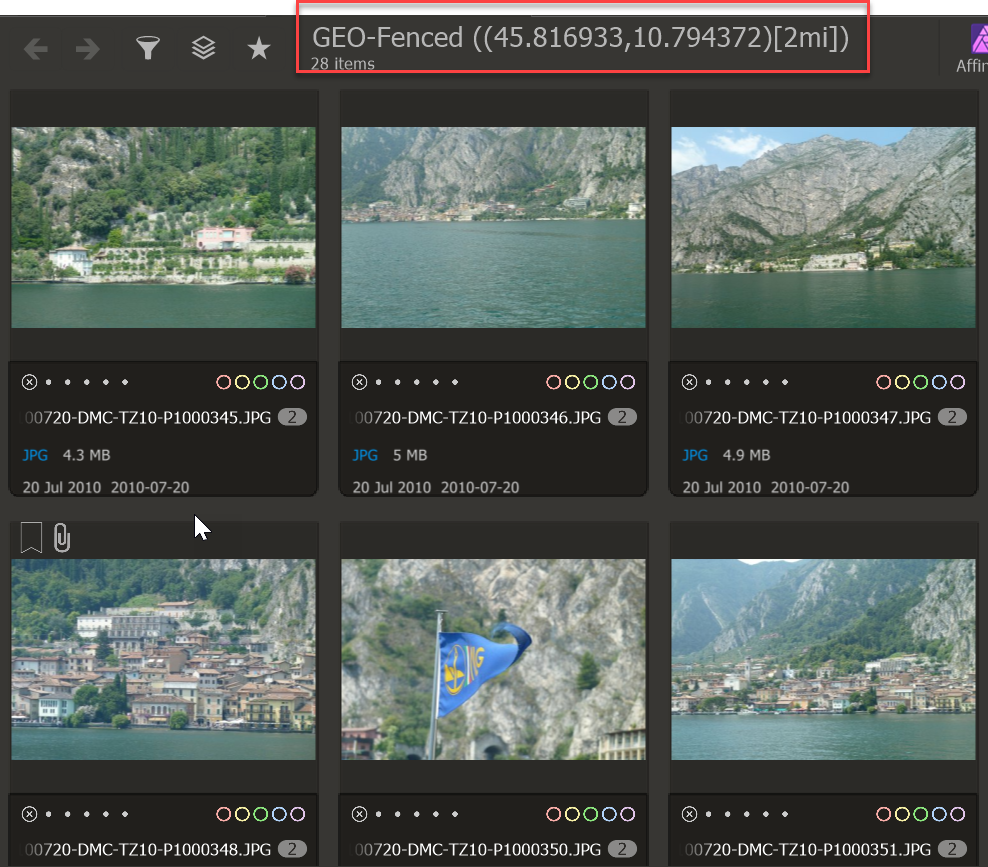
This is the easiest way to utilize GEO Fences. From this point, you can save the GEO Fence as a Favorite, incorporate it into a Dynamic search, or use it as a Catalog Filter to analyze your catalog based on the GEO Fence.
Additionally, you can create GEO Fences for multiple selected images. For example, you might want to define a GEO Fence that combines a radius around your home with a radius around your favorite hangout spot. To do this, select two or more images with GEO coordinates, then right-click on one of the thumbnails and choose Show More > Nearby Images.
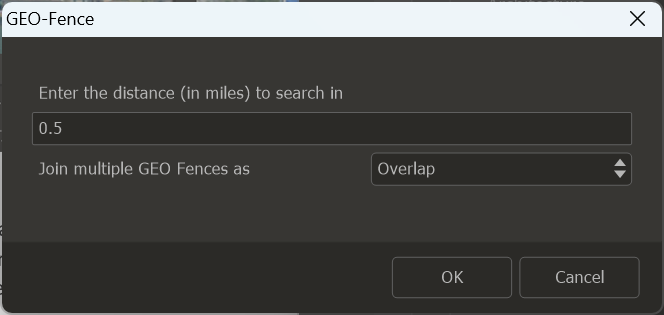
You can now set the distance and specify how the GEO Fences should be combined. The available options are:
Overlap | This option will utilize only the intersecting region of the GEO Fences. In other words, if the GEO Fences overlap, the search will focus on the shared or overlapping area. |
|---|---|
Individual | This option ensures that results from each GEO Fence are returned, regardless of whether the regions overlap. |