
GEO Tagging with Photo Supreme
Working with the Map
In the GEO Tag Panel, you can add GEO details to one or more selected images, but the panel works with a single set of coordinates at a time, so you can't view multiple images on the map simultaneously within the panel. To address this, Photo Supreme provides a way to display multiple images on the map at once. It uses Google Maps for this functionality.
To display images on the map, select one or more thumbnails, right-click on any selected thumbnail, and choose "Display on Map". This will open a map panel where all the selected images will be marked, showing their locations on the map.
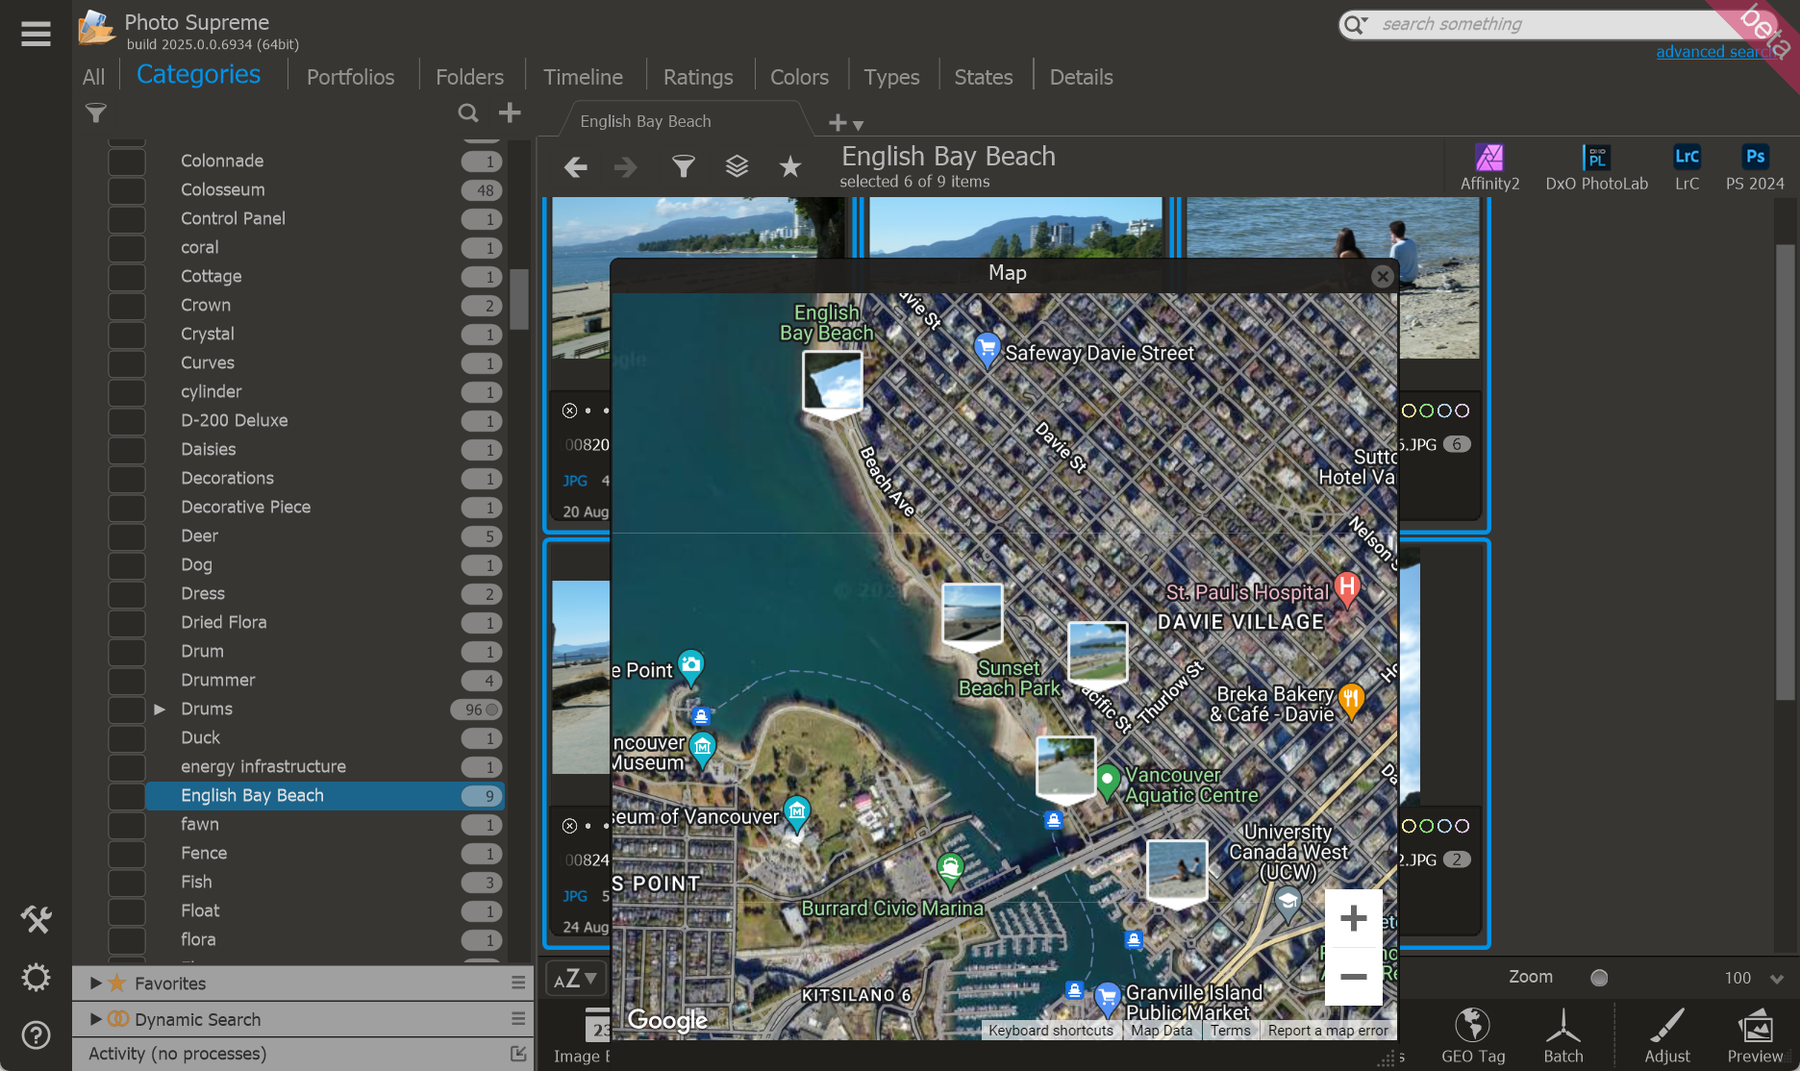
Each selected thumbnail is represented on the map as a marker. When you select one or more thumbnails, the map automatically zooms to display all the selected images that have GEO coordinates. Markers on the map can be dragged to a new location, and doing so will immediately update the coordinates for the corresponding image, allowing for easy fine-tuning.
The map can display up to 50 draggable "picture" markers. If more than 50 thumbnails are selected, the additional images will appear as non-draggable drop-markers. To delete the GEO coordinates for a photo, right-click on the marker and choose "Delete".